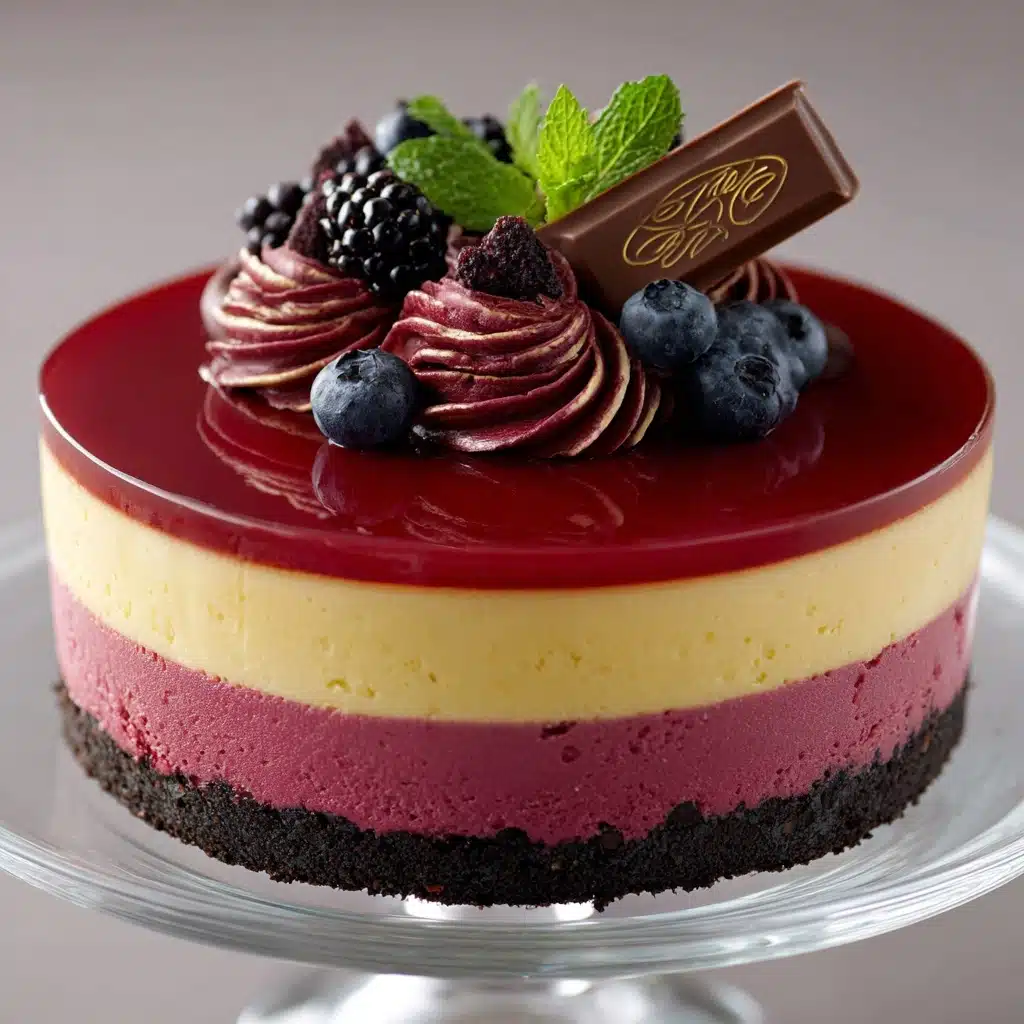
Red Velvet Cheesecake Recipe
If you’ve ever dreamed of combining two decadent desserts into one irresistible creation, wait until you try this Red Velvet Cheesecake. It’s a spectacular fusion that layers the deep, velvety richness of classic red velvet cake with a luscious Oreo-studded cheesecake filling, then finishes with a silky chocolate ganache that’s utterly divine. Every bite melts in your mouth with intense flavor and a perfect balance of creaminess and crumbly cake. Whether you’re making it for a festive celebration or just treating yourself, this Red Velvet Cheesecake is truly a showstopper that will impress everyone lucky enough to savor a slice.
Ingredients You’ll Need
Gathering the right ingredients is the first step to nailing this dessert’s iconic flavor and texture. Each component plays a crucial role: from the rich cream cheese giving that silky cheesecake body, to the vibrant red food coloring painting the cake layers with signature charm, and of course, the crunchy Oreos injecting delightful texture.
- All-purpose flour: The base for the red velvet cake, providing structure without heaviness.
- Unsweetened cocoa powder: Adds that subtle chocolate hint classic to red velvet.
- Unsalted butter: Enhances moistness and richness in the cake layers.
- Granulated sugar: Sweetens each component while helping with texture.
- Red food coloring: Gives the signature striking red hue that makes this dessert so memorable.
- Full-fat cream cheese: The star of the cheesecake filling, creating velvety smoothness.
- Oreos (crushed): Provide a crunchy, chocolatey surprise inside the cheesecake layer.
- Sour cream: Balances richness with slight tang, keeping textures tender.
- Heavy cream: Used for the decadent chocolate ganache topping.
- Dark chocolate chips: Melted into a ganache for a luscious finish.
How to Make Red Velvet Cheesecake
Step 1: Prepare the Red Velvet Cake Base
Begin by preheating your oven to 350°F. Line both a springform pan and an 8-inch round cake pan with parchment paper and lightly spray them to prevent sticking. In a bowl, whisk together the all-purpose flour, unsweetened cocoa powder, and a pinch of salt to evenly distribute flavors. In a separate bowl, cream the butter and sugar until light and fluffy; this step is vital for a tender crumb. Then incorporate eggs, sour cream, oil, vanilla extract, the vibrant red food coloring, and buttermilk. Gradually fold the dry ingredients into the wet until just combined, careful not to overmix. Divide this luscious batter evenly into the two pans and bake for 18 to 20 minutes or until a toothpick inserted comes out clean. Let the cake layers cool completely — patience here will help your cheesecake set perfectly.
Step 2: Make the Oreo Cheesecake Filling
While the cake cools, it’s time to create the creamy cheesecake filling. Beat the full-fat cream cheese with sugar and a touch of cornstarch until silky and smooth, the cornstarch helping to prevent cracks during baking. Add sour cream and vanilla extract for depth, then carefully blend in the eggs one at a time to keep the mixture custard-like. Finally, gently fold in the crushed Oreos, which add both crunch and a pop of chocolate flavor inside this dreamy layer. Pour this filling over your cooled red velvet cake bases in the springform pan.
Step 3: Bake the Cheesecake
Place your springform pan into a water bath—this technique ensures gentle, even cooking and prevents cracks in your cheesecake. Bake at 300°F for approximately 90 minutes. You’re aiming for a custard-like consistency that’s just set in the center; a little jiggle is perfect. Afterwards, allow the cheesecake to cool gradually inside the oven with the door slightly ajar. Slow cooling prevents sudden temperature changes and keeps that surface beautifully smooth.
Step 4: Prepare the Chocolate Ganache and Finish
Once the cheesecake is chilled, melt the dark chocolate chips with heavy cream over a double boiler or carefully in short bursts in the microwave, stirring frequently until glossy and smooth. Pour the ganache evenly over the top of the cheesecake, spreading gently to cover every inch. For the grand finale, decorate with whipped cream or frosting and sprinkle with more chopped Oreos. This final touch not only adds visual appeal but also enhances every bite with extra texture and sweetness.
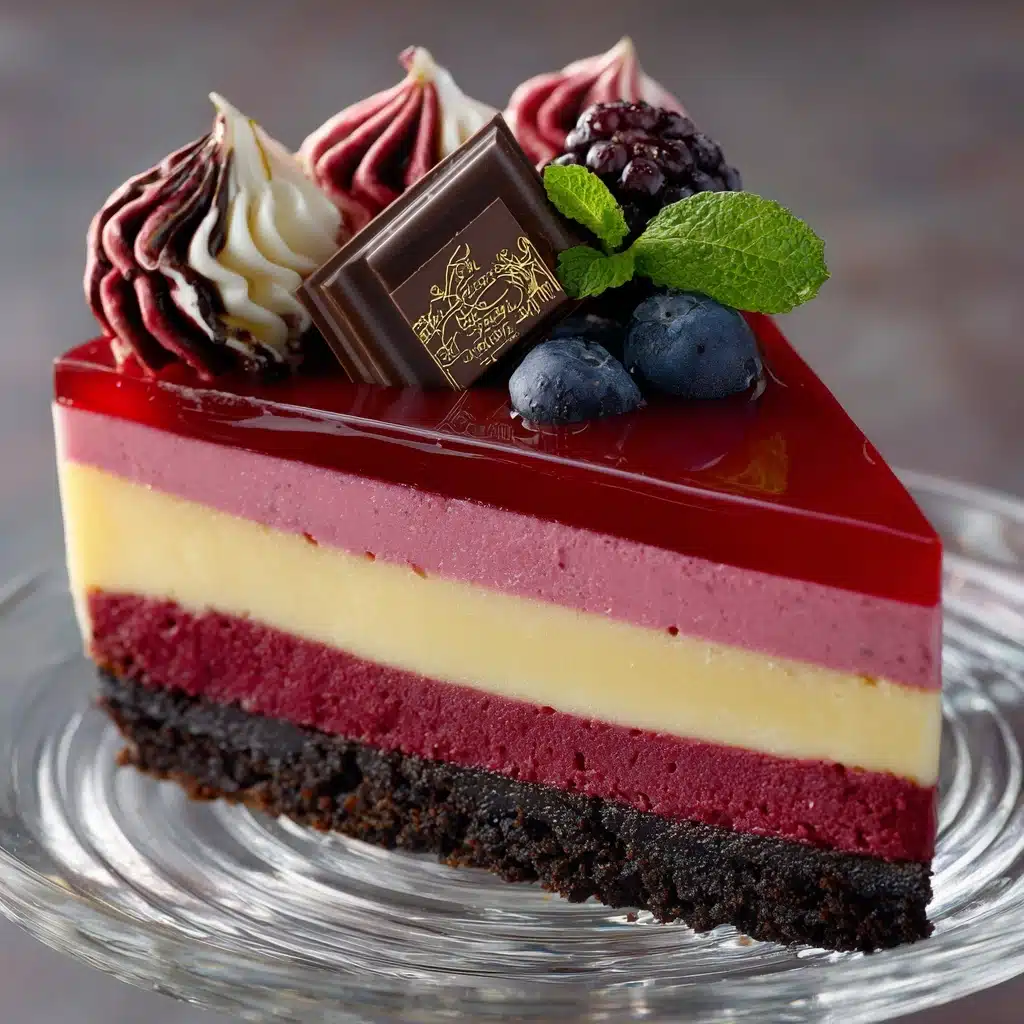
How to Serve Red Velvet Cheesecake
Garnishes
A slice of Red Velvet Cheesecake deserves the spotlight, and garnishing thoughtfully elevates both appearance and flavor. Crumbled Oreos on top create an inviting crunchy contrast, while a dollop of freshly whipped cream adds lightness. For an extra festive look, consider red velvet cake crumbs or a few fresh berries to brighten the plate.
Side Dishes
This dessert pairs wonderfully with simple accompaniments that complement rather than compete. Fresh berries, like raspberries or strawberries, provide a tart counterpoint to the creamy sweetness. Alternatively, a scoop of vanilla bean ice cream offers a refreshing coolness that balances the richness, making every forkful pure joy.
Creative Ways to Present
If you want to make serving even more special, slice your Red Velvet Cheesecake into small, bite-sized squares for an elegant dessert platter at parties. Or serve individual portions in pretty glass jars layered with whipped cream and extra crushed Oreos for a playful twist that will have guests asking for your secret. Either way, its vibrant color and decadent layers never fail to impress.
Make Ahead and Storage
Storing Leftovers
Once made, your Red Velvet Cheesecake can be safely stored in the refrigerator, tightly covered with plastic wrap or in an airtight container, for up to 4 days. Keeping it chilled preserves the velvety texture and prevents the ganache from becoming too soft.
Freezing
If you want to keep your cheesecake longer, it freezes beautifully. Wrap the whole cheesecake or individual slices snugly in plastic wrap and then foil to avoid freezer burn. It’s best enjoyed within 1 to 2 months for optimal flavor and texture. Thaw overnight in the fridge before serving to maintain that creamy consistency.
Reheating
Cheesecake is best served chilled and usually does not require reheating. However, if you’d like to soften the ganache slightly, let slices sit at room temperature for about 15 minutes before serving. Avoid microwaving as it can alter the texture and cause the cream cheese to separate.
FAQs
Can I use store-bought red velvet cake instead of baking from scratch?
While store-bought cake can save time, the texture and flavor may be less fresh and moist compared to baking your own. For that perfect harmony of flavors in Red Velvet Cheesecake, making the cake base from scratch is highly recommended.
Is it necessary to use a water bath for baking the cheesecake?
Yes, the water bath helps bake the cheesecake gently, preventing cracks and ensuring a smooth, creamy texture that’s signature to this dessert.
Can I substitute Oreos with other cookies?
Absolutely! While Oreos provide a great chocolate crunch, you can experiment with chocolate chip cookies or even gingersnaps for a unique twist on flavor and texture.
How do I achieve the bright red color in my Red Velvet Cheesecake?
The key is using good quality red food coloring and mixing it thoroughly into the cake batter. Natural alternatives like beet juice can be used but may result in a less vibrant hue.
Can I make this cheesecake gluten-free?
Yes, by substituting all-purpose flour with a gluten-free flour blend and ensuring your Oreos or cookie substitute are gluten-free, you can still enjoy this delicious Red Velvet Cheesecake without compromise.
Final Thoughts
Once you’ve experienced the magic of this Red Velvet Cheesecake, you’ll understand why it’s such a beloved dessert. Rich, creamy, and packed with layers of flavor and texture, it brings joy to every occasion. So gather your ingredients, follow the steps, and prepare to delight yourself and those around you with this stunning masterpiece that’s as fun to make as it is to eat!