No-Bake Oreo Cheesecake Cups Recipe
“`html
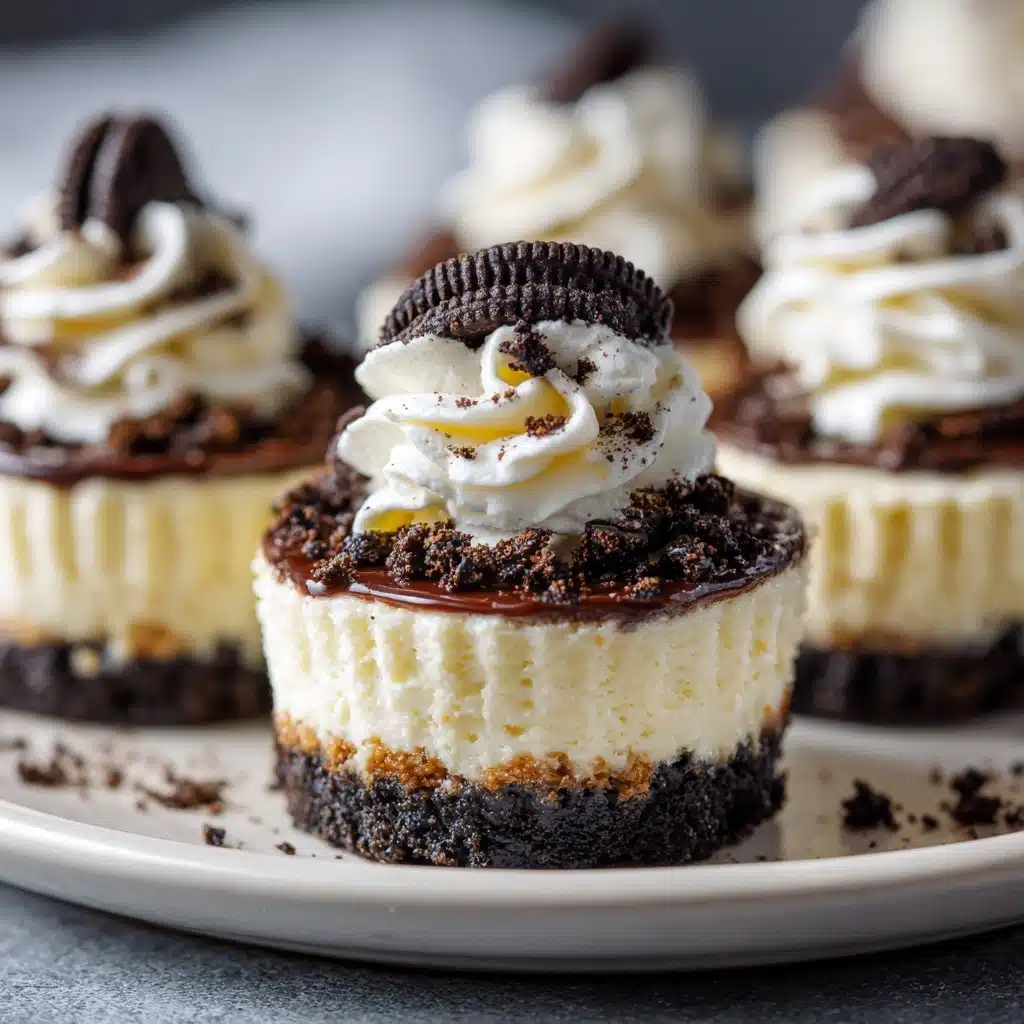
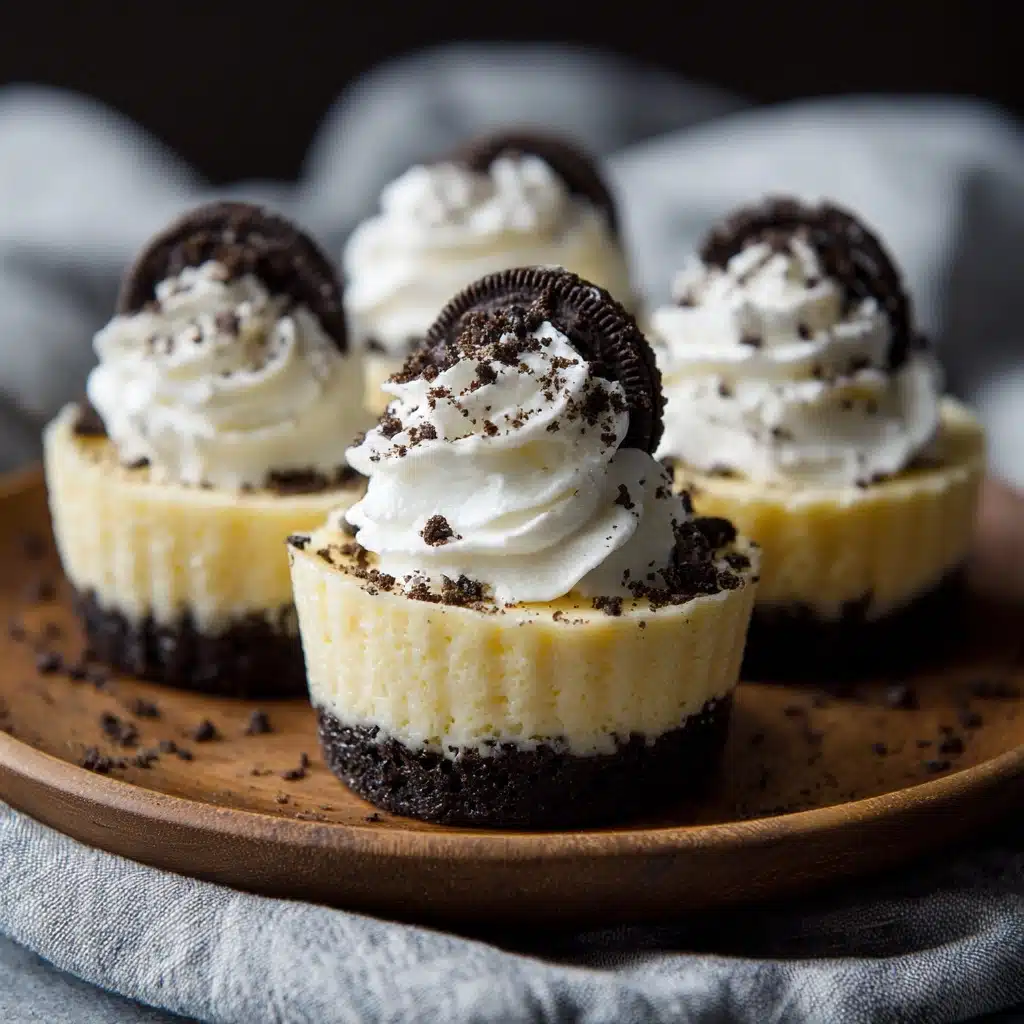
If you’ve ever dreamed of a dessert that combines the rich, chocolatey crunch of Oreos with the smooth, creamy indulgence of cheesecake—without ever turning on the oven—then you absolutely have to try these delightfully simple No-Bake Oreo Cheesecake Cups. They’re a magical marriage of textures and flavors, with a buttery Oreo crust hugging a luscious cream cheese filling, all topped off with fluffy whipped cream. Perfectly portioned and irresistibly delicious, these cups are guaranteed to become your go-to treat for any occasion, from casual family nights to impressing guests with ease.
Ingredients You’ll Need
Whipping up these No-Bake Oreo Cheesecake Cups requires just a handful of pantry staples that each play a crucial role in creating this dreamy dessert. Every ingredient brings something unique—whether it’s texture, sweetness, or that signature Oreo flavor that ties everything together.
- 20 Oreo cookies, crushed: The star ingredient that forms the crunchy, chocolatey base for our cheesecake cups.
- 4 Tbsp melted butter: Binds the crushed Oreos smoothly into a firm crust with a rich, buttery flavor.
- 16 oz cream cheese, softened: The creamy heart of the cheesecake layer, offering tanginess and smoothness.
- ½ cup sugar: Balances the tartness of the cream cheese and adds just the right amount of sweetness.
- 1 tsp vanilla extract: Infuses the filling with warm, mellow notes to deepen the overall flavor.
- 1 cup whipped cream: Lightens the cheesecake filling for that perfect airy texture that melts in your mouth.
How to Make No-Bake Oreo Cheesecake Cups
Step 1: Prepare the Oreo Crust
Start by crushing those Oreo cookies into fine crumbs — you can use a food processor or just place them in a zip-top bag and crush with a rolling pin. Once finely crushed, mix them with the melted butter until every crumb is coated and sticky. Press this mixture firmly into the bottom of your serving cups or jars to create a solid base that will hold the filling perfectly without crumbling.
Step 2: Make the Cheesecake Filling
In a mixing bowl, beat the softened cream cheese until smooth and fluffy. Gradually add the sugar and vanilla extract, beating until fully combined and creamy. The sugar not only sweetens but helps create that rich cheesecake flavor you love. Then carefully fold in the whipped cream using a spatula — this gentle folding is key to keeping the mixture light and airy rather than dense.
Step 3: Assemble the Cups
Gently spoon or pipe the cheesecake filling on top of the Oreo crust in each cup, creating a beautiful layered effect. Don’t rush this step; even layers make the cups look more enticing and ensure every bite has the perfect balance of crust and creamy filling. Once filled, refrigerate the cups for at least one hour to allow the cheesecake layer to set and the flavors to meld together beautifully.
How to Serve No-Bake Oreo Cheesecake Cups

Garnishes
Presentation makes these cups truly shine. A sprinkle of extra crushed Oreo crumbs on top adds a lovely crunch and visual contrast. You can also add a dollop of whipped cream with a mini Oreo perched on the side or a fresh berry for a pop of color and freshness that complements the richness beautifully.
Side Dishes
These cheesecake cups stand wonderfully on their own as a decadent finish to any meal. However, pairing them with fresh fruit salad or a simple espresso can elevate the experience. The fruity acidity or bold coffee balances the sweetness, making your dessert moment a sensory delight.
Creative Ways to Present
For a fun twist, serve the No-Bake Oreo Cheesecake Cups layered in clear parfait glasses or mason jars. This not only looks charming but allows guests to see all the delicious layers. You can also create a mini dessert buffet with different toppings like crushed nuts, chocolate shavings, or caramel drizzle to encourage customization and make dessert time interactive.
Make Ahead and Storage
Storing Leftovers
These cheesecake cups store beautifully in the refrigerator for up to three days. Just cover them tightly with plastic wrap or use airtight lids if available, and keep them chilled to maintain their creamy texture and prevent the crust from softening too much.
Freezing
If you want to make them in advance for a special event, these cups freeze well. Place them in a freezer-safe container, ideally with individual covers, and freeze for up to one month. When ready, thaw overnight in the fridge to enjoy that perfect no-bake cheesecake consistency.
Reheating
No reheating needed here! These No-Bake Oreo Cheesecake Cups are best enjoyed cold straight from the refrigerator or after proper thawing if frozen. Their cool, creamy texture is part of what makes them so irresistible.
FAQs
Can I use a different cookie for the crust?
Absolutely! While Oreos are classic, you can swap in chocolate graham crackers, chocolate chip cookies, or even cinnamon cookies for a fun twist. Just make sure to crush them finely and adjust the butter slightly to ensure your crust binds well.
What if I don’t have whipped cream?
You can use ready-made whipped topping or whip heavy cream from scratch. The whipped cream lightens the filling and adds softness, so skipping it will result in a denser cheesecake layer.
How long does it take to set before serving?
Chilling the cups for at least one hour is essential for the cheesecake filling to firm up properly. For best results, leave them in the fridge for 3-4 hours or even overnight to develop full flavor and texture.
Can these be made dairy-free?
Yes! Use dairy-free cream cheese and whipped topping alternatives. Just remember that texture might vary slightly but the flavor will still be delicious and satisfy that cheesecake craving.
What’s the best way to crush the Oreos?
The easiest is to pulse them in a food processor until fine, but if you don’t have one, sealing them in a bag and bashing gently with a rolling pin works perfectly well. Just aim for a consistent crumb size to ensure the crust holds together.
Final Thoughts
Making No-Bake Oreo Cheesecake Cups is truly like capturing a little piece of dessert heaven in each bite. They’re quick, fuss-free, and packed with flavor, making them a perfect treat to whip up anytime you want something special without the oven heat. Once you try them, you’ll see why they’re an instant favorite—easy to make and impossible to resist. So go ahead, grab those Oreos, and start creating your own batch today!
“`