Arepas (Venezuela / Colombia) Recipe
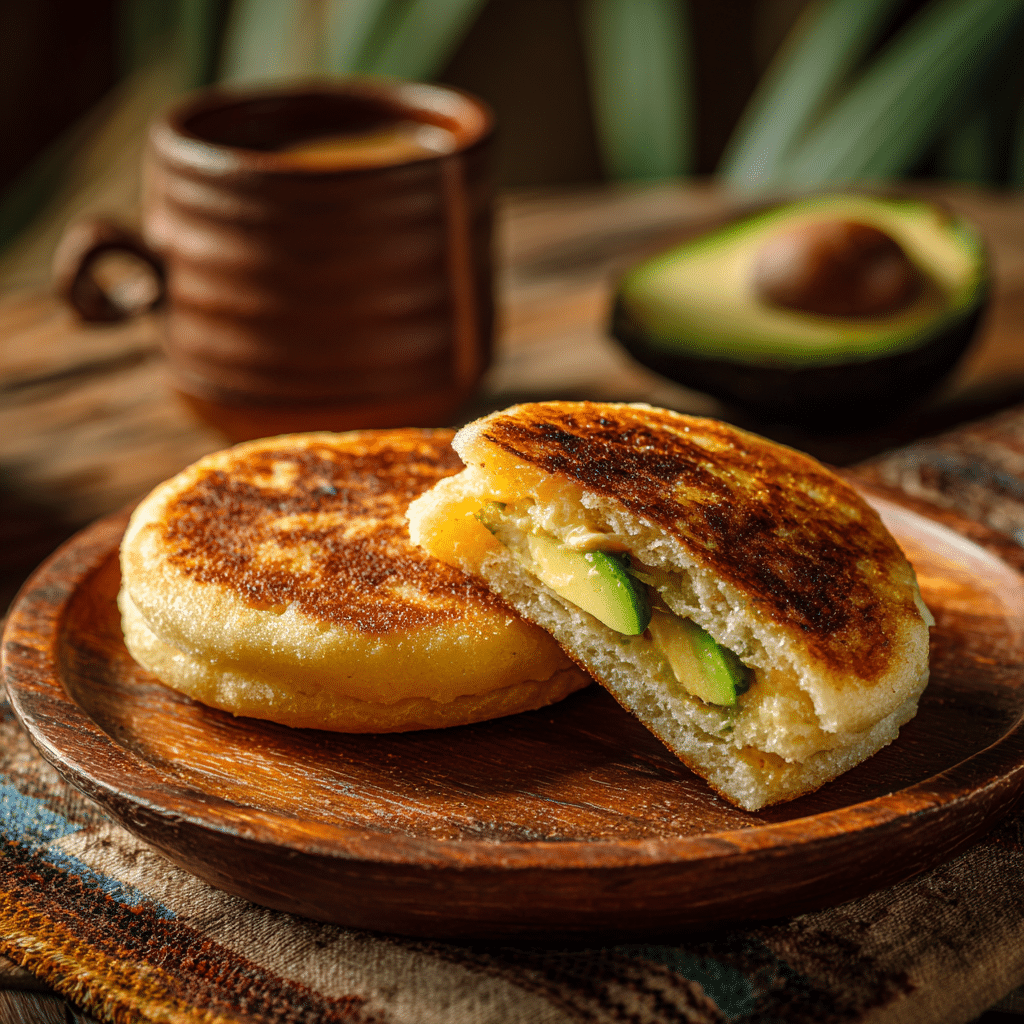
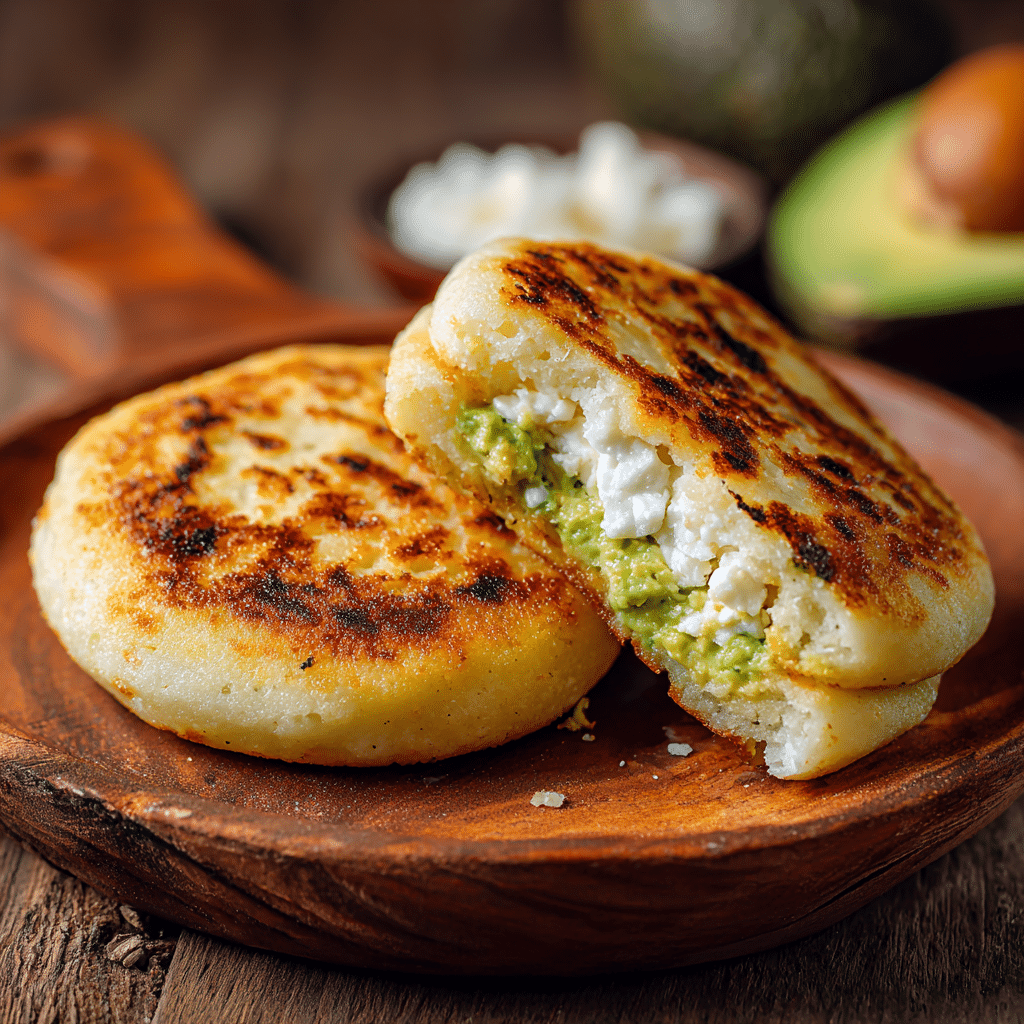
There’s something irresistibly comforting about Arepas (Venezuela / Colombia), those golden corn cakes that boast a crisp, delicate crust and a pillowy soft center. This humble dish, made simply from precooked corn flour, warm water, oil, and salt, is a true staple in Venezuelan and Colombian kitchens. Whether you enjoy them plain or stuffed with rich, melty cheese or creamy avocado, these arepas promise a beautiful balance of texture and flavor that’s deeply satisfying any time of day. Sharing this recipe feels like passing along a little piece of vibrant South American tradition that everyone deserves to experience.
Ingredients You’ll Need
To make Arepas (Venezuela / Colombia), you really only need a few straightforward ingredients, but each one plays a vital role in delivering that perfect texture and flavor. From the corn flour that forms the base to the pinch of salt that enhances the taste, these essentials come together simply yet beautifully.
- Precooked corn flour (masarepa): This is the heart of the arepa, giving it its distinctive corn flavor and soft but sturdy texture.
- Warm water: Used to bring the dough together gently, warm water helps the flour absorb moisture evenly and creates the perfect pliable dough.
- Oil: Just a tablespoon adds richness and helps develop that irresistible golden crust when cooking.
- Salt: A small touch to enhance the overall flavor and balance the sweetness of the corn.
How to Make Arepas (Venezuela / Colombia)
Step 1: Prepare the Dough
Combine the warm water and salt in a large bowl, stirring to dissolve the salt first. Gradually add the precooked corn flour, mixing with your hands or a spoon until it forms a smooth dough without lumps. Let it rest for a few minutes so the flour fully absorbs the water—this resting step is crucial to ensure your arepas hold together well and don’t crack when cooking.
Step 2: Shape the Arepas
Divide the dough into six equal portions. Roll each portion into a ball and then gently flatten it into a patty that’s about ½ to ¾ inch thick. The size and thickness will determine the cooking time, so aim for uniform pieces to cook evenly. If the dough feels a bit dry, wet your hands lightly to smooth out cracks.
Step 3: Cook Until Golden
Heat a non-stick skillet or griddle over medium heat and add a little oil to coat the surface. Place the arepas in the pan, and cook for about 6 to 7 minutes on each side. You’re looking for a beautiful golden crust with some gentle crispiness while keeping the inside soft and tender. Patience here pays off to achieve the perfect texture contrast.
How to Serve Arepas (Venezuela / Colombia)
Garnishes
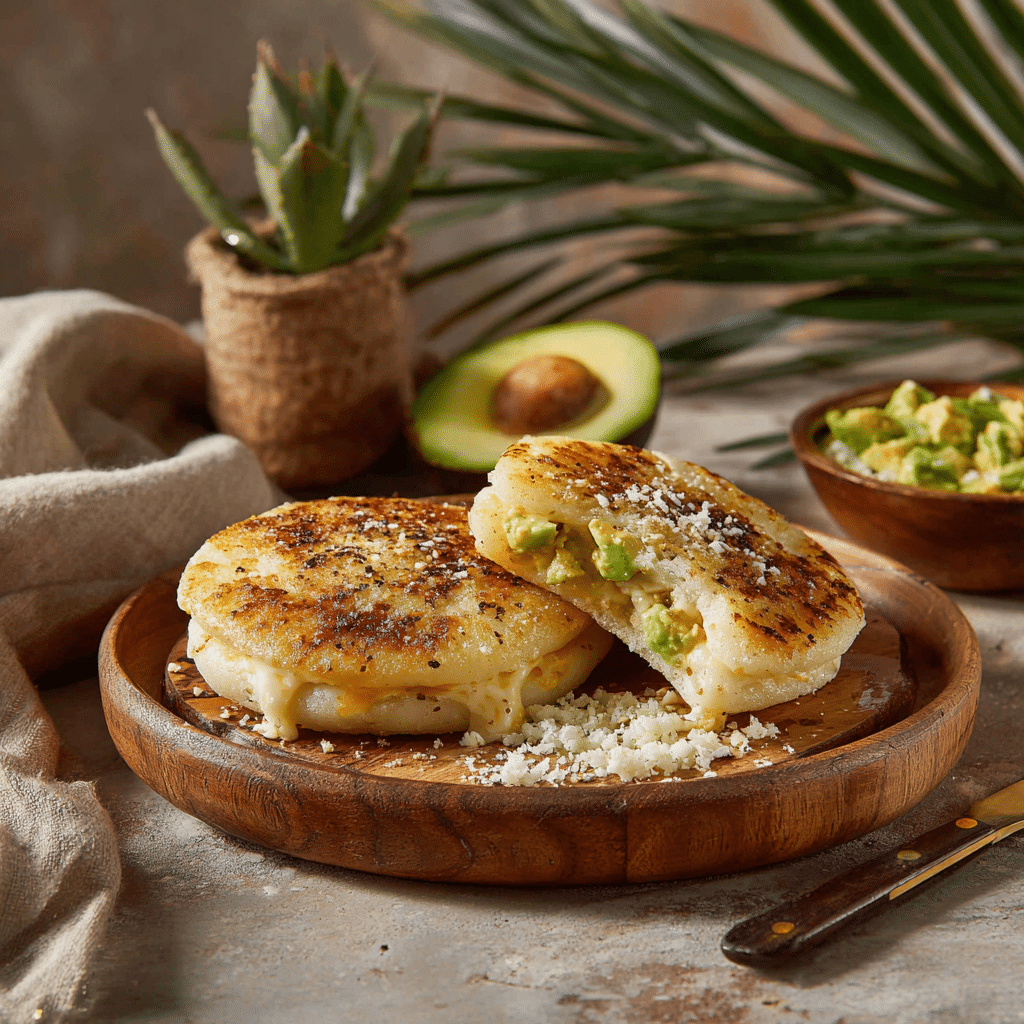
Once cooked, you can enjoy Arepas (Venezuela / Colombia) simply as they are or split them open like little corn pockets to stuff with your favorite fillings. Melty cheese is a classic choice, offering a delicious creamy contrast. Avocado slices add a fresh, buttery richness, while sour cream or a tangy salsa can brighten every bite beautifully.
Side Dishes
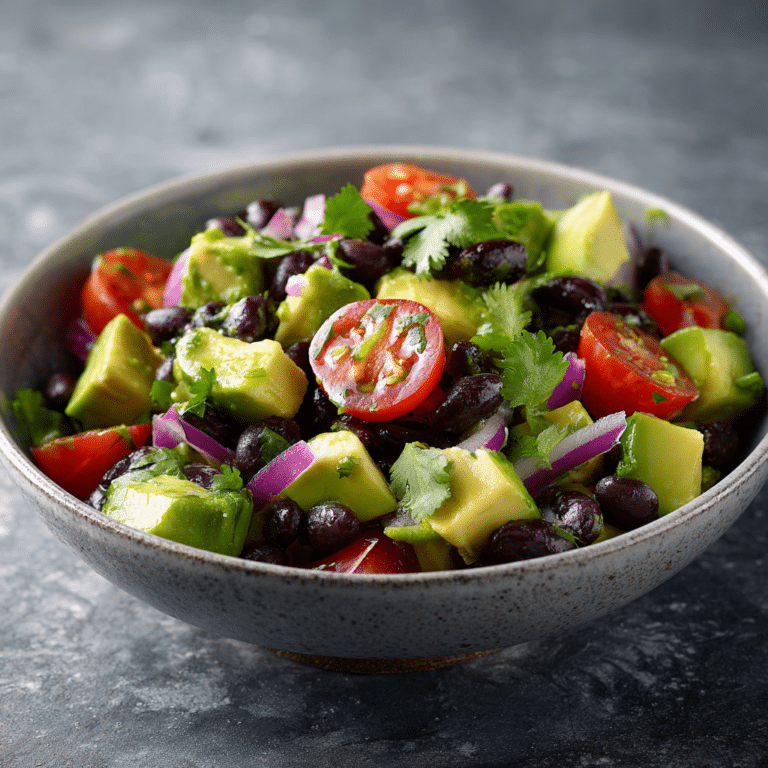
Arepas pair wonderfully with traditional Latin American accompaniments like black beans, shredded beef, or a fresh tomato and onion salad. These sides add layers of texture and flavor that complement the subtle corn base perfectly, turning a simple snack into a hearty meal.
Creative Ways to Present
Get creative by topping your arepas with eggs and spicy sauces for a brunch twist, or fill them with pulled pork or chicken for a satisfying lunch or dinner. You can even experiment with sweet fillings like Nutella or honey and cheese for a fun, unexpected dessert version. The versatility of Arepas (Venezuela / Colombia) means they can easily become the star at any table or occasion.
Make Ahead and Storage
Storing Leftovers
If you have leftover arepas, let them cool completely before placing them in an airtight container. They will keep well in the refrigerator for up to 3 days, allowing you to enjoy their deliciousness beyond the initial meal time without losing much of their texture.
Freezing
Arepas freeze beautifully, which makes them perfect for meal prep. Wrap each cooled arepa in plastic wrap or foil, then place in a freezer bag. Properly stored, they can last up to 2 months without sacrificing flavor or texture.
Reheating
To reheat, simply toast them in a toaster oven or warm them on a skillet over medium heat until the crust crisps up again and the inside softens. Avoid microwaving if you want to maintain that original crispy exterior—reheating on the stove or oven retains the best texture and flavor.
FAQs
What kind of corn flour is best for making Arepas (Venezuela / Colombia)?
You want to use precooked corn flour, often labeled as masarepa or harina precocida. This flour is essential because it cooks quickly and binds well with water, unlike regular cornmeal.
Can I make arepas without oil?
While oil helps form a golden crust and adds flavor, you can cook arepas in a non-stick skillet without oil for a lighter version. Just be aware the crust may not be as crispy or richly flavored.
How thick should I make my arepas?
About ½ to ¾ inch thick is ideal. Thinner arepas cook faster and get crispier, while thicker ones remain softer inside, so adjust according to your texture preference.
Are Arepas (Venezuela / Colombia) gluten-free?
Yes! Since they are made from precooked corn flour, they’re naturally gluten-free, making them perfect for those with gluten sensitivities or celiac disease.
What are traditional fillings for arepas?
Classic fillings include shredded cheese, black beans, avocado, shredded beef, or chicken. But feel free to get creative with your own favorite ingredients for a personalized twist!
Final Thoughts
There’s no denying the warmth and simplicity of these golden corn cakes, and once you try Arepas (Venezuela / Colombia), they quickly become a beloved staple. They are straightforward to make yet endlessly versatile, perfect for breakfast, lunch, dinner, or a snack. So go ahead, try this recipe, and bring a little bit of South American sunshine to your kitchen—it’s a culinary hug you won’t want to miss.