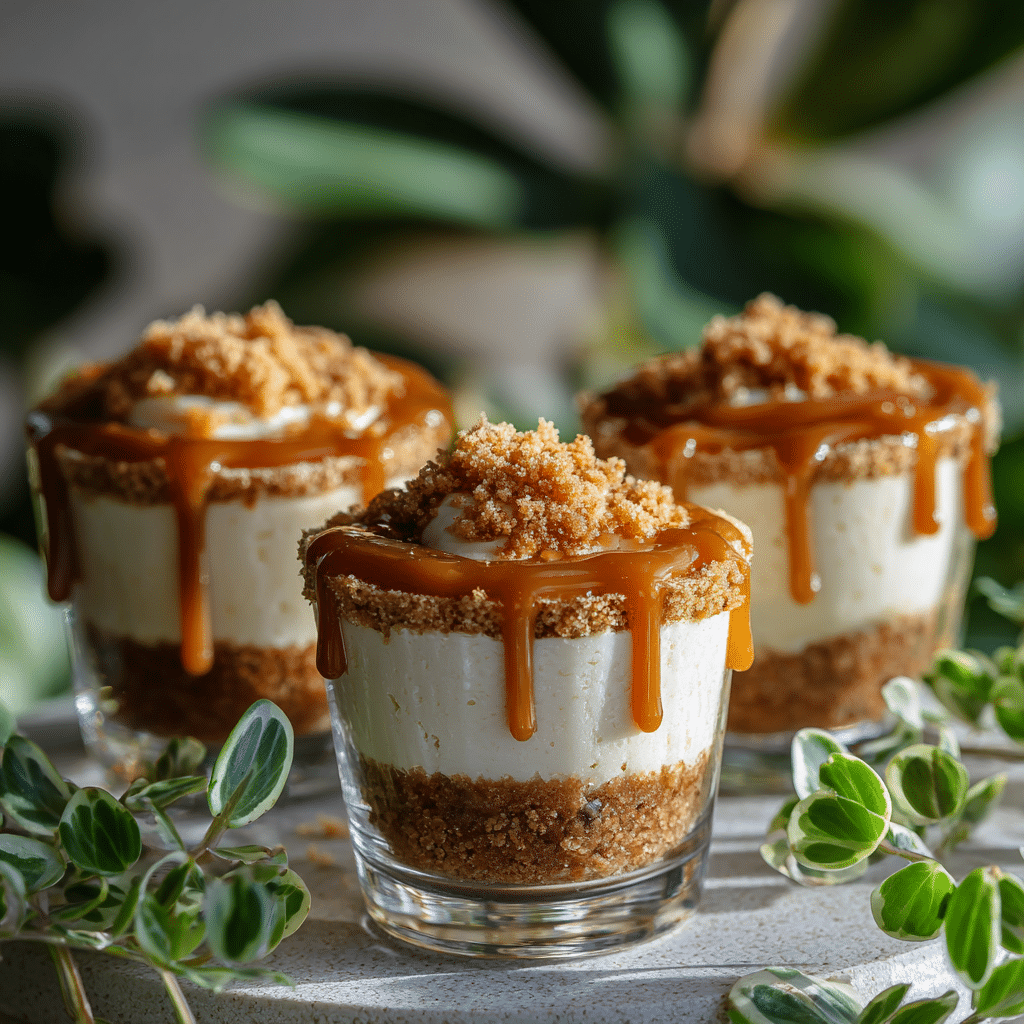
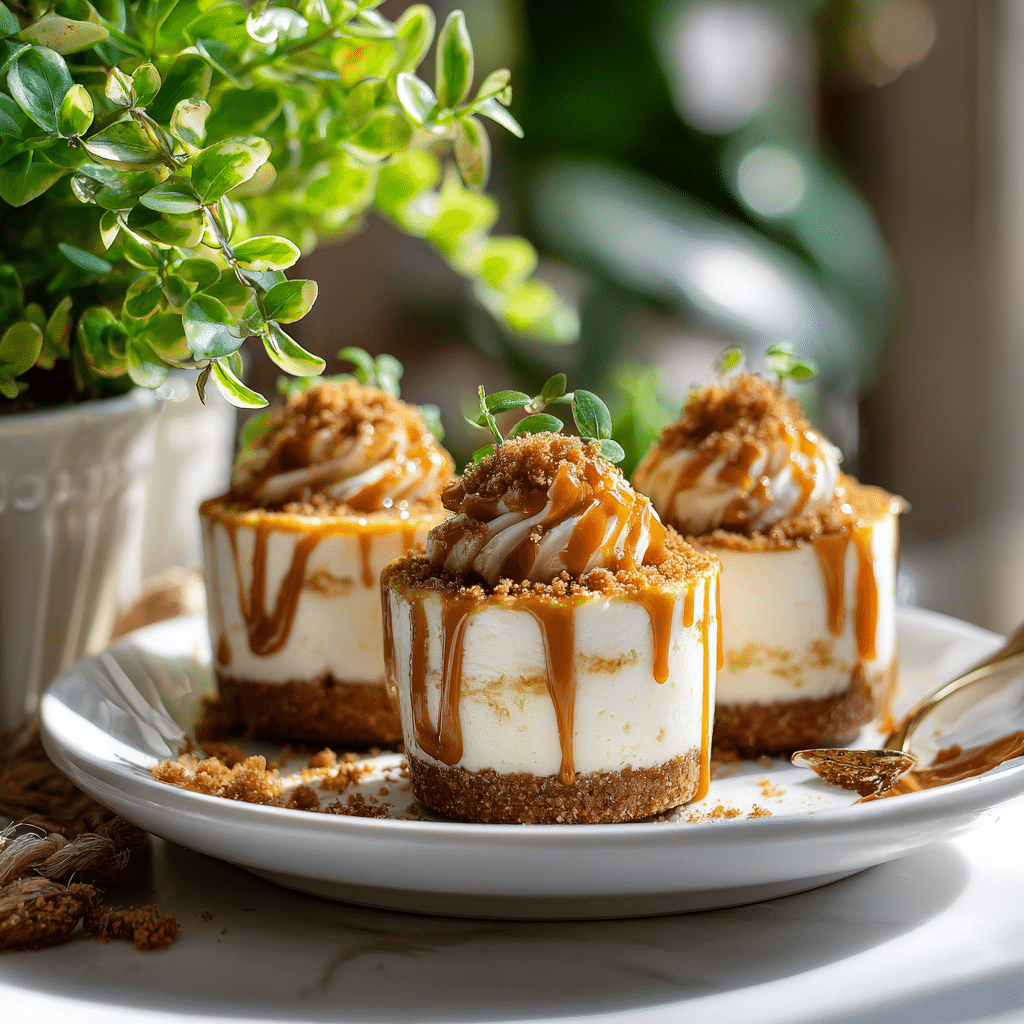
Biscoff Cheesecake Cups
There’s something truly magical about these Biscoff Cheesecake Cups that just pulls you in from the very first bite. Imagine mini cheesecakes bursting with the warm, caramelized spice of Biscoff spread paired with the velvety smoothness of cream cheese, all perfectly layered over a crunchy base of crushed Biscoff cookies. These little cups of joy are rich yet light, and their simple ingredients come together in a way that feels both indulgent and comforting. If you’re looking for a dessert that’s quick to whip up but feels like a special treat, Biscoff Cheesecake Cups are absolutely the answer.
Ingredients You’ll Need
These ingredients are straightforward and pantry-friendly, but each plays a crucial role in creating the luscious texture and irresistible flavor of your Biscoff Cheesecake Cups. From the creamy tang of the cream cheese to the sweet, spiced notes of the Biscoff spread, every element is a star in its own right.
- Biscoff spread: The heart of the recipe, it adds that signature caramelized flavor and creamy richness.
- Cream cheese: Provides the silky, tangy base that balances the sweetness perfectly.
- Biscoff cookies, crushed: Gives a satisfyingly crunchy texture and deepens the cookie flavor in the base.
- Sugar: A touch to ensure the sweetness is just right without overpowering the other flavors.
How to Make Biscoff Cheesecake Cups
Step 1: Create the Cookie Base
Start by crushing the Biscoff cookies finely — you want small, crumbly pieces that will form a solid, textured base for the cheesecake cups. Layer these crushed cookies evenly at the bottom of your serving cups to create that perfect crunch foundation. Don’t rush this part; a well-packed base sets the tone for the whole dessert.
Step 2: Mix the Cheesecake Filling
Next, take your softened cream cheese and blend it thoroughly with the Biscoff spread and sugar. The mixture should be smooth, creamy, and perfectly combined without any lumps. This is where the magic happens: the sweet, spiced Biscoff melds with the tangy cream cheese to give the cheesecake filling its unforgettable flavor.
Step 3: Layer the Cups
Spoon the creamy cheesecake mixture over the crushed cookie base in your cups. Depending on your preference, you can create distinct layers or gently swirl the filling with the cookie crumbs for a marbled effect. The visual appeal here is just as delightful as the taste.
Step 4: Chill to Set
Place your assembled cups in the fridge for at least two hours. This chilling step allows the flavors to meld and the texture to firm up, giving you that perfect fork-friendly consistency. Trust me, patience here makes all the difference in the world.
How to Serve Biscoff Cheesecake Cups
Garnishes
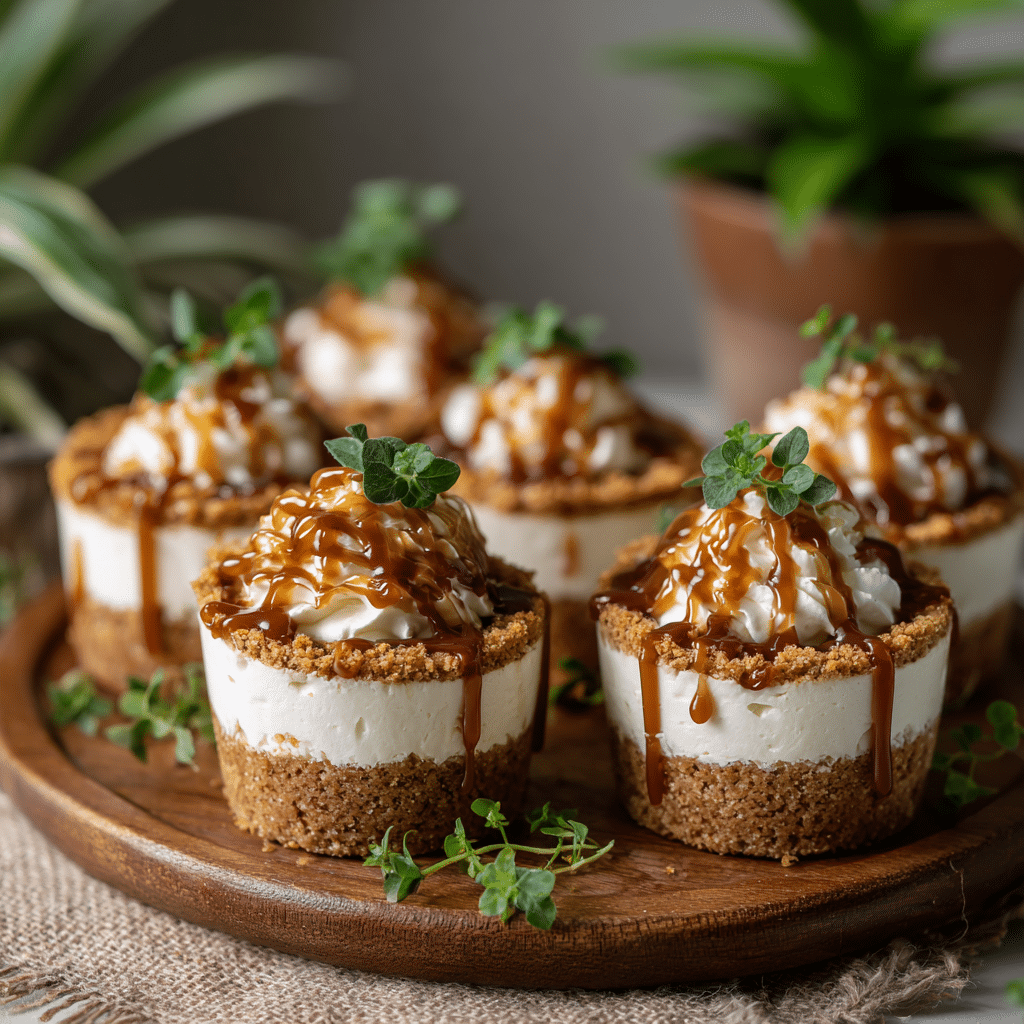
Adding a small sprinkle of crushed Biscoff cookies on top or a delicate swirl of extra Biscoff spread can elevate the presentation and add a satisfying finishing touch. A few shavings of white chocolate or a tiny mint leaf can bring a fresh contrast that’s both pretty and palate-pleasing.
Side Dishes
These cheesecake cups shine beautifully on their own, but if you want to complement them, consider a side of fresh berries or a dollop of whipped cream for a light, fruity contrast. They also pair wonderfully with a cup of rich espresso or spiced chai tea to round out your dessert experience.
Creative Ways to Present
To impress your guests, serve Biscoff Cheesecake Cups in charming mini mason jars or even delicate glass teacups for a vintage vibe. Layering can be experimented with too — try alternating cookie and cheesecake layers more than once to create an intricate striped look that will wow everyone at the table.
Make Ahead and Storage
Storing Leftovers
Keep any remaining Biscoff Cheesecake Cups refrigerated in an airtight container. They stay deliciously creamy and fresh for up to three days, making them perfect for a quick dessert to enjoy later without losing their wonderful texture or flavor.
Freezing
If you want to prepare these cups well in advance, they freeze nicely. Just cover them tightly with plastic wrap or aluminum foil and pop them in the freezer for up to one month. When you’re ready to indulge, thaw them in the fridge overnight to regain that luscious, creamy consistency.
Reheating
Since these are chilled desserts, reheating isn’t recommended as it will alter the texture. Instead, serve them straight from the refrigerator or after thawing if frozen, to keep that perfect balance of creamy and crunchy that makes Biscoff Cheesecake Cups so irresistible.
FAQs
Can I use regular peanut butter instead of Biscoff spread?
You could, but peanut butter has a very different flavor profile and will change the dessert’s taste significantly. Biscoff spread brings a unique caramelized and spiced sweetness that peanut butter just doesn’t replicate.
How do I soften cream cheese quickly?
The easiest way is to leave it out at room temperature for 30 to 60 minutes before mixing. Alternatively, you can microwave it in short bursts of 10 seconds, checking often to avoid melting.
Can I make this vegan or dairy-free?
Yes! Substitute cream cheese with vegan cream cheese alternatives and ensure your Biscoff spread doesn’t contain dairy. This way, you can still enjoy the fantastic flavors of Biscoff Cheesecake Cups without any dairy.
Is it possible to double this recipe for a larger crowd?
Absolutely! The recipe scales up nicely. Just make sure to use larger containers or more serving cups, and allow adequate chilling time to accommodate the increased volume.
What’s the best way to crush the cookies?
Place the cookies in a zip-top bag and gently crush them with a rolling pin or use a food processor for a quicker method. Aim for a mix of fine crumbs with some small chunks for texture.
Final Thoughts
Once you try these Biscoff Cheesecake Cups, you’ll find it hard not to keep coming back for more. They combine ease, elegance, and extraordinary flavor in one little cup, making them the perfect dessert for both casual family dinners and special occasions. So grab your ingredients, have fun layering those luscious flavors, and treat yourself and your friends to a dessert that’s as exciting to make as it is to eat!