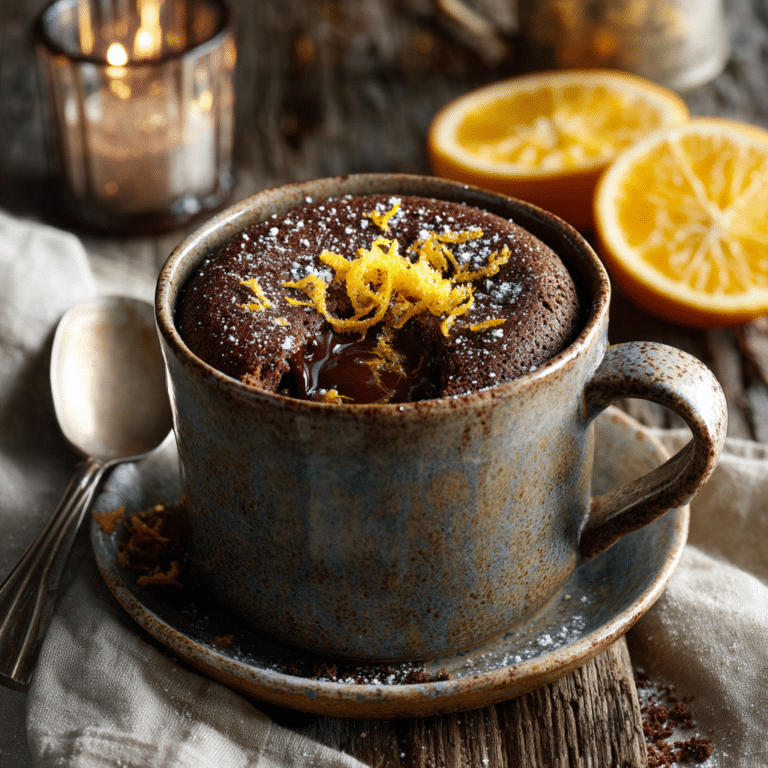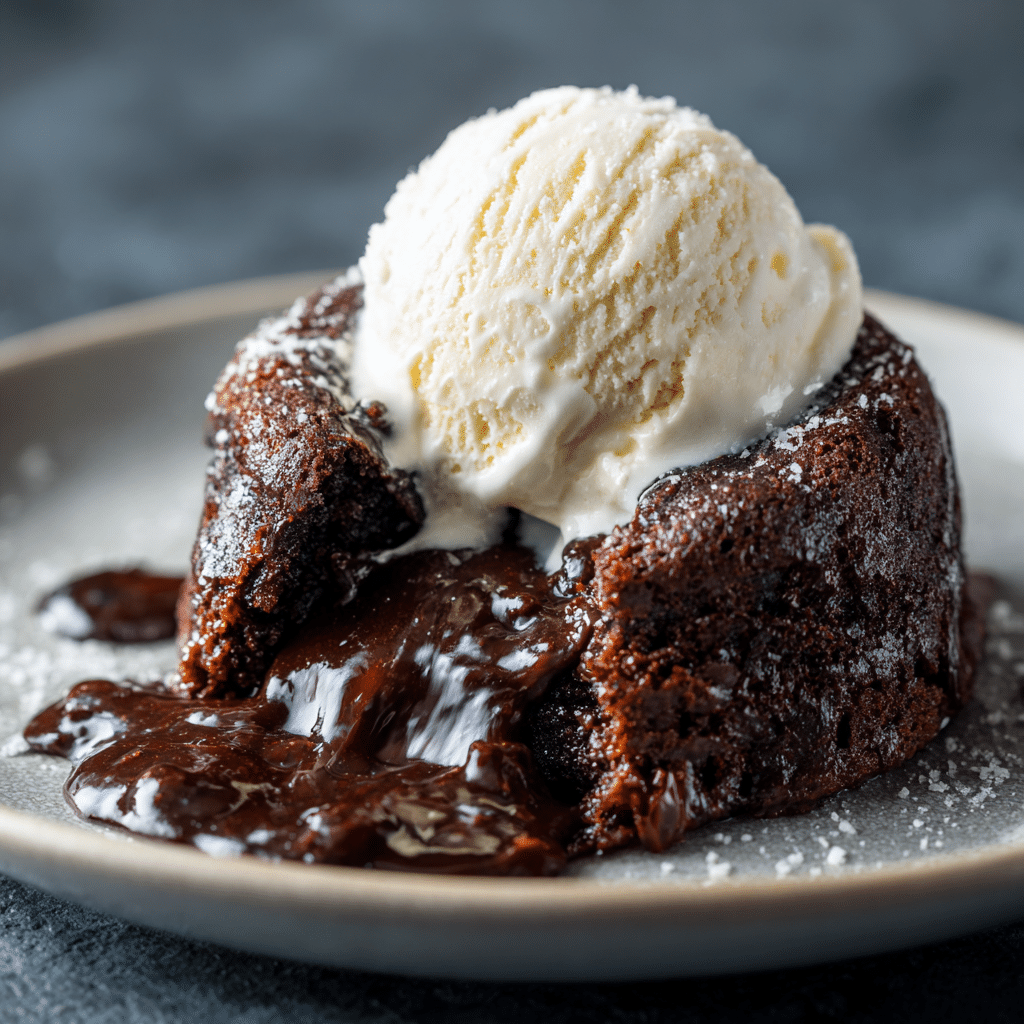
Chocolate Lava Cake Recipe
There’s something utterly magical about a Chocolate Lava Cake that makes it the ultimate indulgence for any chocolate lover. Imagine slicing into a warm, delicate cake only to have molten, gooey chocolate ooze out in the most tempting way. With its rich, velvety texture and beautiful balance of sweetness, this dessert feels elegant enough for a special occasion but is surprisingly simple to whip up at home. Whether you’re looking to impress guests or treat yourself to a cozy night in, this classic French-inspired delight never fails to deliver pure joy.
Ingredients You’ll Need
Making a perfect Chocolate Lava Cake is all about fresh, quality ingredients that work together to create its signature rich flavor and silky texture. Each component plays a crucial role, from the intense dark chocolate to the light eggs that give the cake its tender crumb and molten center.
- 100 g dark chocolate: Provides deep, intense cocoa flavor and the luscious molten core.
- 1/2 cup butter: Adds richness and helps create a smooth, velvety batter.
- 2 eggs + 2 egg yolks: Enhance the cake’s structure while keeping it soft and moist inside.
- 1/4 cup sugar: Balances the bitterness of the chocolate with just the right sweetness.
- 1/4 cup flour: Gives the cake just enough body without weighing down the lava flow.
- Pinch of salt: Elevates all the flavors and cuts through the richness beautifully.
How to Make Chocolate Lava Cake
Step 1: Melt the Chocolate and Butter
Begin by gently melting the dark chocolate with the butter until silky and smooth. You can do this over a double boiler or in short bursts in the microwave, stirring frequently to prevent any burning. This mixture forms the gooey heart of your Chocolate Lava Cake, so smoothness is key.
Step 2: Whisk Eggs and Sugar
In a separate bowl, whisk together the whole eggs and egg yolks with the sugar until the mixture becomes pale, slightly thickened, and fluffy. This step introduces air, which gives the cake that wonderfully light texture surrounding the molten middle.
Step 3: Combine and Fold Ingredients
Carefully fold the melted chocolate-butter mixture into the egg and sugar blend, then gently sift in the flour along with a pinch of salt. Folding is a delicate process here to keep the batter airy while evenly incorporating the ingredients that create the perfect balance between cake and lava.
Step 4: Prepare Ramekins and Bake
Grease individual ramekins thoroughly to make sure the cakes release easily after baking. Pour the batter into the ramekins, filling them about three-quarters full. Bake in a preheated oven at 400°F (200°C) for about 12 minutes. You’ll want the edges set but the centers still soft and gooey — that moment marks the divine molten lava inside.
How to Serve Chocolate Lava Cake
Garnishes
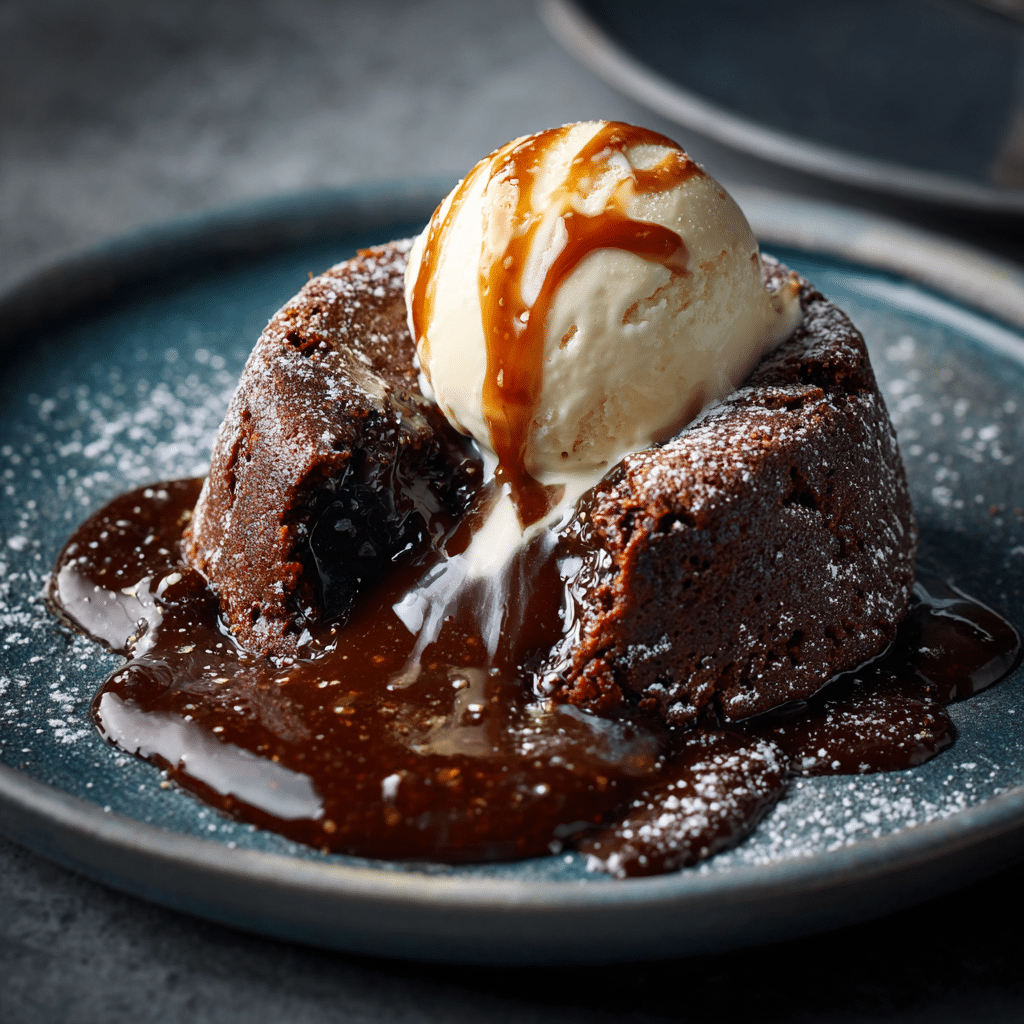
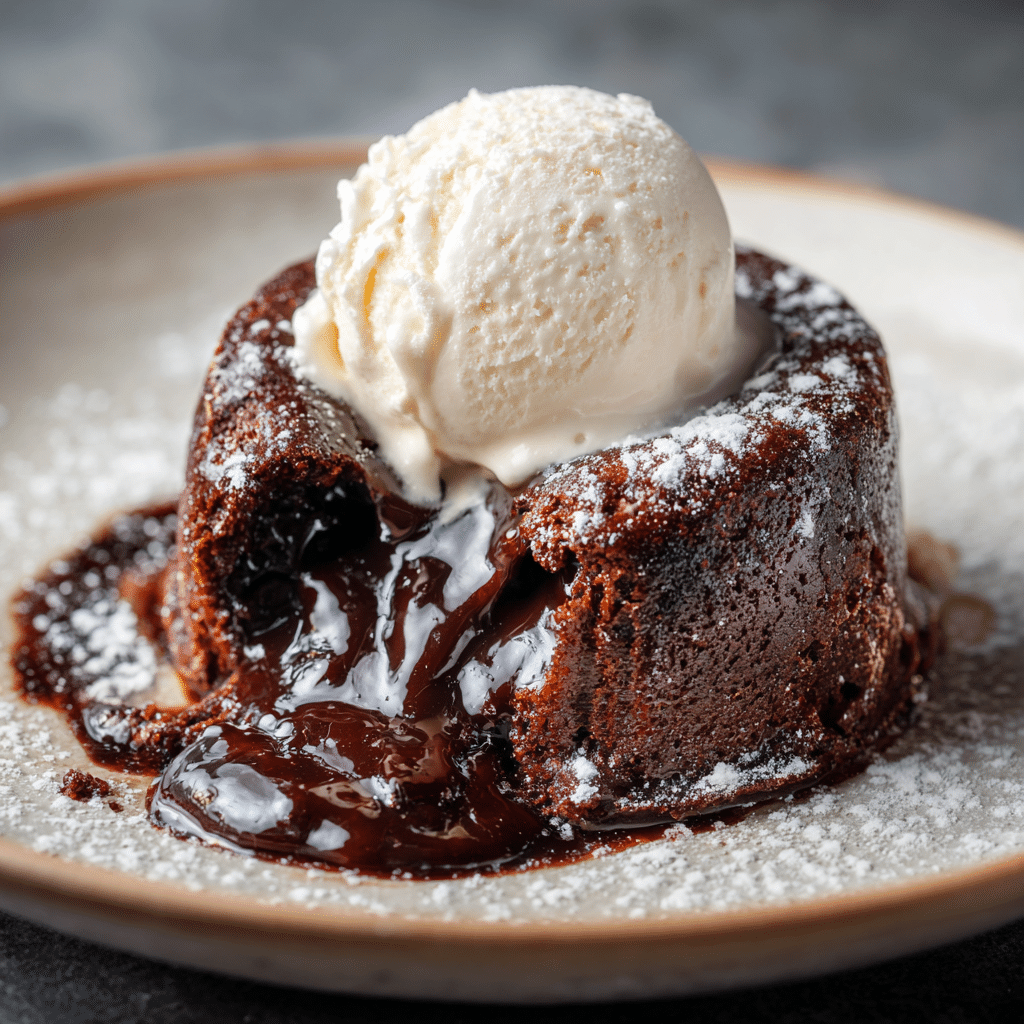
Enhance the look and flavor of your Chocolate Lava Cake with a dusting of powdered sugar or a scoop of vanilla ice cream. A sprinkle of fresh berries or a sprig of mint brings a refreshing contrast, making every bite irresistible and Instagram-worthy.
Side Dishes
While the cake itself is the star, pairing it with a side helps complete the experience. Try serving it with fresh whipped cream, a caramel drizzle, or a handful of toasted nuts to add texture and extra decadence alongside the molten centers.
Creative Ways to Present
For a fun twist, serve your Chocolate Lava Cake in espresso cups or mini mason jars for a cute, rustic feel. You can also add edible gold leaf or a few chili flakes on top for a gourmet surprise that elevates this classic dessert to restaurant-quality elegance.
Make Ahead and Storage
Storing Leftovers
Chocolate Lava Cake is best enjoyed fresh while the center is molten. If you have leftovers, store them in an airtight container in the refrigerator, but be aware that the lava center will firm up and lose its signature gooey texture.
Freezing
You can freeze unbaked batter poured into ramekins. Wrap them tightly with plastic wrap and foil, then freeze for up to one month. When ready to bake, do so directly from frozen, adding a few extra minutes to the baking time until the edges are set.
Reheating
To bring back some of the molten magic after refrigeration, microwave the cake for 15 to 20 seconds until warm but not hot. This quick heat-up softens the center again, giving you a near-fresh experience with every slice.
FAQs
Can I use milk chocolate instead of dark chocolate?
Milk chocolate can be used, but it will make the cake sweeter and less intense. Dark chocolate provides that perfect bittersweet depth that balances the richness of the butter and sugar, so it’s best for authentic flavor.
Why is my chocolate lava cake not gooey inside?
This usually happens if it’s baked too long or the oven temperature is too low. Keep a close eye during baking and remove the cakes when the edges are set but the centers still wobble slightly. Timing is everything for that flowing center.
Can this recipe be made gluten-free?
Absolutely! Substitute the all-purpose flour with a gluten-free flour blend. Just make sure it’s a blend that can provide structure, like almond flour combined with tapioca starch, to keep the cake tender yet stable.
Is it better to use ramekins or muffin tins?
Ramekins are preferred because their smooth sides help the cakes release effortlessly, and their heat conduction is ideal for even baking. Muffin tins can be used but often don’t produce the same elegant shape or molten effect.
How do I make the cake ahead for a dinner party?
Prepare the batter and fill the ramekins in advance, then cover and refrigerate for up to 24 hours. When your guests arrive, pop them straight into the oven and serve immediately for a stunning, fresh dessert.
Final Thoughts
If there’s one dessert that truly warms the heart and indulges the senses, it’s the Chocolate Lava Cake. Its rich, molten center and tender cake exterior bring a touch of elegance without fuss, making it perfect for any occasion. Trust me, once you’ve tasted that first spoonful of warm, flowing chocolate, you’ll be hooked for life. So, grab your ingredients, preheat that oven, and treat yourself to this heavenly delight—you won’t regret it!