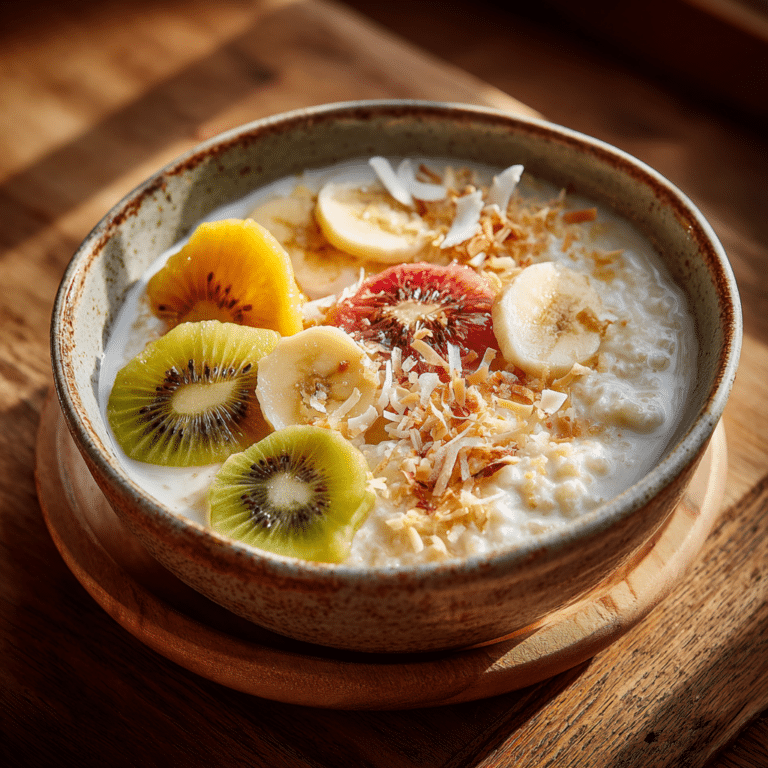
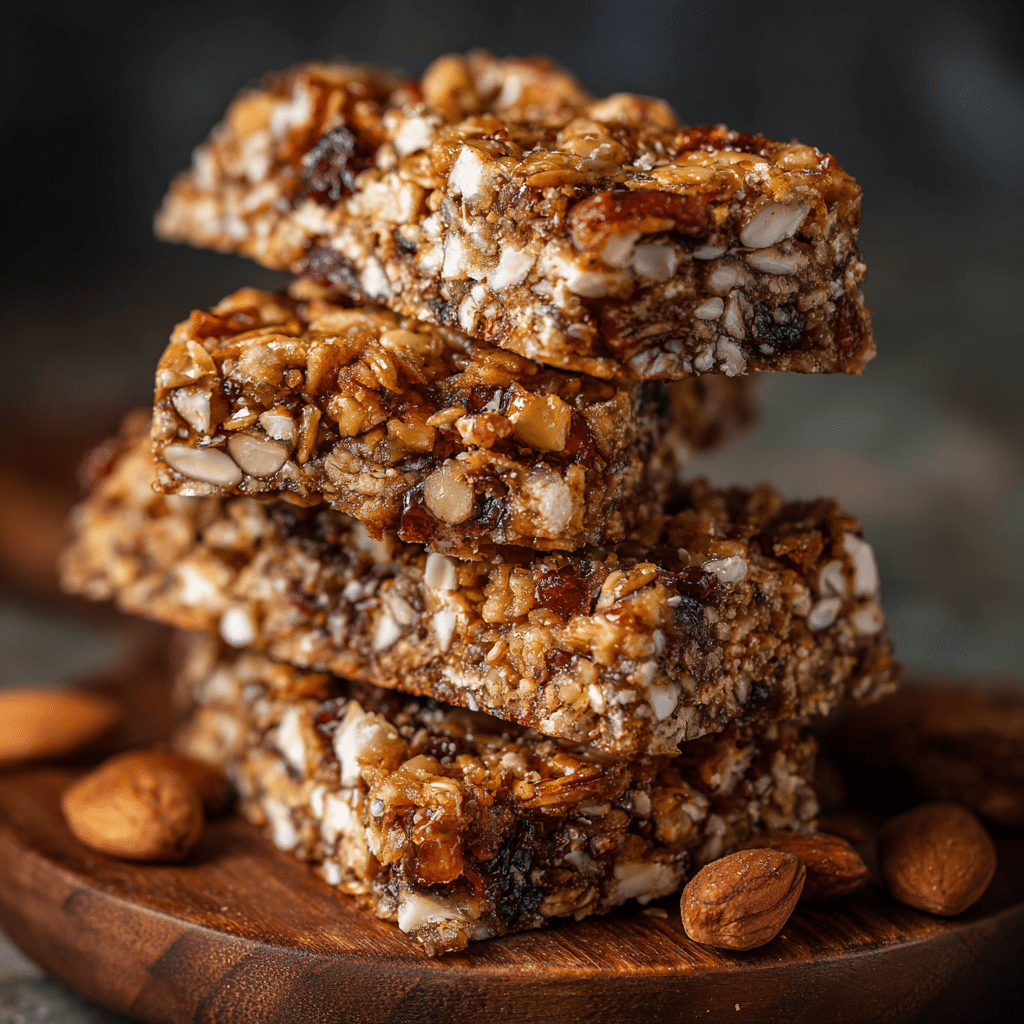
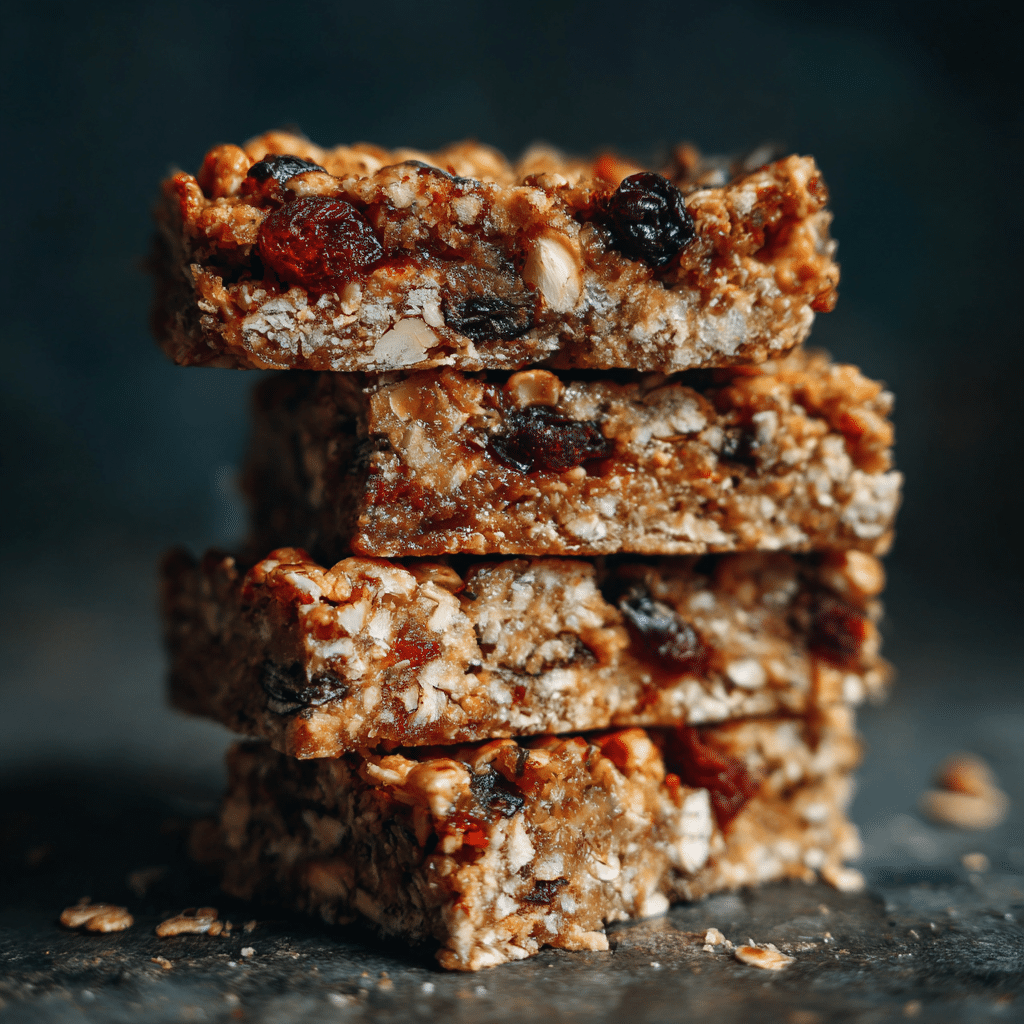
Chewy Granola Bars Recipe
If you’re craving a snack that perfectly balances wholesome goodness with delicious chewiness, these Chewy Granola Bars will quickly become your go-to treat. They’re wonderfully simple to make, wonderfully customizable to your taste, and packed with the kind of satisfying texture that keeps you coming back for one more bite. Whether you need a quick breakfast, an energizing afternoon snack, or a portable treat to fuel your adventures, these bars deliver on every front with their perfect blend of oats, nuts, dried fruit, and a sticky, sweet binder that holds everything together in chewy, irresistible harmony.
Ingredients You’ll Need
This recipe relies on simple, staple ingredients that work together beautifully to create great taste and texture. Each component plays its part in creating those perfect Chewy Granola Bars that are just as nutritious as they are delicious.
- Oats (1 1/2 cups): The hearty base for texture and fiber, giving the bars their satisfying chew.
- Puffed rice cereal (1/2 cup): Adds a light, airy crunch that balances the chewiness.
- Nuts (1/2 cup, sliced almonds recommended): Provide a delightful crunch and nutty flavor, plus healthy fats and protein.
- Dried fruit (1/2 cup, apples or your favorite variety): Infuses sweetness and chewiness, adding bursts of natural flavor.
- Ground cinnamon (1/2 teaspoon): Brings warmth and subtle spice that enhances all the flavors.
- Honey (1/3 cup): A natural sweetener that helps bind everything together while adding moistness.
- Brown sugar (1/4 cup, loosely packed): Adds depth and richness to the sweetness.
- Nut butter (1/4 cup, almond butter suggested): Contributes creaminess and helps create that chewy texture.
- Kosher salt (1/2 teaspoon): Balances sweetness and rounds out the flavors.
- Vanilla extract (1/2 teaspoon): Lends a fragrant, sweet aroma that makes these bars irresistible.
How to Make Chewy Granola Bars
Step 1: Prepare Your Pan
Start by lightly misting a 9 by 9-inch square pan with non-stick spray to prevent sticking. Then line it with parchment paper, making it extra easy to lift out your bars once they’re set.
Step 2: Mix the Dry Ingredients
In a large bowl, combine the oats, puffed rice cereal, nuts, dried fruit, and ground cinnamon. Stir them together until everything is evenly distributed—you want every bite to have a bit of everything!
Step 3: Heat the Wet Ingredients
In a small pot over medium-low heat, add the honey, brown sugar, nut butter, and kosher salt. Stir gently as you heat until the mixture starts to simmer. Keep it at a gentle boil for about one minute so it thickens slightly and becomes beautifully sticky.
Step 4: Add the Finishing Touch
Remove the pot from heat and stir in the vanilla extract. This little addition will elevate your Chewy Granola Bars with a wonderful aroma and depth of flavor.
Step 5: Combine Wet and Dry Mixtures
Immediately pour the hot liquid mixture over your dry ingredients, then stir thoroughly. This is what gives your bars that perfect chewy texture, as the warm honey and nut butter marry every ingredient together.
Step 6: Press and Chill
Transfer the sticky mixture into your prepared pan and press it down firmly and evenly. Don’t be shy—packing it tightly will help your bars hold their shape. Allow it to cool and set for about one hour at room temperature.
Step 7: Cut into Bars
Once cool, lift out the entire slab using the parchment edges and place it on a cutting board. Slice into 12 generous bars and get ready for a snack that everyone will love.
How to Serve Chewy Granola Bars
Garnishes
If you want to dress up your Chewy Granola Bars, drizzle some melted dark chocolate on top or sprinkle with toasted coconut flakes for an extra layer of flavor and texture. A light dusting of sea salt can also enhance the sweetness beautifully.
Side Dishes
These bars shine on their own, but pairing them with a creamy yogurt or a fresh fruit salad adds a refreshing contrast, making your snack even more satisfying and well-rounded.
Creative Ways to Present
Try wrapping individual bars in parchment tied with rustic twine for a charming homemade gift. Or stack them in a mason jar layered with fresh berries for a quick grab-and-go breakfast option that feels special.
Make Ahead and Storage
Storing Leftovers
Keep your Chewy Granola Bars fresh by storing them in an airtight container at room temperature. They stay perfectly chewy and delicious for up to a week, making for a convenient snack anytime.
Freezing
If you want to keep them longer, wrap each bar individually in plastic wrap and freeze. They can last up to 3 months frozen and thaw quickly when taken out.
Reheating
For a warm treat, briefly microwave a bar for about 10 seconds or so. This softens the nut butter just a bit, enhancing the chewiness and flavor.
FAQs
Can I use different nuts in Chewy Granola Bars?
Absolutely! Walnuts, pecans, or even chopped peanuts work wonderfully. Just choose your favorite and chop them to your preferred size for the ideal crunch.
Is it possible to make these bars gluten-free?
Yes, just make sure to use certified gluten-free oats and puffed rice cereal. This way, you can enjoy your Chewy Granola Bars without worry.
How can I customize the sweetness level?
You can tweak the amount of honey and brown sugar to suit your taste, or even swap honey for maple syrup for a different flavor twist.
Can I add chocolate chips to the recipe?
Definitely! Stir in some mini chocolate chips right after mixing the wet and dry ingredients for pockets of melty chocolate goodness in every bar.
What’s the best way to prevent the bars from crumbling?
Pressing the mixture firmly into the pan and letting the bars cool completely before slicing is key. This ensures they hold together beautifully.
Final Thoughts
Once you try these Chewy Granola Bars, I promise they’ll become a beloved staple in your kitchen. They are easy to make, delightfully flavorful, and endlessly adaptable, perfect for fueling your days with a wholesome treat. So grab your ingredients, give this recipe a whirl, and enjoy every delicious bite!