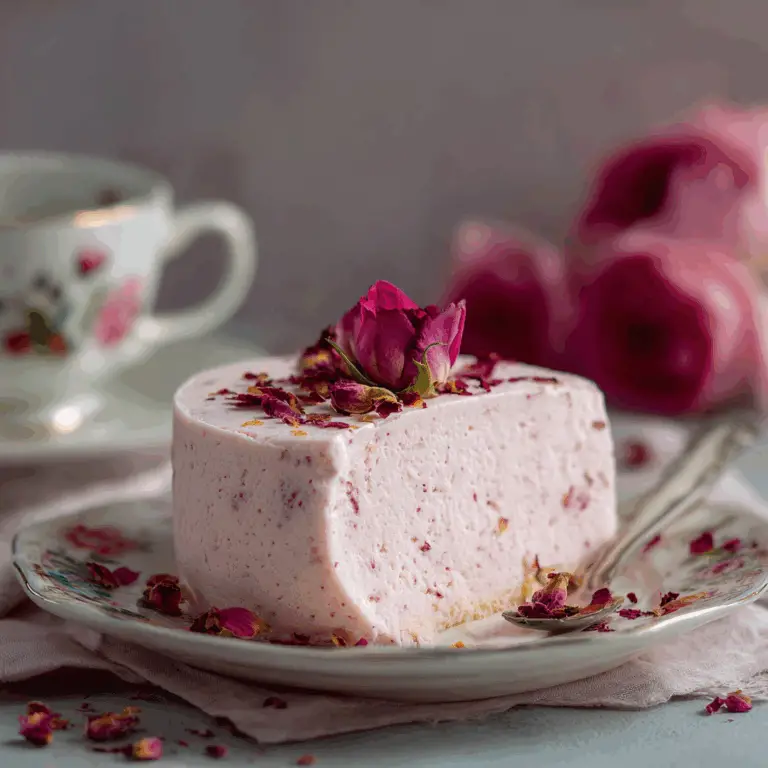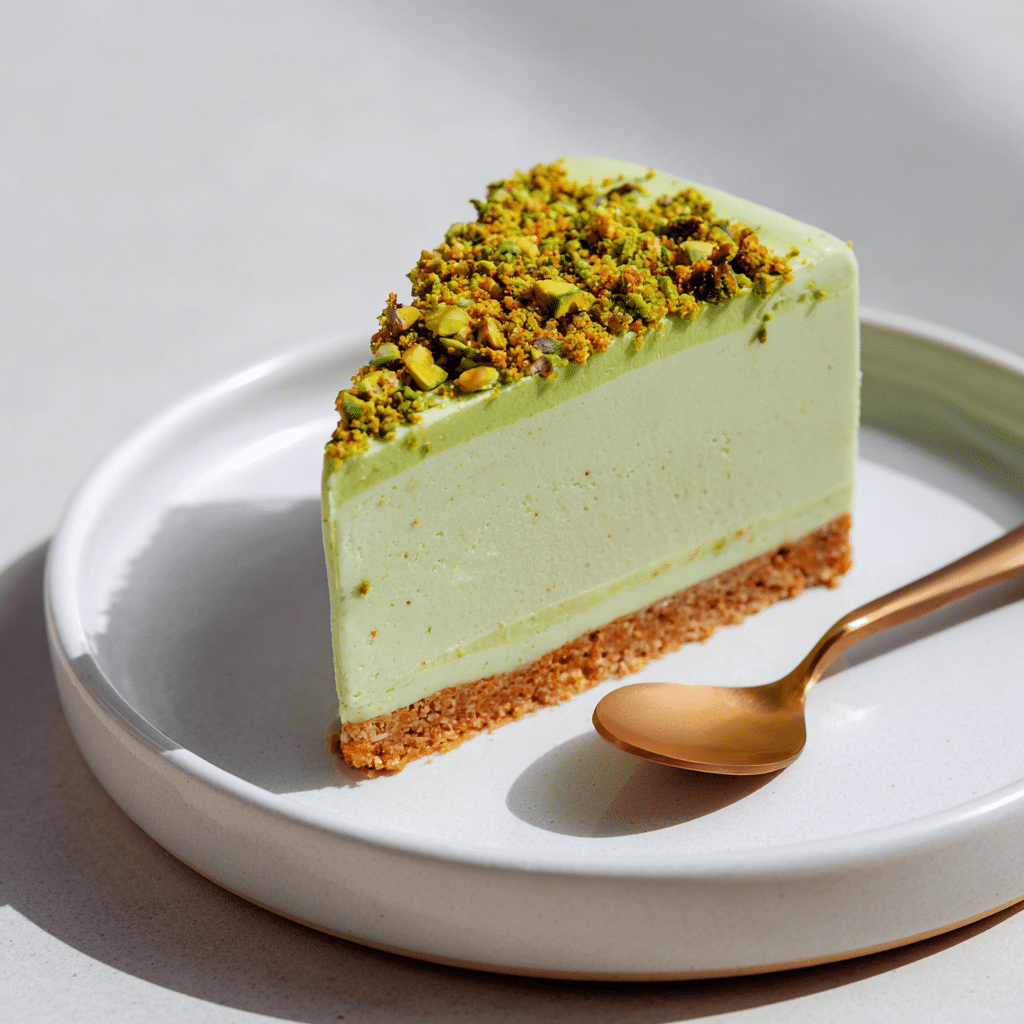
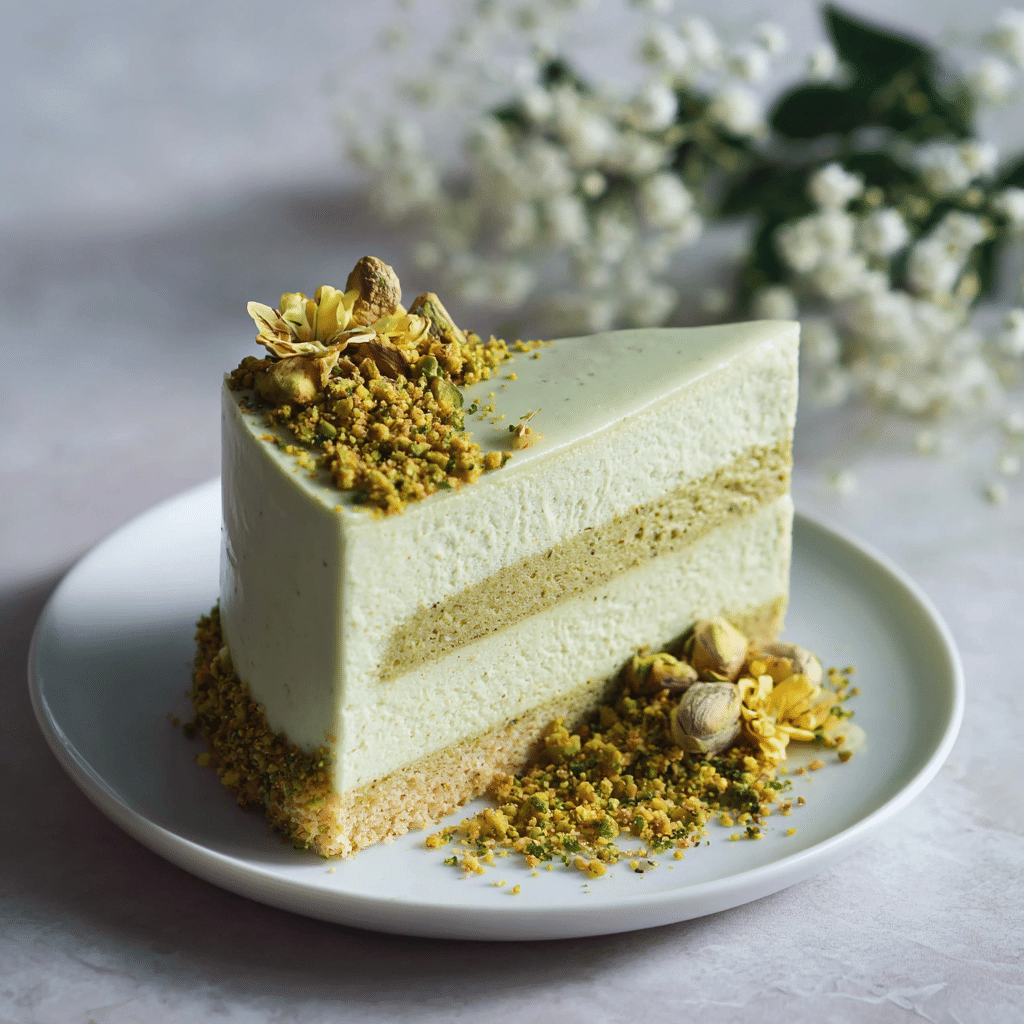
Vegan Pistachio Mousse Cake Recipe
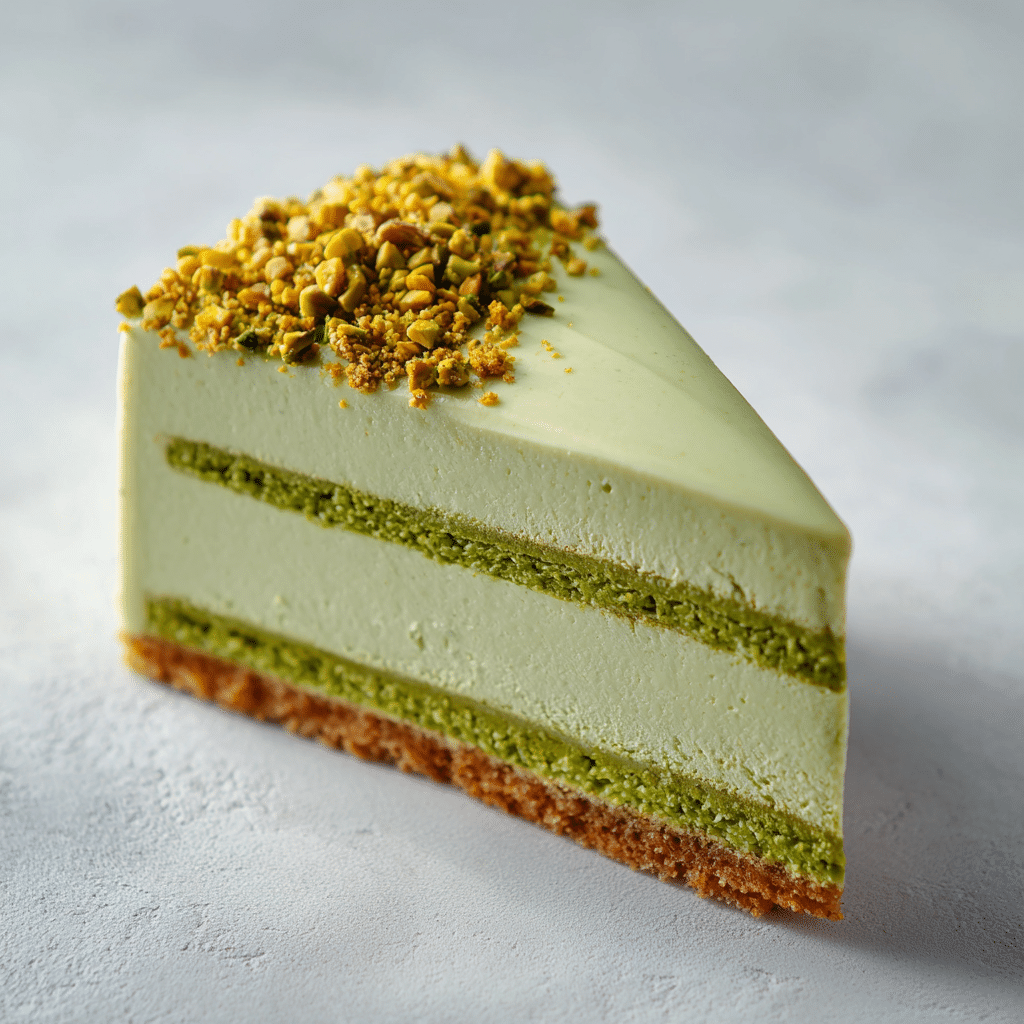
If you’ve been searching for a dessert that feels both indulgent and refreshingly light, then the Vegan Pistachio Mousse Cake will absolutely steal your heart. This cake is a breathtaking combination of a moist, nutty pistachio sponge, layered with silky dairy-free chocolate and luscious pistachio mousse, finished with a delicate white cream layer. It’s completely free from eggs and dairy yet packed with creaminess and flavor that will impress guests and delight vegans and non-vegans alike. Whether for a special occasion or just a treat to brighten your day, this cake’s dreamy texture and nutty charm will quickly make it your new favorite dessert.
Ingredients You’ll Need
Making this Vegan Pistachio Mousse Cake requires simple ingredients that each play an important role—bringing flavor, structure, and that creamy joy we all crave in a mousse cake. From the nutty pistachios and dairy-free milks to the plant-based creams and chocolate, every item contributes to the cake’s irresistible balance of taste and texture.
- Dairy-free milk (240ml): Provides the liquid base; soya milk works best for its creamy consistency.
- Apple cider vinegar (1 tsp): Transforms the milk into vegan buttermilk, helping the sponge rise and stay tender.
- Self-raising flour (210g): Forms the light and fluffy structure of the cake.
- Caster sugar (150g): Sweetens the batter without overpowering the pistachio flavor.
- Baking powder & bicarbonate of soda (1/2 tsp each): Help the sponge rise perfectly.
- Sunflower oil (60ml): Adds moisture and keeps the texture soft and springy.
- Pistachio nuts (80g, chopped or ground): Give the cake that beautiful nutty aroma and crunch.
- Vegan double cream (660ml total): Used in all mousse and cream layers for rich, dairy-free creaminess.
- Dairy-free dark chocolate (150g): Provides the intense, smooth chocolate layer that pairs wonderfully with pistachios.
- Dairy-free butter (80g): Enhances the chocolate mousse with richness and silkiness.
- Pistachio cream (about 4 tbsp): Brings a luscious, nutty flavor to the mousse and the decorative top layer.
- Additional chopped pistachios (50g): For finishing touches and added texture on top.
How to Make Vegan Pistachio Mousse Cake
Step 1: Prepare the Moist Pistachio Sponge
Start by preheating your oven and lining your 8-inch tin to ensure even baking and easy release. Creating vegan buttermilk by mixing dairy-free milk with apple cider vinegar is essential — this helps the sponge turn out tender and perfectly risen. Mix dry ingredients in a separate bowl before combining wet ingredients to get a smooth batter without lumps. Folding in ground pistachios adds an irresistible nutty texture. Pour the batter into the tin, tap to release any trapped air, and bake until a skewer comes out clean and the sponge feels springy.
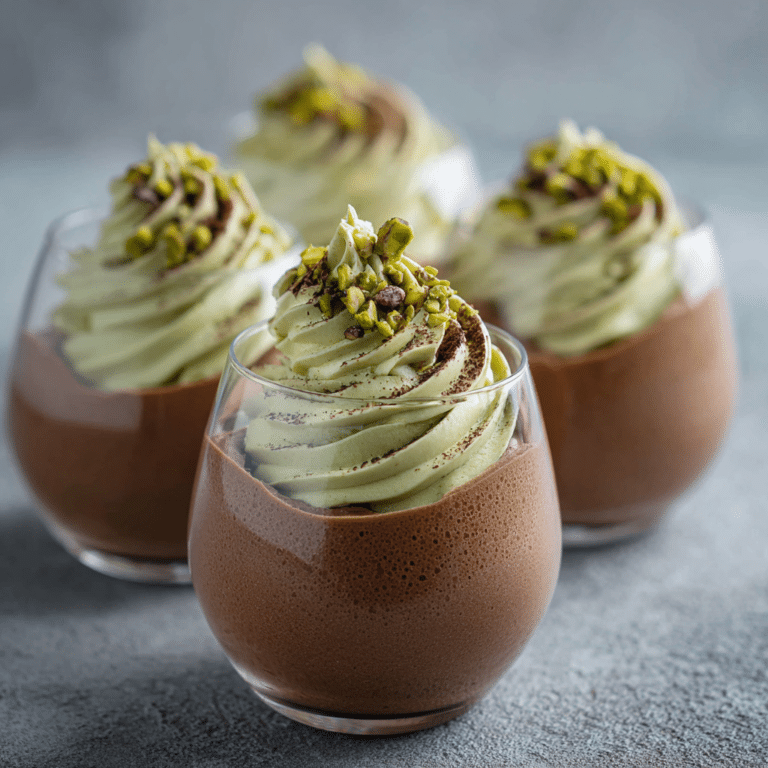
Step 2: Whip Up the Decadent Chocolate Mousse
While the sponge cools, prepare the chocolate mousse layer. Using a bain-marie, gently melt the dairy-free dark chocolate with butter to retain that velvety texture. Whip the vegan double cream until it holds a stiff peak; this is the secret to creating a light yet rich mousse. Fold the melted chocolate mixture into the whipped cream gently but thoroughly, preserving that airy consistency. Spread this luscious layer evenly over the cooled sponge and chill to set for a smooth transition to the next layer.
Step 3: Create the Nutty Pistachio Mousse Layer
Next, combine vegan double cream and pistachio cream and whip until thick and stiff. This step is where the cake truly gets its signature flavor punch. Spoon the pistachio mousse gently atop the chocolate layer and smooth it out for an even spread. This layer ties the whole cake together with its delicate nutty flavor and creamy texture that melts in your mouth.
Step 4: Add the Light White Cream Layer
Finish the layering with a plain white cream made by whipping double cream and a bit of pistachio cream, lending a subtle vanilla flavor and extra richness. This final mousse layer balances the intense chocolate and pistachio flavors below. Decorate using a piping bag filled with pistachio cream to create elegant feathered designs on the top, then scatter chopped pistachios for natural beauty and crunch. Chill the entire cake overnight to allow the flavors to meld and the layers to fully set.
How to Serve Vegan Pistachio Mousse Cake
Garnishes
To elevate the serving presentation, scatter a handful of chopped or roughly ground pistachios over the top for visual appeal and a satisfying nutty bite. You can also drizzle extra pistachio cream for an indulgent touch. Fresh edible flowers or a sprinkle of powdered sugar are charming additions if you want to impress guests with minimal effort.
Side Dishes
This cake pairs beautifully with tangy fresh berries, such as raspberries or strawberries, which cut through the richness and add vibrant color. A simple cup of rich espresso or herbal tea complements the nutty and chocolate notes perfectly for a delightful afternoon treat or after-dinner dessert.
Creative Ways to Present
For something playful, serve the Vegan Pistachio Mousse Cake in individual glass jars layered with crushed pistachio biscuits for added texture. Alternatively, slice into elegant wedges and drizzle with warmed vegan white chocolate sauce or pistachio syrup to wow your guests. A few mint leaves on top add a refreshing contrast and brighten the look.
Make Ahead and Storage
Storing Leftovers
This cake holds up wonderfully when stored properly—keep it covered in an airtight container in the fridge to maintain its mousse texture and freshness. The mousse layers benefit from chilling, which helps them retain structure, so always store the slices cold before serving to preserve that creamy bliss.
Freezing
If you need to freeze the Vegan Pistachio Mousse Cake, wrap individual slices tightly in plastic wrap and place them in a sealed container or freezer bag. This method keeps the flavors intact, though the mousse texture may slightly soften upon thawing. For best results, thaw overnight in the fridge before serving.
Reheating
Since this is a mousse cake, reheating is not recommended. It’s best enjoyed chilled straight from the fridge — the creamy layers and mousse set wonderfully cold, and warming would alter the texture and flavor balance.
FAQs
Can I use other nuts instead of pistachios in this cake?
Absolutely! While pistachios are the star here, you can experiment with almonds or hazelnuts for a different twist. Just keep in mind that the final flavor and color will change to reflect the nut you choose.
What vegan substitutes work best for the double cream used in the recipe?
Coconut-based or soy-based double creams whip up beautifully and mimic the richness needed for the mousse layers. The Coconut Collaborative brand mentioned in the recipe is a great choice, but any quality vegan whipping cream will do.
Is this cake suitable for nut allergies?
Unfortunately, no. Pistachios and other nuts are essential to the cake’s flavor and texture, so this dessert isn’t suitable for anyone with nut allergies.
How long does it take to prepare this cake including chilling?
The active preparation takes about an hour, but the cake needs to chill overnight to set properly. Planning ahead is key to enjoying the perfect texture and melding of flavors.
Can I make this cake gluten-free?
Yes, by swapping the self-raising flour with a gluten-free blend that includes a raising agent, you can make this cake gluten-free. However, texture might be slightly different, so choose a quality gluten-free flour designed for baking.
Final Thoughts
Making this Vegan Pistachio Mousse Cake is like gifting yourself a moment of pure, plant-based indulgence. The combination of light pistachio sponge, rich chocolate mousse, and creamy pistachio layers expresses comfort and elegance all at once. Whether you’re sharing it with friends or savoring a slice solo, I promise this cake will quickly become a staple in your dessert collection. Dive in, have fun creating it, and most importantly, enjoy every delicious bite!