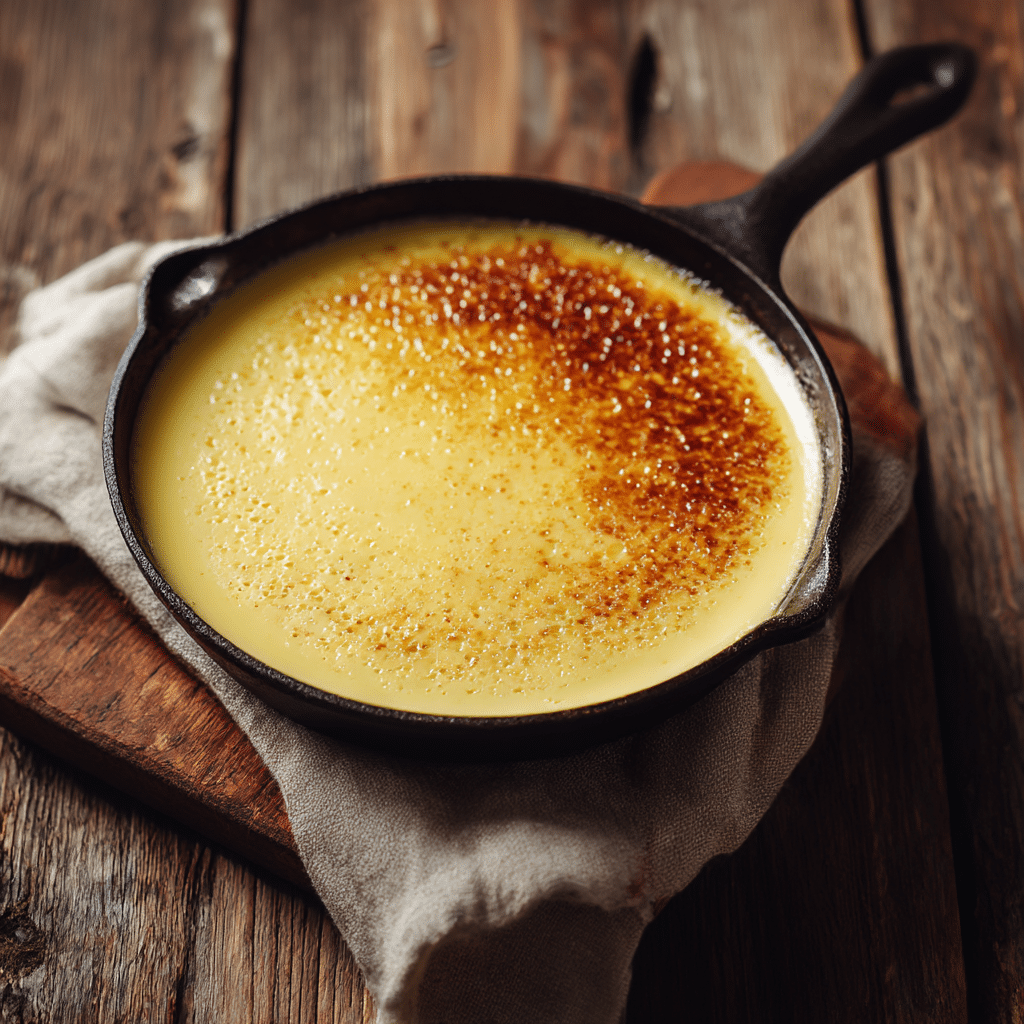
Warm Vanilla Custard Skillet Recipe
If you’ve ever dreamed of a dessert that feels like a cozy hug on a chilly evening, then you’re in for a real treat with this Warm Vanilla Custard Skillet. Picture this: a luscious, silky smooth custard with just the right amount of sweetness, slowly cooked in one pan and served warm enough to melt your heart. Its soft jiggle invites you to dive right in, making every spoonful a comforting little moment of pure joy. Whether you’re looking for a simple yet elegant dessert to impress or craving a nostalgic classic that wraps you in warmth, this Warm Vanilla Custard Skillet will become your new favorite go-to.
Ingredients You’ll Need
Sometimes the simplest ingredients come together to create the most magical flavors. For the Warm Vanilla Custard Skillet, each component plays a vital role in delivering that creamy, dreamy texture and delicate sweetness that defines this dessert.
- Milk: Provides the creamy base and helps achieve that smooth custard texture.
- Egg yolks: Essential for richness and creating the custard’s silky body.
- Sugar: Balances the flavors with gentle sweetness without overpowering the delicate vanilla.
- Cornstarch: Acts as the magic thickener, giving the custard its perfect consistency without needing eggs alone.
- Vanilla extract: The heart of the flavor profile, infusing the custard with warm and inviting aromas.
How to Make Warm Vanilla Custard Skillet
Step 1: Gently Heat the Milk
Begin by pouring your milk into your skillet and warming it over medium-low heat. The goal here is patience — heat the milk just enough so it’s warm and comforting, but be careful not to let it boil. This gentle warming prepares the milk to blend seamlessly into the custard mixture without causing lumps.
Step 2: Whisk Together the Yolks, Sugar, and Cornstarch
In a separate bowl, whisk the egg yolks with the sugar until they’re light and slightly thickened. Then mix in the cornstarch until smooth. This mixture forms the foundation of your custard’s creamy texture and ensures a velvety finish.
Step 3: Temper the Yolks by Slowly Adding Warm Milk
To avoid scrambling the eggs, slowly drizzle a bit of the warm milk into the yolk mixture while whisking constantly. This warming-up process, known as tempering, is crucial to achieving that flawless custard consistency later on.
Step 4: Cook Until Thick and Creamy
Pour the tempered yolk mixture back into the skillet with the remaining milk. Stir continuously over low heat. As the custard cooks, it will thicken beautifully. Keep the heat gentle and don’t rush — patience rewards you with a luscious, glossy custard that holds its shape but still jiggles gently when you move the pan.
How to Serve Warm Vanilla Custard Skillet
Garnishes
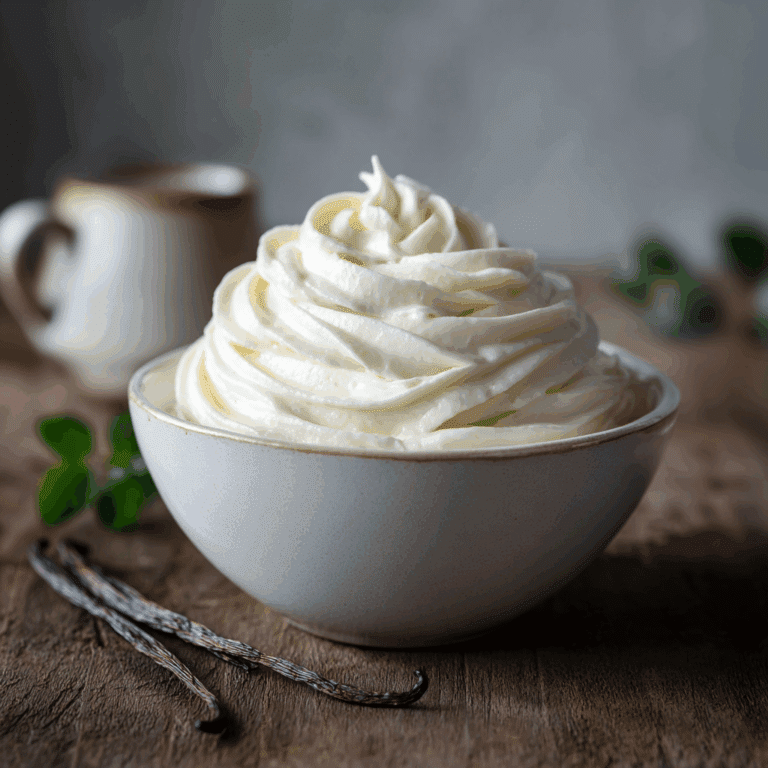
Nothing elevates a Warm Vanilla Custard Skillet like thoughtful garnishes. Fresh berries add a pop of color and a hint of tartness that contrasts perfectly with the rich custard. A sprinkle of toasted nuts brings crunch and warmth, while a dusting of cinnamon or nutmeg introduces an inviting spice note. For an elegant touch, a little whipped cream or a drizzle of caramel sauce can make your presentation shine.
Side Dishes
This custard pairs wonderfully with light accompaniments such as warm buttered toast or buttery shortbread cookies. If you want to turn it into a more substantial dessert, serve it alongside a fruit compote or poached pears. The contrast in textures and temperatures only highlights how wonderfully comforting the Warm Vanilla Custard Skillet truly is.
Creative Ways to Present
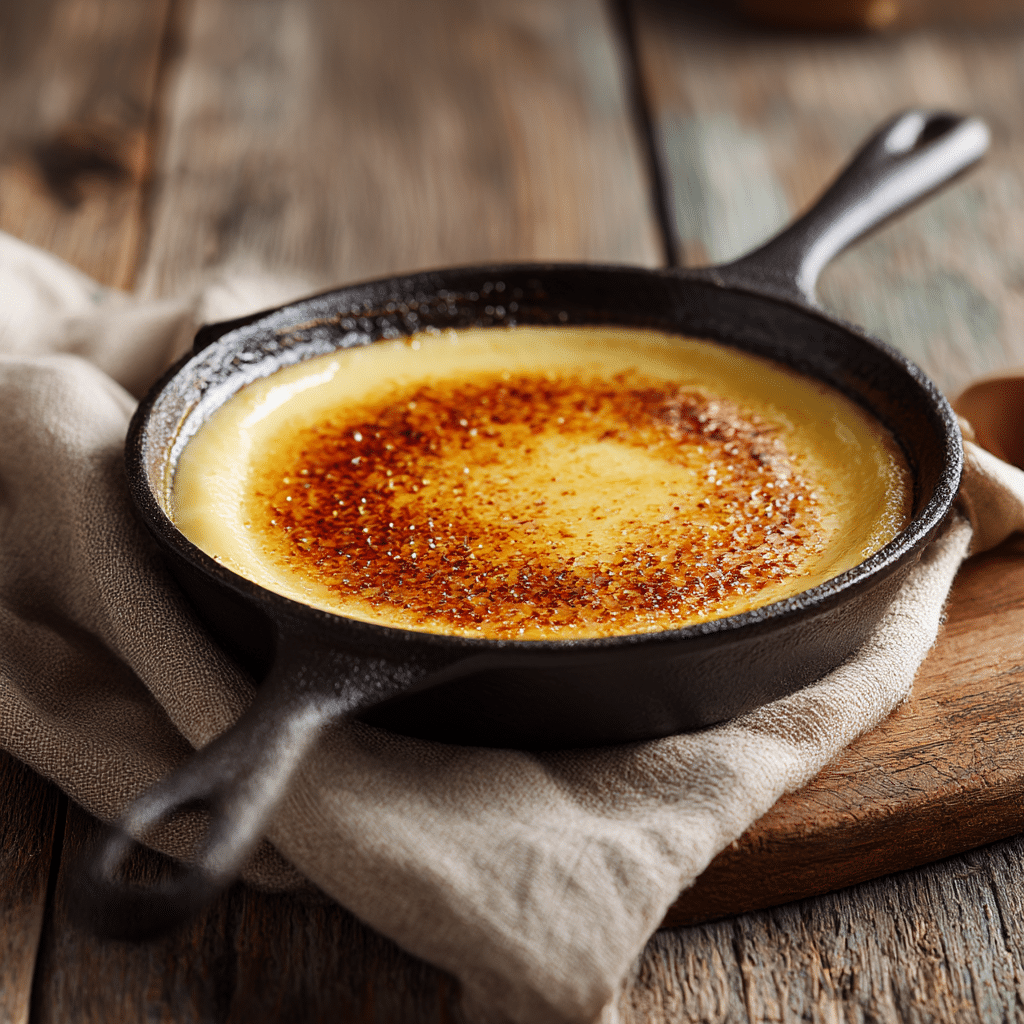
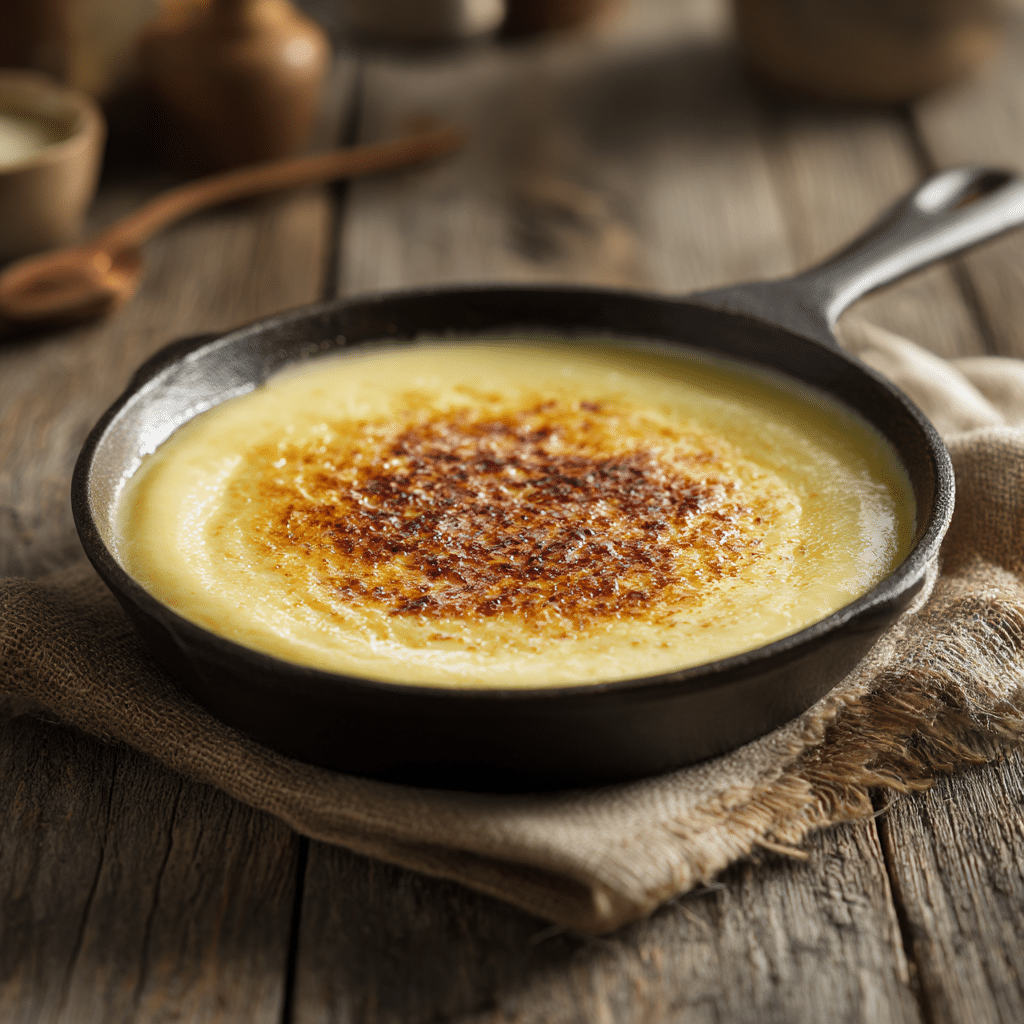
If you want to surprise your guests, try serving the custard directly from the skillet for that rustic charm. Alternatively, spoon it into small glass ramekins for a refined, individual treat. You can even add a caramelized sugar crust on top, similar to crème brûlée, for a delightful crackle before the smooth custard beneath.
Make Ahead and Storage
Storing Leftovers
If you find yourself with extra Warm Vanilla Custard Skillet (and believe me, sometimes it’s hard to resist), store it in an airtight container in the refrigerator for up to 2 days. The custard will firm up when chilled but retains all its creamy goodness.
Freezing
Freezing this custard is not ideal because the texture can change once thawed, becoming grainy or watery. For the best experience, enjoy it fresh or refrigerated rather than frozen.
Reheating
When you’re ready to enjoy your custard again, reheat it gently on the stovetop over low heat, stirring frequently. Avoid microwaving if possible, as it can cause uneven heating and curdle the custard. Aim for a warm, comforting temperature where the custard is silky and spoonable but not hot enough to cook further.
FAQs
Can I use whole eggs instead of yolks for the Warm Vanilla Custard Skillet?
While whole eggs can be used in some custard recipes, this particular Warm Vanilla Custard Skillet relies on egg yolks for richness and that luscious smooth texture. Using whole eggs may make the custard firmer and less silky.
What if I don’t have cornstarch? Can I substitute it?
Cornstarch is key for thickening without altering the flavor. You can substitute with an equal amount of all-purpose flour, but keep in mind the texture might be slightly less smooth. Arrowroot powder is another good alternative if you have it.
Why is it important not to boil the custard?
Boiling the custard can cause it to curdle and become grainy, losing that beautiful creamy texture that makes the Warm Vanilla Custard Skillet so special. Cooking gently over low heat ensures a silky, even consistency.
Can this custard be served chilled?
Absolutely! While warm custard is wonderfully comforting, chilling it transforms the texture into a firmer, almost pudding-like dessert. Just remember to cover it tightly in the fridge to avoid any skin forming on top.
How long does it take for the custard to thicken?
Once combined in the skillet and warmed on low heat, the custard usually thickens within 10 to 15 minutes. Stir consistently and be patient—it will begin to coat the back of a spoon when it’s ready.
Final Thoughts
Making a Warm Vanilla Custard Skillet at home is like crafting a little bowl of happiness that’s as simple as it is elegant. This dessert, with its velvety texture and comforting aroma, invites you to slow down and savor a sweet moment. Whether you’re sharing it with loved ones or indulging in a peaceful solo treat, I truly can’t recommend trying this recipe enough. Your spoon will thank you.