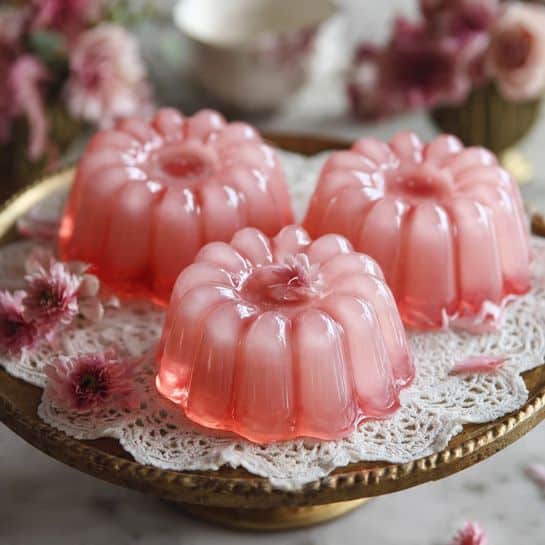
Old-Fashioned Pink Jelly Cakes Recipe
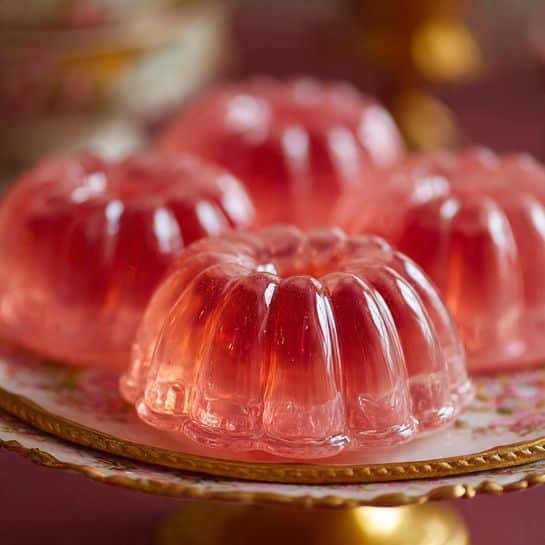
If you’re looking for a nostalgic treat guaranteed to bring a smile and a dash of vintage charm to your table, these Old-Fashioned Pink Jelly Cakes are just the ticket. Fluffy vanilla sponge cakes dipped lovingly in strawberry jelly, then rolled in coconut and filled with a cloud of whipped cream, this classic Australian dessert feels like a warm hug from the past. Whether you’re revisiting fond childhood memories or discovering these peach blossoms for the first time, every bite is a delightful reminder of simple pleasures and timeless flavors.
Ingredients You’ll Need
The magic behind these Old-Fashioned Pink Jelly Cakes starts with a handful of everyday ingredients that combine to create a spectacular texture and flavor. Each component plays a unique role, from the soft sponge base to the sweet, fruity jelly coating and the snowy coconut finish.
- 80g butter, softened: Provides richness and tender crumb in the sponge.
- 1/2 cup (110g) caster sugar: Adds sweetness and helps create a light cake texture.
- 1 tsp vanilla extract: Brings fragrant warmth to the sponge’s flavor.
- 1 egg: Binds the ingredients and helps the cake rise.
- 2/3 cup (160g) milk: Moistens the batter and tenderizes the cake.
- 1 cup (130g) self-raising flour, sifted: Gives the sponge its soft lift and fluffiness.
- 85g packet strawberry jelly crystals: Creates that brilliant pink color and sweet, fruity coating.
- 1 cup (240g) boiling water: Used to dissolve the jelly crystals for perfect setting.
- 1 cup (240g) cold water: Cools the jelly mixture before chilling.
- 3 1/2 cups (280g) desiccated coconut: Adds that classic coconut crunch coating.
- 1 cup (240g) whipped cream: The luscious filling that balances every bite.
How to Make Old-Fashioned Pink Jelly Cakes
Step 1: Prepare the Sponge Batter
Begin by preheating your oven to 175°C (fan-forced) and lightly greasing two 12-hole patty-pan tins — this ensures easy cake release later. In a large bowl, cream the butter, sugar, and vanilla extract together until the mixture is pale and fluffy, signaling plenty of air to keep the cakes light. Beat in the egg until it’s fully combined with the buttery base. Then, gently fold in the milk and sifted flour alternately in two batches. This slow incorporation keeps the batter tender and airy.
Step 2: Bake and Cool the Cakes
Distribute the batter evenly into the patty-pan holes, filling each just shy of the top for perfect rise. Slide the tins into the oven, baking for 15 to 18 minutes until the cakes turn a delicate golden hue and a skewer comes out clean. After baking, let the cakes rest in the tins for 5 minutes before transferring them to a wire rack to cool completely — this step is key for setting the sponge’s structure before jelly dipping.
Step 3: Prepare the Strawberry Jelly
While the cakes cool, dissolve the strawberry jelly crystals in boiling water, stirring thoroughly to ensure no granules remain. Then stir in the cold water to bring the jelly down to a cooler temperature — this helps the jelly partially set faster and cling nicely to the cakes. Place the jelly mixture in the fridge for about 1 to 2 hours, aiming for that perfect soft set stage, not fully firm.
Step 4: Dip Cakes and Add Coconut Coating
One at a time, gently dip each sponge cake into the partially set jelly using a slotted spoon. This method keeps the cake intact while allowing the jelly to enrobe it beautifully. Immediately roll the jelly-coated cake in the desiccated coconut, which adds a lovely texture and helps vibrant pink hues stand out. Set aside briefly to let the jelly finish setting around the cakes.
Step 5: Fill and Assemble Your Pink Jelly Cakes
Now for the best part: slice each cake horizontally, spread a generous spoonful of whipped cream onto one half, and sandwich it together with its matching top half. The creamy filling adds an irresistible contrast to the fruity jelly and soft sponge. Chill the assembled cakes in your fridge for at least 30 minutes to allow all flavors to marry and the jelly to fully set before serving.
How to Serve Old-Fashioned Pink Jelly Cakes
Garnishes
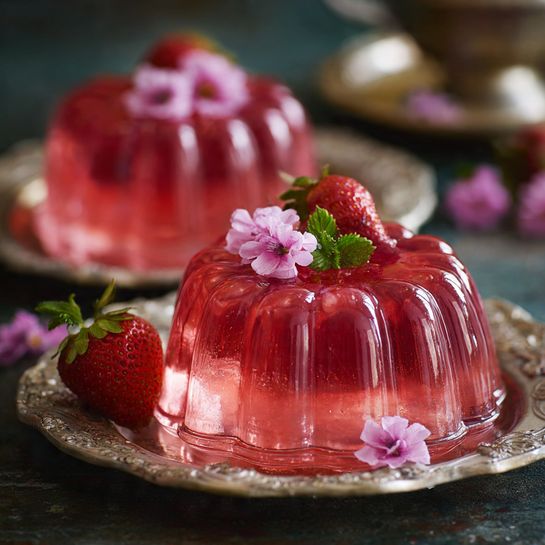
Elevate your presentation with a sprinkle of extra desiccated coconut or a few fresh strawberries sliced on the side. A tiny mint leaf perched on top adds a refreshing pop of color that balances the sweet, creamy flavors beautifully. These subtle touches turn your nostalgic cakes into a charming centerpiece for any dessert table.
Side Dishes
These pink jelly delights pair wonderfully with a scoop of vanilla ice cream or a bowl of fresh berries for a summer-inspired treat. A light cup of tea or a glass of sparkling lemonade complements the sweetness with a refreshing contrast, perfect for afternoon tea parties or casual gatherings.
Creative Ways to Present
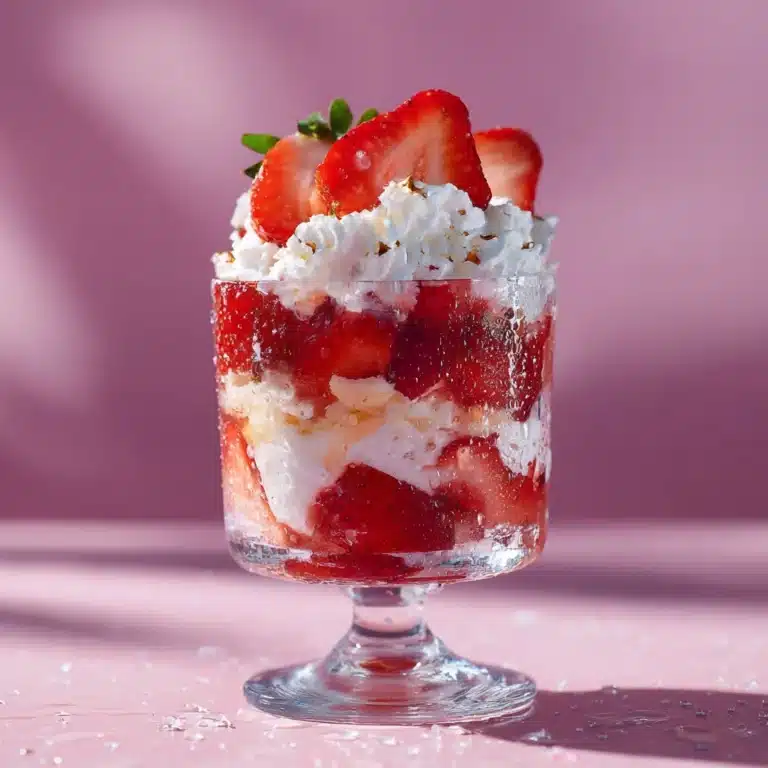
For a fun twist, try layering these Old-Fashioned Pink Jelly Cakes in a clear glass trifle dish with extra whipped cream and fruit. Another idea is to serve them on a vintage cake stand, embracing their retro roots, or even mini versions for bite-sized party favors that guests will adore. The possibilities are as delightful as the cakes themselves!
Make Ahead and Storage
Storing Leftovers
Because these treats include whipped cream, they’re best stored in the fridge to stay fresh and maintain their lovely texture. Place the cakes in an airtight container on a single layer so the coating and cream don’t get squashed. They’re best enjoyed within 2 days for ultimate freshness.
Freezing
Freezing is not recommended for Old-Fashioned Pink Jelly Cakes because the delicate jelly coating and whipped cream filling can lose their texture and become watery when thawed. For the best experience, enjoy them fresh whenever possible.
Reheating
Reheating is unnecessary and not advised, as the jelly coating is intended to be enjoyed chilled and the cakes are at their most decadent when cold. Simply take the cakes out of the fridge 10 minutes before serving to let them soften slightly for perfect bites.
FAQs
Can I use a different jelly flavor?
Absolutely! Raspberry or even lime jelly can provide a fun variation, changing the color and flavor profile while still delivering that classic jelly cake experience.
What can I substitute for desiccated coconut?
If coconut isn’t your favorite, try finely chopped nuts like almonds or toasted breadcrumbs for a different texture, though it will stray from the traditional look and taste.
How do I know when the jelly is partially set?
Check the jelly after chilling by touching the surface gently; it should be gelled enough to coat the cakes without dripping off but still soft enough to dip easily.
Can I make the sponge batter ahead of time?
It’s best to bake the sponge fresh for the fluffiest results, but the cooled cakes can be assembled later once the jelly is ready.
Is this recipe suitable for children?
Yes! These Old-Fashioned Pink Jelly Cakes are a charming treat that kids love. Just be mindful of any allergies to eggs or dairy in the ingredients.
Final Thoughts
There’s something incredibly heartwarming about sharing Old-Fashioned Pink Jelly Cakes, whether it’s sparking happy memories or creating new ones with loved ones. Their playful pink hue, tender sponge, and creamy filling make them irresistible. So go ahead and try this little vintage delight at home — it’s a recipe that truly brings generations together.