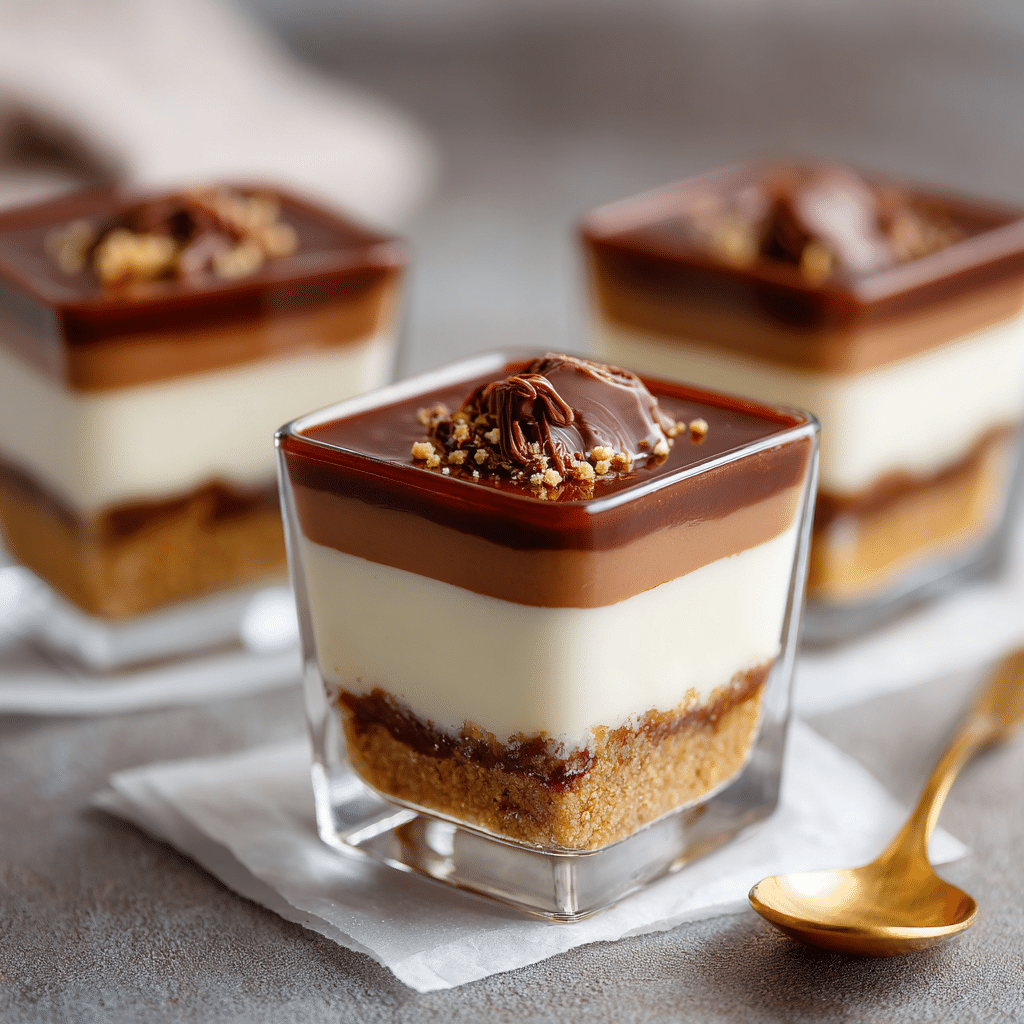
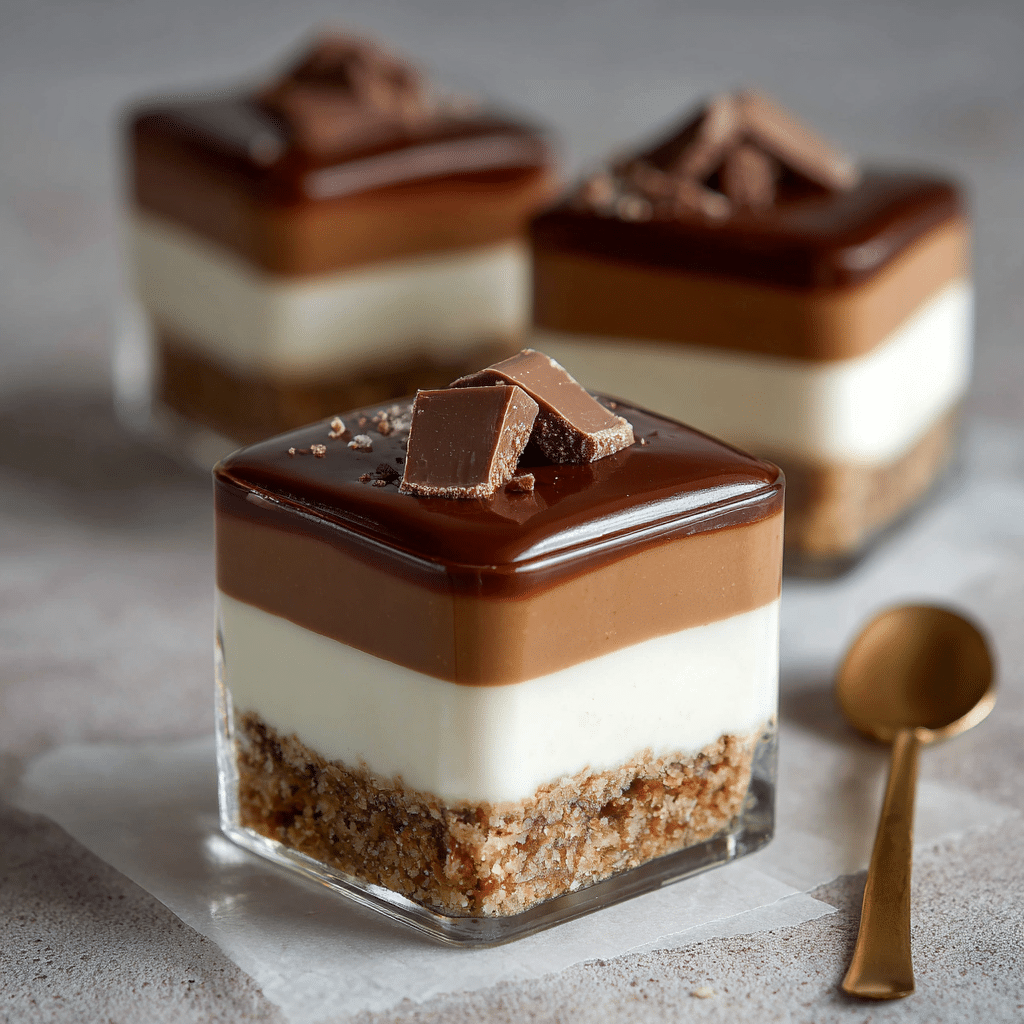
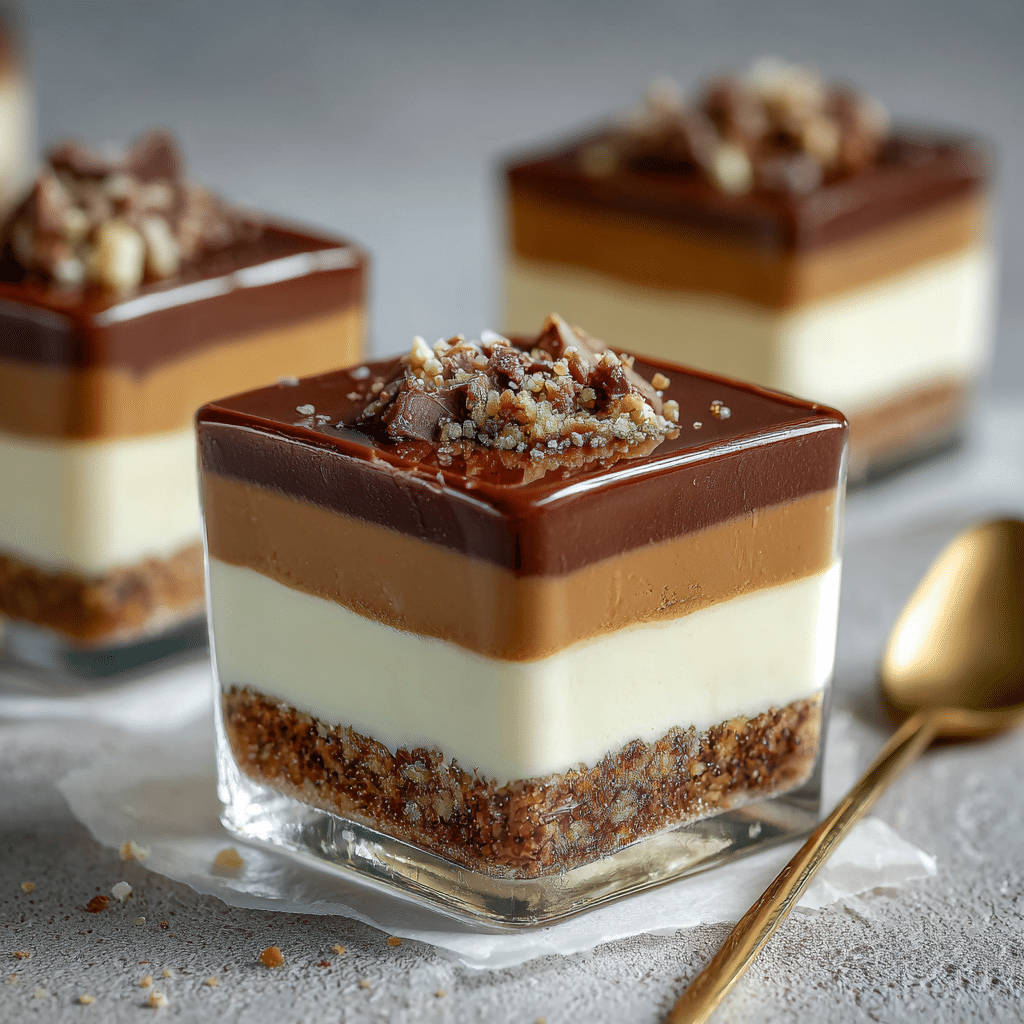
No-Bake Kinder Cheesecake Cups Recipe
Bright, creamy, and utterly delightful, these No-Bake Kinder Cheesecake Cups bring together the best of luscious cream cheese and the unforgettable sweetness of Kinder chocolate in a perfectly layered dessert. If you’re craving a treat that feels indulgent but comes together without the oven, this recipe will quickly become your go-to. Every spoonful combines a crispy biscuit base, a silky cheesecake layer rich with Kinder chocolate flavor, and a refreshing, smooth finish that’s sure to impress both kids and adults alike.
Ingredients You’ll Need
Using straightforward, crowd-pleasing ingredients makes this dessert as simple as it is delicious. Each component plays a crucial role, from creating the buttery crust to delivering the signature Kinder chocolate taste in the creamy filling.
- 1 1/2 cups Crushed Biscuits: This forms a crunchy, buttery base that contrasts perfectly with the soft cheesecake.
- 1/3 cup Butter: Essential for binding the biscuit crumbs and adding a rich, smooth mouthfeel to the crust.
- 400g Cream Cheese: The heart of the cheesecake, providing that tangy and creamy texture everyone loves.
- 1/2 cup Melted Kinder Chocolate: The secret star that infuses the cheesecake with its characteristic milky, chocolatey flavor.
How to Make No-Bake Kinder Cheesecake Cups
Step 1: Prepare the Biscuit Crust
Start by crushing your biscuits finely to ensure a compact crust. Melt the butter gently and mix it with the crushed biscuits until well combined. Press this mixture firmly into the base of your serving cups to create a sturdy, delicious foundation that will hold up the creamy layers.
Step 2: Make the Cheesecake Filling
In a mixing bowl, combine the cream cheese until smooth and fluffy. Slowly incorporate the melted Kinder chocolate into the cream cheese, folding gently to maintain a light texture while distributing the chocolate evenly. This step guarantees each bite is rich with the delightful flavor you adore.
Step 3: Assemble the Cups
Layer the cheesecake filling over the biscuit crust in each cup. Use a spoon or piping bag to create neat, even layers that look just as good as they taste. This layering not only adds to the visual appeal but also balances the texture with each mouthful.
Step 4: Chill Until Set
Place your assembled No-Bake Kinder Cheesecake Cups in the refrigerator for at least three hours. This chilling time is essential to allow the filling to firm up and for the flavors to meld beautifully, resulting in the perfect creamy consistency.
How to Serve No-Bake Kinder Cheesecake Cups
Garnishes
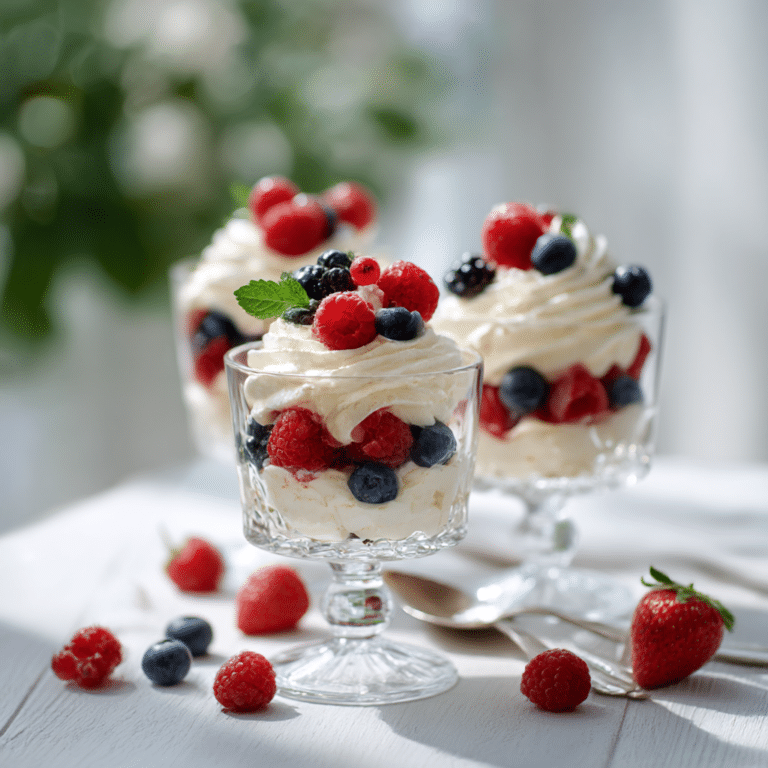
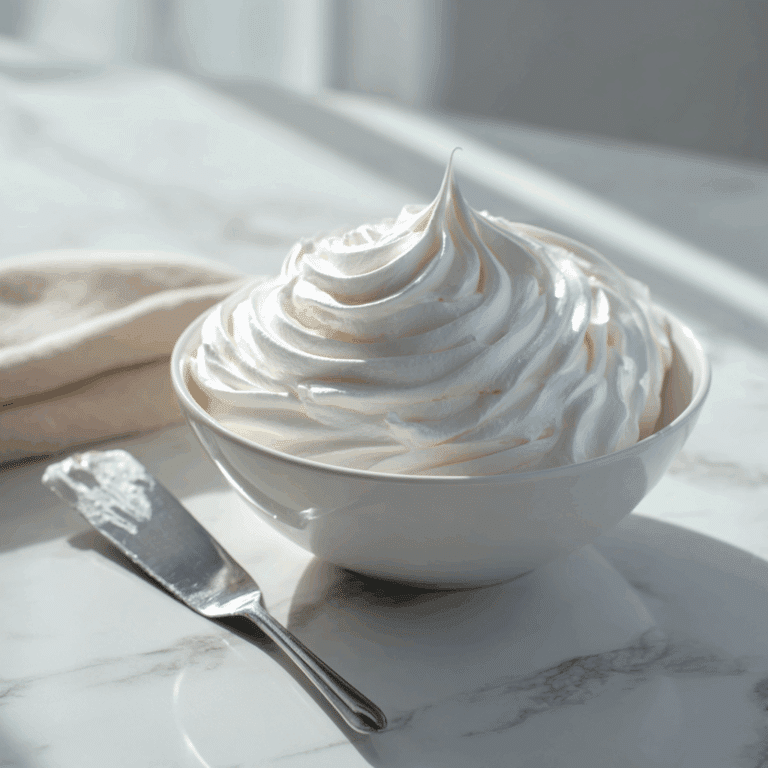
Add a touch of elegance with a few garnishes. Sprinkle crushed biscuit crumbs on top, or add shavings of Kinder chocolate or a dollop of whipped cream to elevate the presentation. Fresh berries like raspberries or strawberries also provide a lovely tart contrast and brighten the visual appeal.
Side Dishes
While these cheesecake cups are delightful on their own, pairing them with a simple fruit salad or a scoop of vanilla ice cream can create a well-rounded dessert experience. A lightly brewed coffee or a creamy hot chocolate also complements the rich chocolate notes in the cups.
Creative Ways to Present
For a party or special occasion, serve the No-Bake Kinder Cheesecake Cups in mini mason jars or clear glass tumblers to show off the beautiful layers. You could also top each cup with a mini Kinder chocolate bar or even edible flowers for an extra special touch that guests will love.
Make Ahead and Storage
Storing Leftovers
If you happen to have any leftovers, cover the cups tightly with plastic wrap or transfer them to an airtight container. Refrigerate for up to three days to maintain their creamy texture and fresh flavors.
Freezing
These cheesecake cups can be frozen if needed. To do so, place them in an airtight container and freeze for up to one month. Thaw them in the refrigerator overnight before serving to preserve their smooth and luscious consistency.
Reheating
This dessert is best enjoyed chilled and doesn’t require reheating. If you prefer it slightly softer, let it sit at room temperature for about 15 minutes after removing from the fridge before digging in.
FAQs
Can I use a different type of chocolate?
Absolutely! While Kinder chocolate provides a unique flavor, you can substitute with milk chocolate or white chocolate for a slightly different but still delicious cheesecake experience.
Is it possible to make this dessert vegan?
You can try using dairy-free cream cheese and plant-based butter alternatives. Just ensure the chocolate is vegan-friendly. The result will be tasty, though the texture might vary slightly.
How long should I chill the cheesecake cups?
Chilling for at least three hours is ideal to allow the texture to set fully and for the flavors to develop perfectly. Overnight chilling works even better if you have the time.
Can I double the recipe for a larger batch?
Yes, this recipe scales up well. Just keep the same ratios and prepare accordingly, making sure you have enough cups or jars to serve the extra portions.
Do I need to use crushed biscuits or can I use a different base?
Crushed biscuits work best for the classic texture and flavor, but you could experiment with crushed graham crackers or digestive biscuits for a different twist.
Final Thoughts
Making No-Bake Kinder Cheesecake Cups is a joy, whether you’re whipping them up for a casual family treat or a charming party dessert. It’s a recipe that combines ease with elegance, bringing a beloved chocolate flavor into a creamy, delightful cheesecake format that absolutely anyone can enjoy. Give it a try and watch how quickly these cups disappear—trust me, they’re that good!