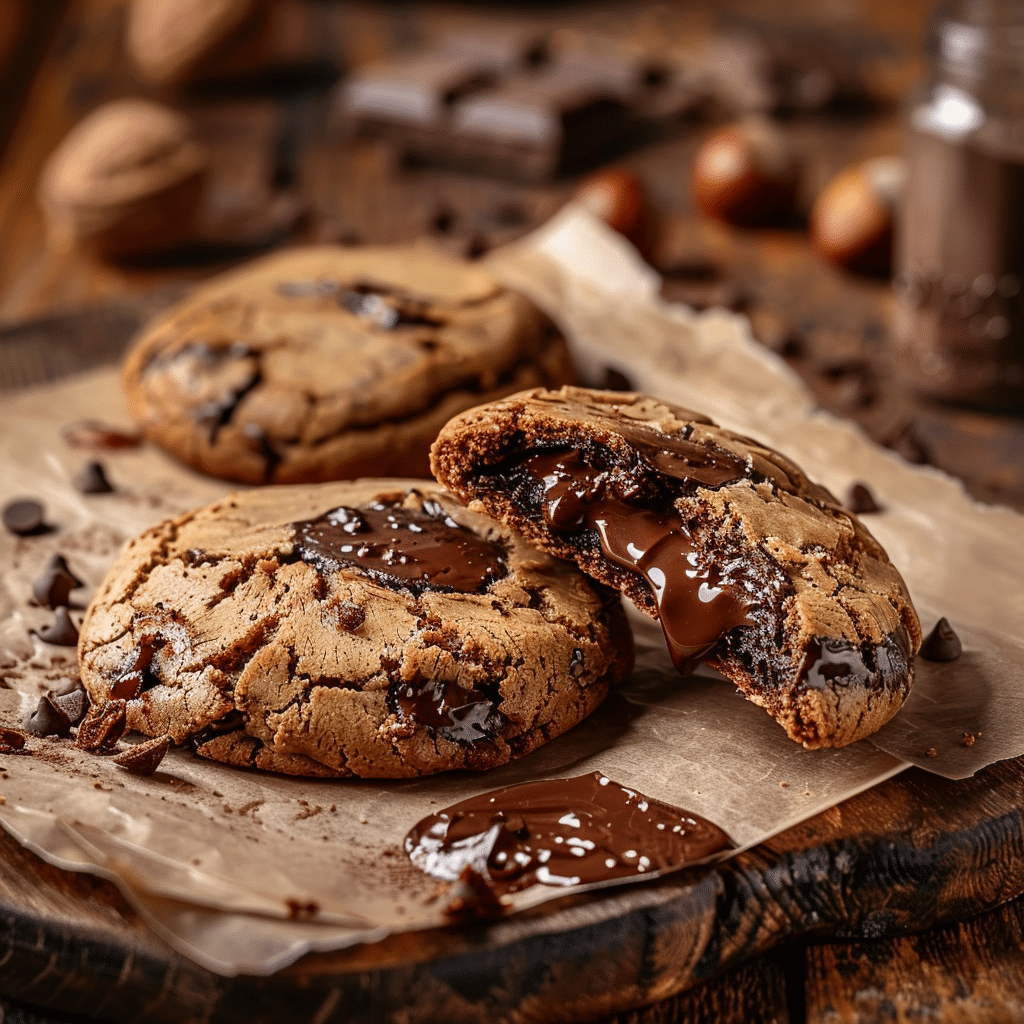
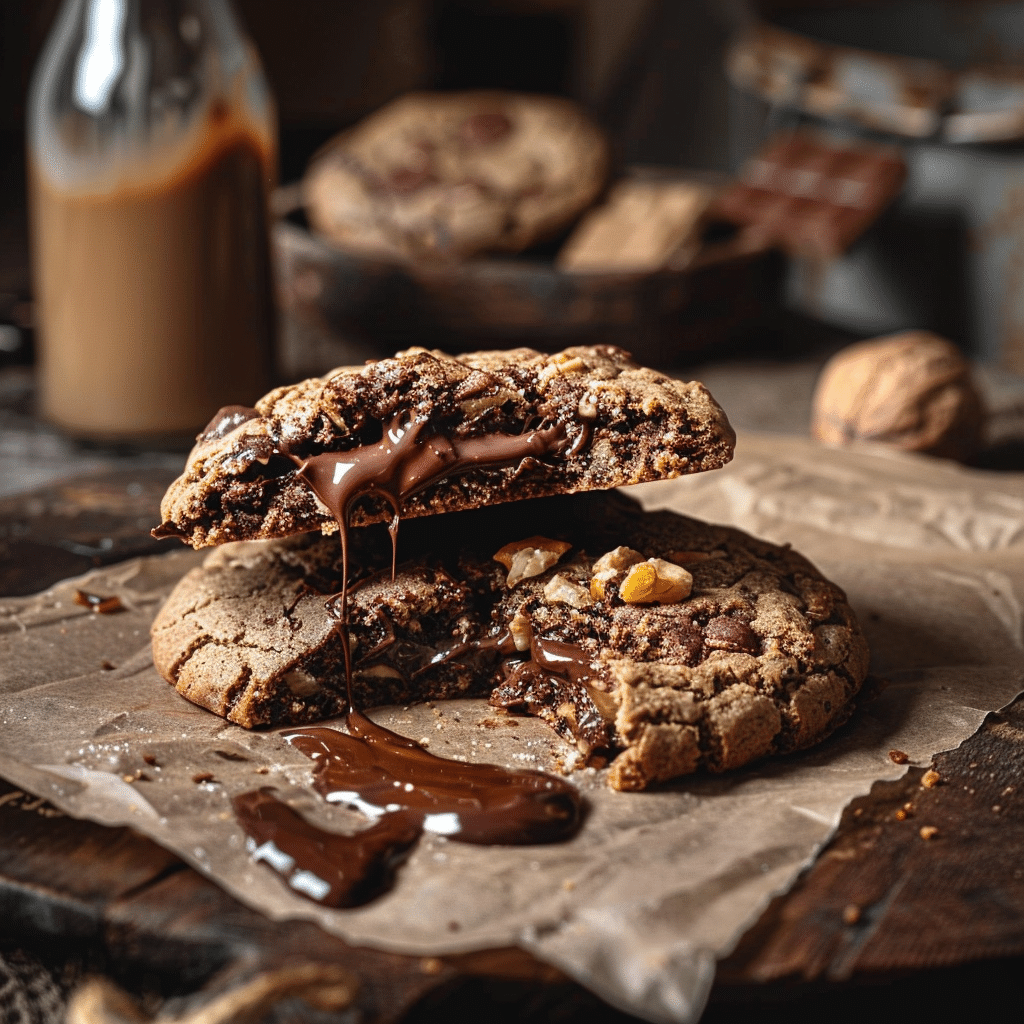
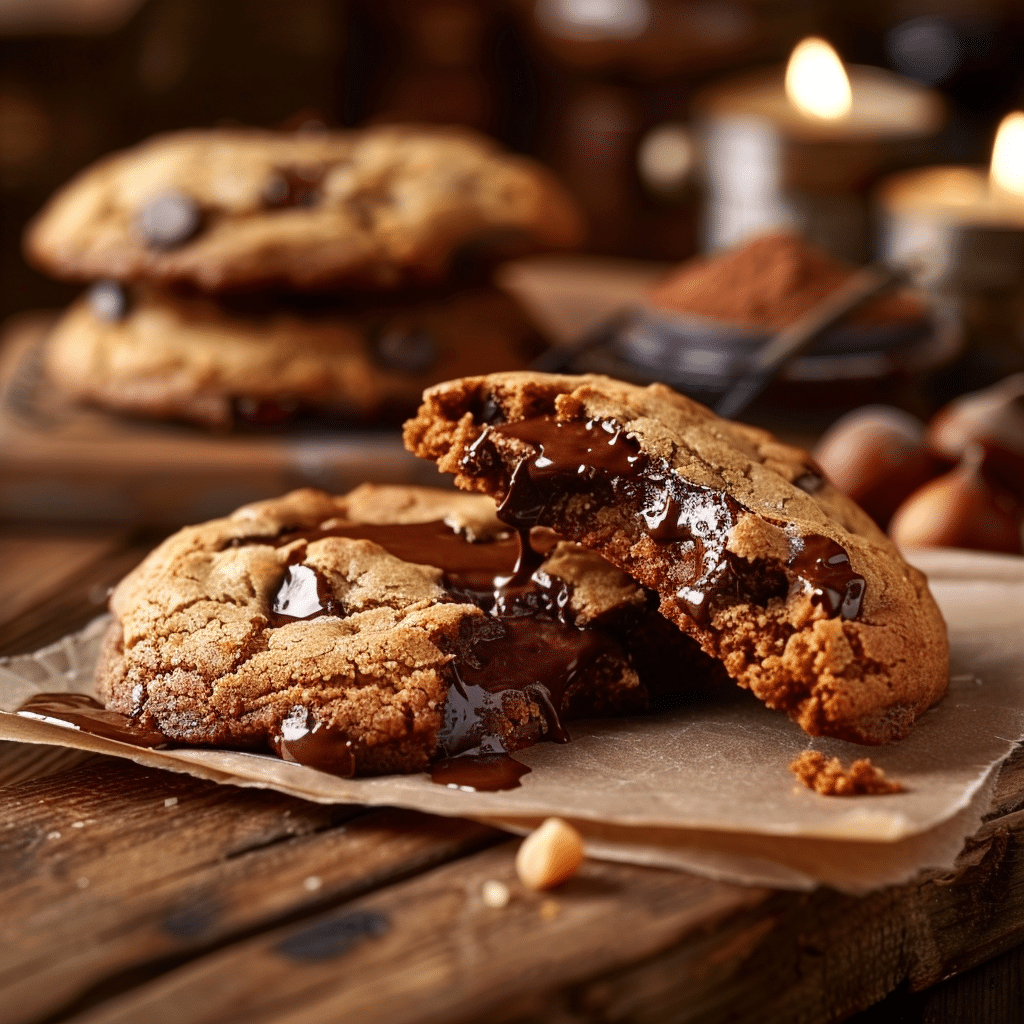
Chocolate Hazelnut Lava Cookies Recipe
If you are ready to indulge in a dessert that feels like a warm hug, these Chocolate Hazelnut Lava Cookies are exactly what you need. Each cookie surprises you with a soft, tender exterior that gives way to a luscious, molten chocolate hazelnut center. The perfect balance of crispy edges and gooey middle creates an irresistible experience that will have you reaching for more. This treat combines the comforting flavors of chocolate and hazelnut in a way that makes every bite feel like a little celebration.
Ingredients You’ll Need
Creating these Chocolate Hazelnut Lava Cookies is delightfully straightforward since the ingredients are simple but essential for that perfect texture and rich flavor, from the soft cookie dough to the molten hazelnut center.
- All-purpose flour: Provides the structure for the cookies, ensuring softness without crumbling.
- Unsweetened cocoa powder: Adds a deep chocolate flavor and rich color.
- Sugar (granulated and brown): Balances sweetness while brown sugar keeps the cookies moist and chewy.
- Butter: Brings richness and helps create a tender crumb.
- Eggs: Bind the dough and contribute to the soft texture.
- Vanilla extract: Enhances the overall flavor with a warm, aromatic note.
- Baking powder: Gives a slight lift for the perfect cookie rise.
- Salt: Brightens and balances sweetness.
- Hazelnut spread (such as Nutella): The star ingredient, creating the molten center that makes these cookies so special.
How to Make Chocolate Hazelnut Lava Cookies
Step 1: Prepare the Cookie Dough
Start by creaming together softened butter and both sugars until light and fluffy; this is the base that will make your cookies tender and flavorful. Then, add in the eggs one at a time, mixing thoroughly after each addition to keep the dough smooth. Stir in vanilla extract to infuse warmth and aroma. In a separate bowl, whisk together the flour, cocoa powder, baking powder, and salt, then gradually combine these dry ingredients with the wet mixture until a soft dough forms. It should be pliable but not sticky, perfect for shaping into cookies.
Step 2: Shape and Fill the Cookies
Divide your dough into equal portions, rolling each into a ball about the size of a walnut. Flatten each ball slightly, then place a generous spoonful of hazelnut spread right in the center. Carefully fold the edges of the dough up and around the filling, completely encasing the nutty center. Rolling the dough gently into a ball again helps seal the filling, preventing it from leaking during baking.
Step 3: Bake to Perfection
Place your filled dough balls onto a baking sheet lined with parchment paper, leaving enough room for spreading. Pop them in a preheated oven at 350°F (175°C) and bake for about 10-12 minutes. Watch for the edges to be set but the centers to remain soft and slightly underbaked — that is the trick for achieving the signature molten texture inside your Chocolate Hazelnut Lava Cookies.
How to Serve Chocolate Hazelnut Lava Cookies
Garnishes
Serving your Chocolate Hazelnut Lava Cookies with a light dusting of powdered sugar immediately elevates their appearance and adds a delicate sweetness. A sprinkle of chopped toasted hazelnuts on top can provide a lovely crunch that contrasts perfectly with the molten center.
Side Dishes
To complement the warm, gooey cookies, a scoop of vanilla ice cream or a dollop of freshly whipped cream is always a crowd-pleaser. If you prefer a beverage pairing, try a cup of freshly brewed coffee or a rich hot chocolate, as they enhance the nutty and chocolate flavors beautifully.
Creative Ways to Present
For a fancy touch, serve your Chocolate Hazelnut Lava Cookies on a slate board with drizzles of chocolate sauce and a sprinkle of sea salt to balance the sweetness. You can also create a dessert platter with mini cookies, fresh berries, and edible flowers to impress your guests visually and gastronomically.
Make Ahead and Storage
Storing Leftovers
Leftover Chocolate Hazelnut Lava Cookies taste just as wonderful the next day, though the center won’t be as molten. Store them in an airtight container at room temperature for up to three days to maintain their soft texture and flavor.
Freezing
If you want to enjoy these cookies later, freeze the unbaked dough balls individually on a tray before transferring them to a freezer-safe bag. When you’re ready, simply bake them straight from frozen, adding a couple of extra minutes to the baking time. This way, you always have the magic of molten centers on demand!
Reheating
To bring your leftover cookies back to life, warm them gently in the microwave for about 15 seconds or in a low oven at 300°F (150°C) for a few minutes. This softens the exterior and lightly melts the chocolate hazelnut inside to recapture that lava-like experience.
FAQs
Can I use another nut spread instead of hazelnut?
Absolutely! While hazelnut spread gives that classic flavor, you can substitute almond or peanut butter for a different but equally delicious molten center.
What if I want a less gooey center?
Simply reduce the amount of hazelnut spread inside or bake the cookies a minute or two longer until the center is just set to your liking.
Are these cookies gluten-free?
This recipe uses all-purpose flour, which contains gluten. However, swapping for a gluten-free flour blend designed for baking can work well if needed.
How do I prevent the filling from leaking out?
Carefully seal the dough around the hazelnut spread and roll into tight balls. Chilling the dough balls for 10-15 minutes before baking can also help the filling stay contained.
Can I make these cookies vegan?
Yes, by using vegan butter and an egg substitute, along with a dairy-free hazelnut spread, you can make these cookies vegan-friendly without compromising on taste.
Final Thoughts
Trust me, once you try these Chocolate Hazelnut Lava Cookies, they will quickly become a go-to favorite for any occasion that calls for something sweet and comforting. The simple ingredients come together to create a cookie loaded with rich chocolate and nutty goodness, perfectly molten in the center. Baking these is a joy in itself, and sharing them with friends and family makes the experience even sweeter. So grab your ingredients, preheat your oven, and get ready to enjoy a truly sensational dessert!