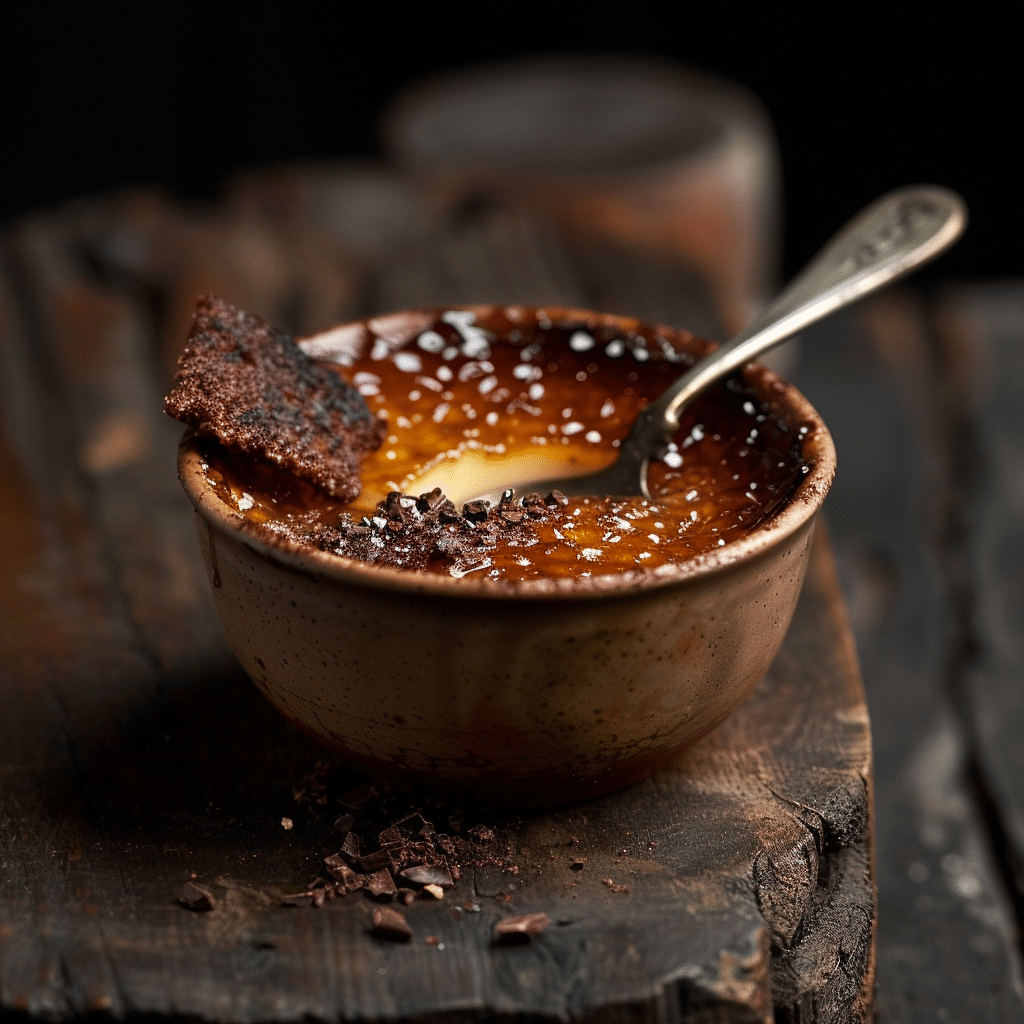
Espresso Crème Brûlée with Cocoa Nib Tuile Recipe
There’s something truly magical about the blend of deep espresso flavor and creamy custard in the Espresso Crème Brûlée with Cocoa Nib Tuile. This dessert strikes a beautiful balance between the intense bitterness of coffee and the luscious sweetness of caramelized sugar, all wrapped up in a silky texture that melts in your mouth. The addition of a crisp cocoa nib tuile brings a delightful crunch and an earthy bitterness that perfectly complements the smooth custard beneath. Whether you’re serving it for a special occasion or a cozy night in, this dish promises to impress with its luxurious flavors and elegant presentation.
Ingredients You’ll Need
The beauty of this Espresso Crème Brûlée with Cocoa Nib Tuile lies in its simple, quality ingredients that come together to create a sumptuous dessert. Each element plays a specific role, from rich espresso adding depth, to egg yolks providing that velvety custard texture, while the cocoa nibs bring a subtle crunch and complexity.
- Heavy cream: The creamy base that ensures each spoonful is silky and smooth.
- Espresso or strong brewed coffee: This infuses the custard with that distinctive rich coffee flavor.
- Egg yolks: The key to that custard’s luscious texture and rich color.
- Granulated sugar: Both sweetens the custard and creates that signature caramelized brûlée crust.
- Vanilla bean or extract: A touch of warmth that balances the bitterness of espresso.
- Cocoa nibs: Used in the tuile, they add a lovely roasted crunch and earthiness.
- Butter: Adds richness and helps the tuile achieve a delicate crispness.
- Flour: The binder that holds the tuile together with just the right snap.
- Powdered sugar: Sweetens the tuile and helps it bake to a beautiful golden hue.
How to Make Espresso Crème Brûlée with Cocoa Nib Tuile
Step 1: Infuse the Cream
Start by gently heating the heavy cream with freshly brewed espresso and a split vanilla bean. Slowly warming these together allows the espresso to impart its full bold flavor and the vanilla to add a subtle aromatic roundness. Be careful not to boil the cream; just a gentle simmer will do.
Step 2: Whisk the Yolks and Sugar
While the cream infuses, whisk together the egg yolks and granulated sugar until the mixture is pale and slightly thickened. This is what gives the custard its rich body and helps it set perfectly after baking.
Step 3: Temper and Combine
To avoid scrambling the yolks, slowly pour the warm espresso cream mixture into the yolk and sugar blend, whisking constantly. This gradual mixing tempers the eggs and creates a smooth, velvety custard base.
Step 4: Bake in a Water Bath
Divide the custard mixture into ramekins and place them inside a baking dish. Pour boiling water around the ramekins until it reaches halfway up their sides. This water bath ensures gentle, even cooking, resulting in custard that’s creamy without any curdling. Bake until just set but still slightly jiggly in the center.
Step 5: Chill Thoroughly
Once baked, chill the ramekins in the refrigerator for at least 4 hours or overnight. This allows the espresso flavors to meld and the custard to develop its signature dense, yet tender texture.
Step 6: Prepare the Cocoa Nib Tuile
While the custards are chilling, whisk together butter, powdered sugar, flour, and cocoa nibs to make a thin batter. Spread it thinly on a baking sheet and bake until golden and crisp. The cocoa nibs add a lovely roasted bitterness, which perfectly contrasts the sweet custard.
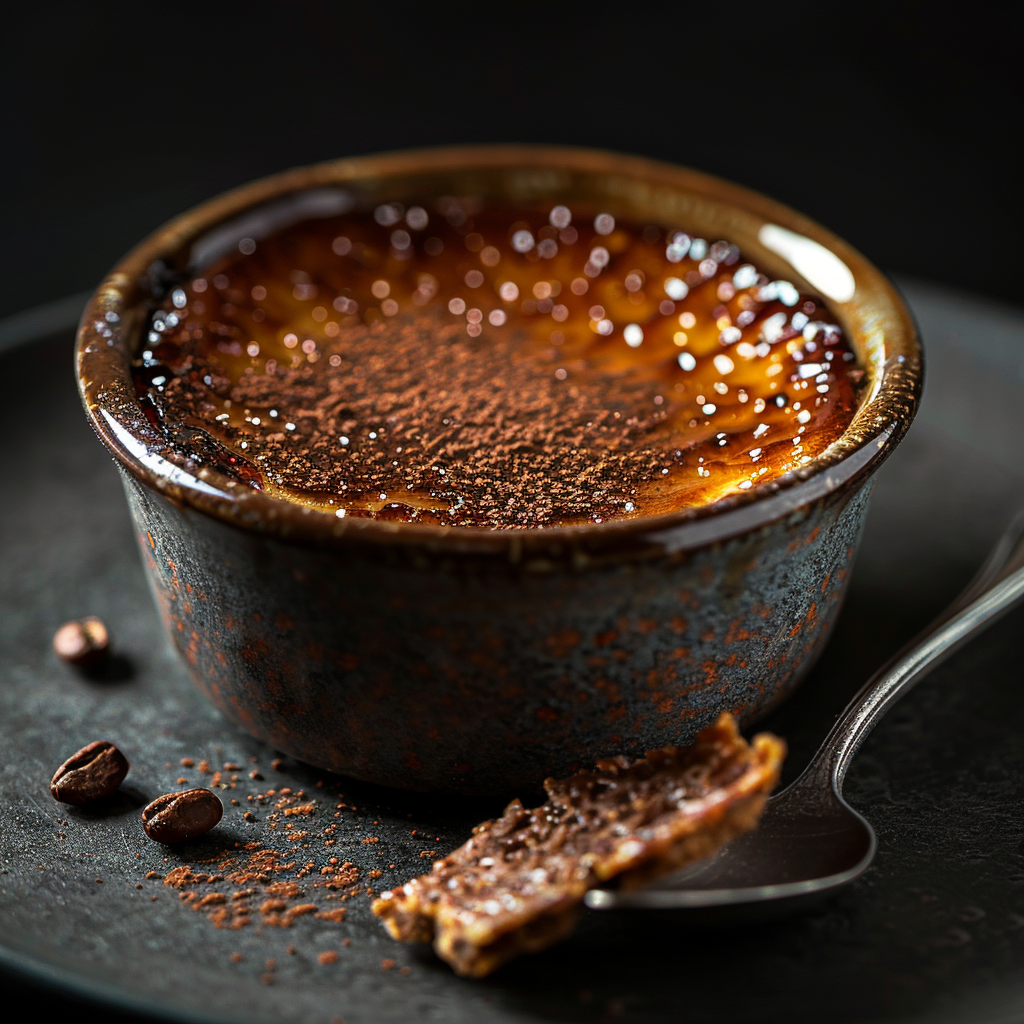
Step 7: Caramelize the Sugar
Just before serving, sprinkle a thin, even layer of granulated sugar atop the chilled custards. Use a kitchen torch to caramelize the sugar until it melts and forms a thin, crisp crust that cracks beautifully under your spoon – that signature crème brûlée moment!
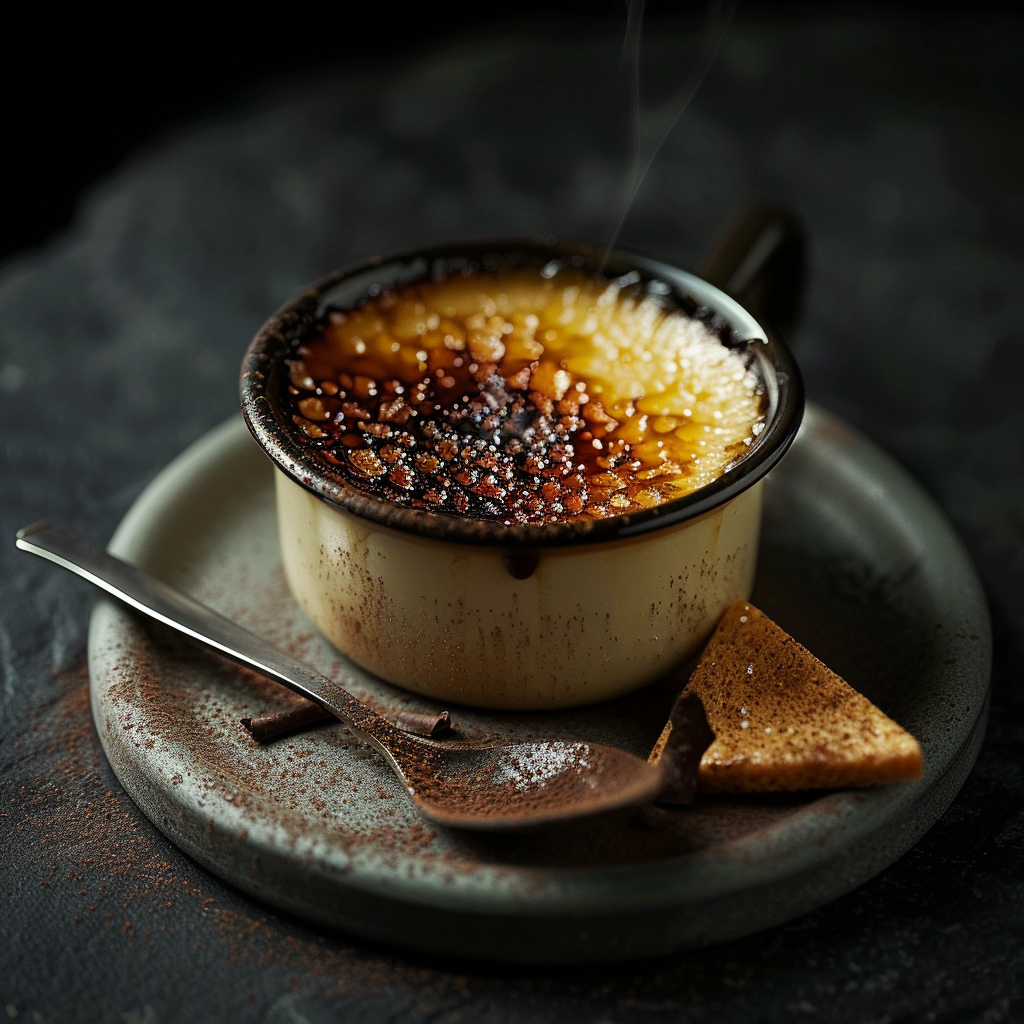
How to Serve Espresso Crème Brûlée with Cocoa Nib Tuile
Garnishes
To elevate your Espresso Crème Brûlée with Cocoa Nib Tuile, sprinkle some finely grated dark chocolate or a dusting of espresso powder atop the caramelized sugar crust. Fresh mint leaves can add a refreshing pop of color and complement the bitterness beautifully. For a special touch, garnish with a few whole cocoa nibs on the side to echo the tuile’s crunch.
Side Dishes
This dessert is rich and bold, so pairing it with light, fresh sides works wonderfully. Fresh berries like raspberries or blackberries add juicy tartness, balancing the creamy sweetness. Alternatively, a simple bowl of mixed citrus segments can provide a zesty counterpoint. A small cup of espresso or a sweet dessert wine enhances the overall experience without overwhelming the palate.
Creative Ways to Present
For an impressive presentation, serve your Espresso Crème Brûlée with Cocoa Nib Tuile in clear glass ramekins to showcase the creamy layers and glossy caramel crust. Place the cocoa nib tuile standing upright like a delicate cookie shard, giving texture and height. You might also try breaking the tuile into shards sprinkled atop the custard, so each bite includes some crunchy contrast. Personalizing each serving with edible flowers or gold leaf makes this dessert party-ready.
Make Ahead and Storage
Storing Leftovers
If you happen to have leftovers, keep them covered tightly in the refrigerator. The custard will stay fresh and flavorful for up to 3 days, though the caramelized crust might soften over time. To preserve the classic crackly top, it’s best to caramelize the sugar just before serving.
Freezing
This custard dessert is a bit delicate for freezing, as freezing can change the texture, making it grainy or watery once thawed. The tuile, however, can be stored separately in an airtight container for up to 2 weeks and then added fresh at serving time.
Reheating
Espresso Crème Brûlée with Cocoa Nib Tuile is best enjoyed cold with a freshly torched caramel top. If you wish to warm it, use a very gentle approach, like placing the ramekin in a warm water bath for a few minutes, but avoid microwaving which can curdle the custard. Always torch the sugar topping just before serving to maintain that crisp texture.
FAQs
Can I use instant espresso powder instead of brewed espresso?
Absolutely! If you want to keep things simple, dissolving instant espresso powder in a small amount of hot water works well and offers a great depth of flavor without needing to brew coffee separately.
What if I don’t have a kitchen torch? Can I caramelize the sugar another way?
You can place the sugared ramekins under a very hot broiler, watching closely to avoid burning. However, a torch gives you much more control and the best caramelization every time.
How do I prevent the custard from curdling?
Tempering the egg yolks by slowly adding warm cream while whisking continuously is key. Also, baking the custard in a water bath keeps the heat gentle and even, preventing scrambled eggs and ensuring a smooth texture.
Can I make the cocoa nib tuile gluten-free?
Yes! Substitute the all-purpose flour with a gluten-free flour blend that behaves similarly, such as a rice or almond flour mix. This might slightly change the crispness but will still taste delicious.
Is there a substitute for cocoa nibs in the tuile?
If cocoa nibs are hard to find, finely chopped dark chocolate pieces or crushed coffee beans can offer a similar bitter crunch to complement the custard.
Final Thoughts
This Espresso Crème Brûlée with Cocoa Nib Tuile is one of those desserts that feels indulgent yet sophisticated, perfect for sharing with friends or savoring as a personal treat. Its harmony of bitter espresso, creamy custard, crisp caramel, and crunchy cocoa nib tuile makes every spoonful a little celebration of flavor and texture. Don’t hesitate to try this recipe—you might just find it becoming your new favorite dessert to impress and enjoy again and again.