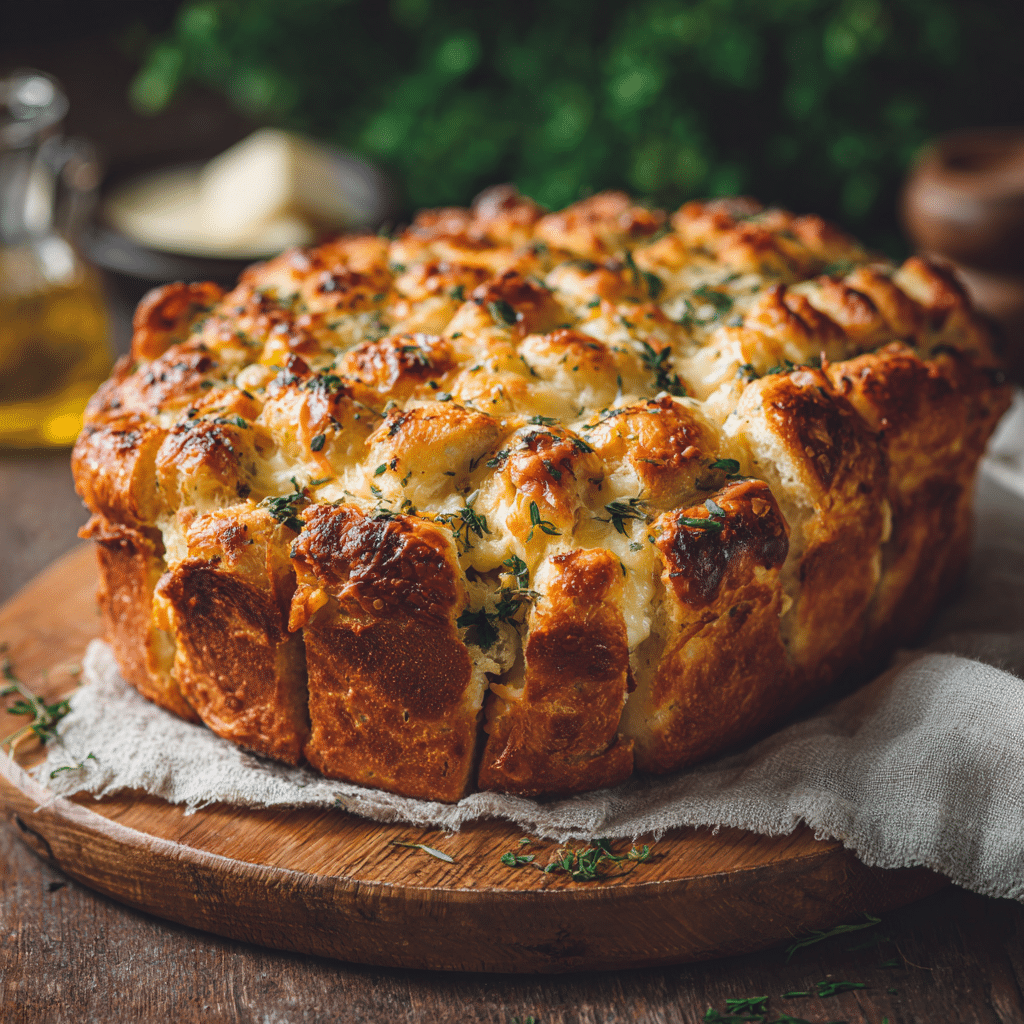
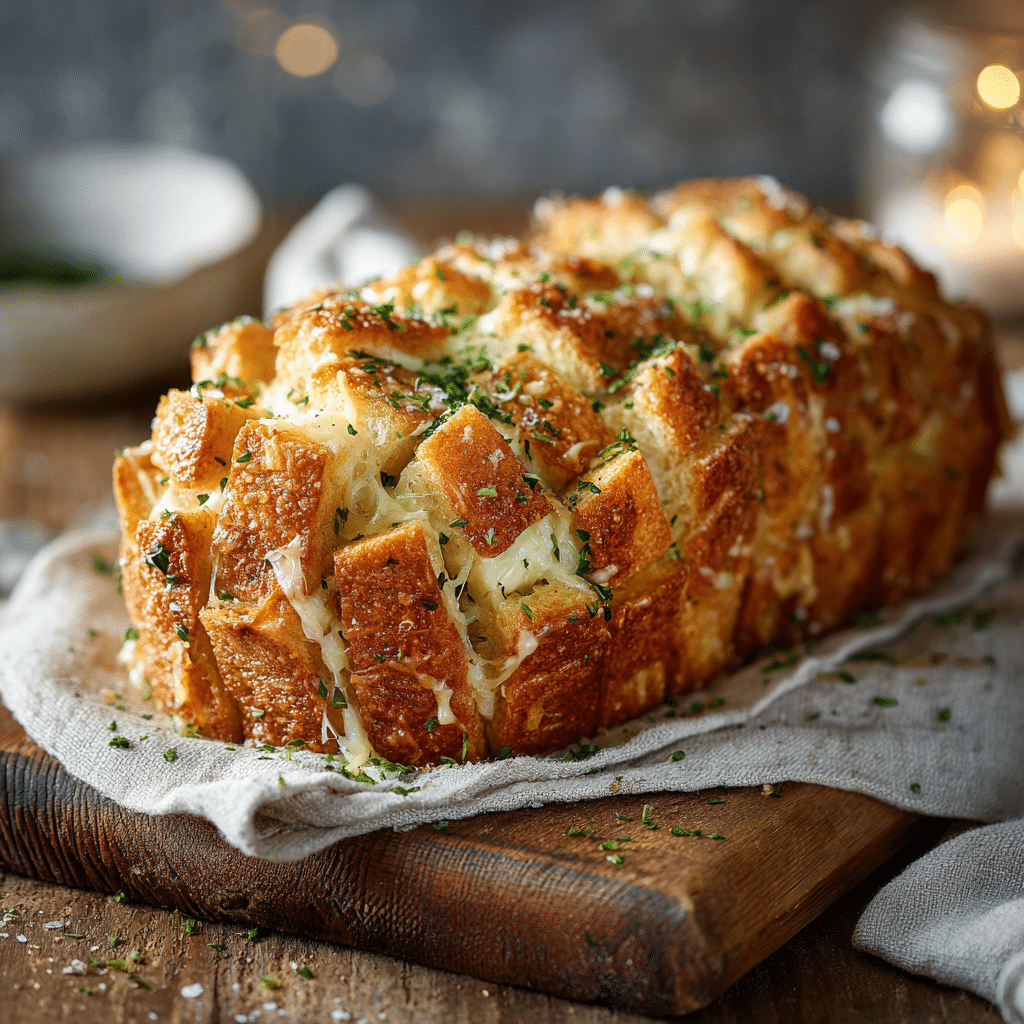
Cheesy Garlic Breadsticks Recipe
There is something utterly irresistible about warm, soft bread slathered with garlicky butter and bubbly, melted cheese. These Cheesy Garlic Breadsticks combine the best of all worlds: fluffy homemade dough, rich mozzarella, and that unforgettable garlic butter aroma. Perfect for sharing at a party, serving alongside your favorite pasta, or just enjoying as a snack, these breadsticks never fail to delight. Trust me, once you try these, they’ll become a go-to comfort food that everyone asks for again and again.
Ingredients You’ll Need
Whipping up these Cheesy Garlic Breadsticks is wonderfully simple because it relies on a handful of essential ingredients that pack a serious flavor punch. Each one plays a special role—from the soft pizza dough base to the cheesy and buttery toppings that make every bite memorable.
- Pizza dough: The soft, stretchy foundation that bakes into perfectly chewy breadsticks.
- Mozzarella (shredded): Melts into gooey, golden cheese layers that ooze with every bite.
- Garlic butter: Adds a rich, aromatic punch and keeps the breadsticks irresistibly moist.
- Chopped parsley: Freshens up the finished breadsticks with a pop of color and mild flavor.
How to Make Cheesy Garlic Breadsticks
Step 1: Prepare and Shape the Dough
First things first, preheat your oven to 190°C (375°F) and line a baking tray with parchment paper for easy cleanup. Then, roll your pizza dough out into a neat rectangle about 30 by 20 centimeters—this shape makes portioning your breadsticks a breeze. Getting the dough evenly rolled ensures everything bakes uniformly.
Step 2: Add the Garlic Butter
Brush the entire surface of the rolled-out dough generously with garlic butter. This step is essential—it seeps into the dough as it bakes, infusing it with rich, buttery garlic flavor that sets the stage for the cheesy goodness.
Step 3: Sprinkle on the Cheese
Next, scatter the shredded mozzarella evenly over the garlic butter layer. Be sure to spread it out so every breadstick has just the right amount of cheesy indulgence, guaranteeing melty, golden tops.
Step 4: Cut into Breadsticks
Using a sharp knife or pizza cutter, slice the rectangle into strips about 2 to 3 centimeters wide. This sizing makes them perfect for grabbing and dipping, whether you want bite-sized snacks or slightly bigger portions for sharing.
Step 5: Bake to Perfection
Place your cut breadsticks side-by-side on the prepared baking tray, leaving just a little room between each so they can puff up nicely. Bake in the preheated oven for about 18 minutes or until the edges turn golden brown and the cheese bubbles up beautifully.
Step 6: Garnish and Serve Warm
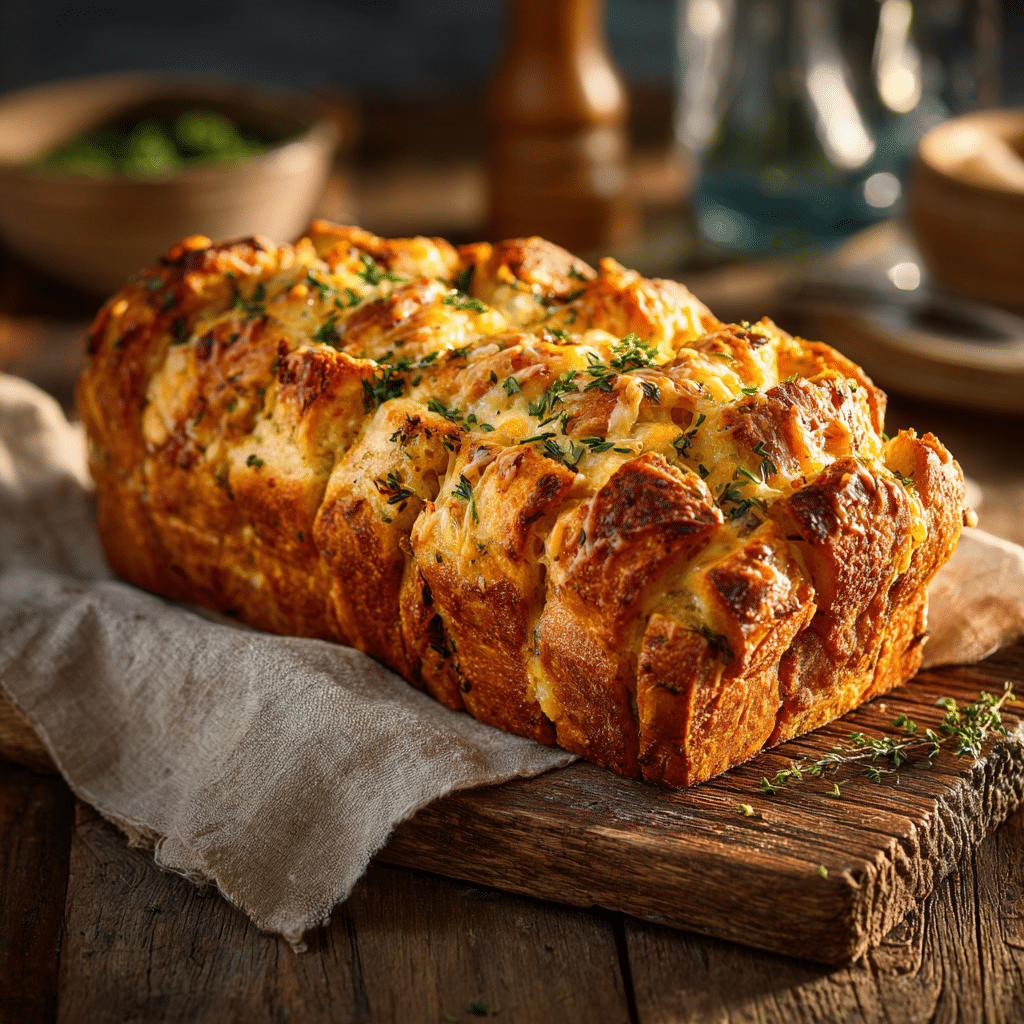
Once out of the oven, sprinkle chopped parsley over the breadsticks to add a burst of fresh color and flavor. Serve them warm—you’ll want to dig in immediately while the cheese is still ooey-gooey and the bread is soft and fragrant.
How to Serve Cheesy Garlic Breadsticks
Garnishes
While parsley adds a lovely earthy note and color contrast, you could also experiment with finely grated Parmesan or a sprinkle of red pepper flakes if you like a little heat. A light drizzle of olive oil or a dusting of dried oregano can also elevate the flavor profile beautifully.
Side Dishes
These breadsticks are absolute champions alongside Italian classics like spaghetti marinara, lasagna, or creamy Alfredo. They also pair wonderfully with a fresh green salad for a lighter meal or with warm soup for a cozy comfort food combo.
Creative Ways to Present
For a party or gathering, arrange the Cheesy Garlic Breadsticks in a basket lined with a colorful napkin for a rustic look. You can also serve them with an array of dipping sauces like marinara, ranch, or garlic aioli to turn snack time into a fun interactive experience.
Make Ahead and Storage
Storing Leftovers
If you happen to have any leftovers, store them in an airtight container at room temperature for up to two days. The breadsticks remain soft but the cheese won’t be quite as gooey, so they are best enjoyed within the first day.
Freezing
To keep these delectable breadsticks longer, freeze them before baking. Cut and place the dough sticks on a baking tray, freeze until firm, then transfer to a freezer bag. When you’re ready to enjoy, bake straight from frozen, adding a few extra minutes to the baking time.
Reheating
Warm leftover breadsticks in a preheated oven at 175°C (350°F) for 5 to 7 minutes. This revives their crispy edges and melty cheese without making them soggy, bringing back that fresh-baked magic.
FAQs
Can I use store-bought pizza dough for Cheesy Garlic Breadsticks?
Absolutely! Store-bought pizza dough works perfectly and is a great time-saver while still delivering deliciously soft and flavorful breadsticks.
What type of cheese works best?
Mozzarella is ideal because it melts beautifully and stretches just right. You can mix in some Parmesan or cheddar for extra sharpness if you like, but mozzarella remains the classic choice.
How can I make the garlic butter at home?
Simply melt butter and stir in finely minced garlic or garlic powder. Let it infuse until fragrant before brushing it on the dough for maximum flavor.
Are these breadsticks suitable for freezing after baking?
For best texture, it’s recommended to freeze them before baking. However, you can freeze baked breadsticks wrapped tightly, then reheat in the oven for crispy deliciousness.
Can I add herbs or spices to the garlic butter?
Definitely! Feel free to mix in dried oregano, basil, parsley, or a dash of chili flakes to customize the flavor to your liking.
Final Thoughts
These Cheesy Garlic Breadsticks are one of those recipes that make you wonder why you haven’t been making them all along. They’re simple, satisfying, and perfect for so many occasions—from quick snacks to party favorites. I encourage you to bake a batch and watch how quickly they disappear. Happy baking and even happier eating!