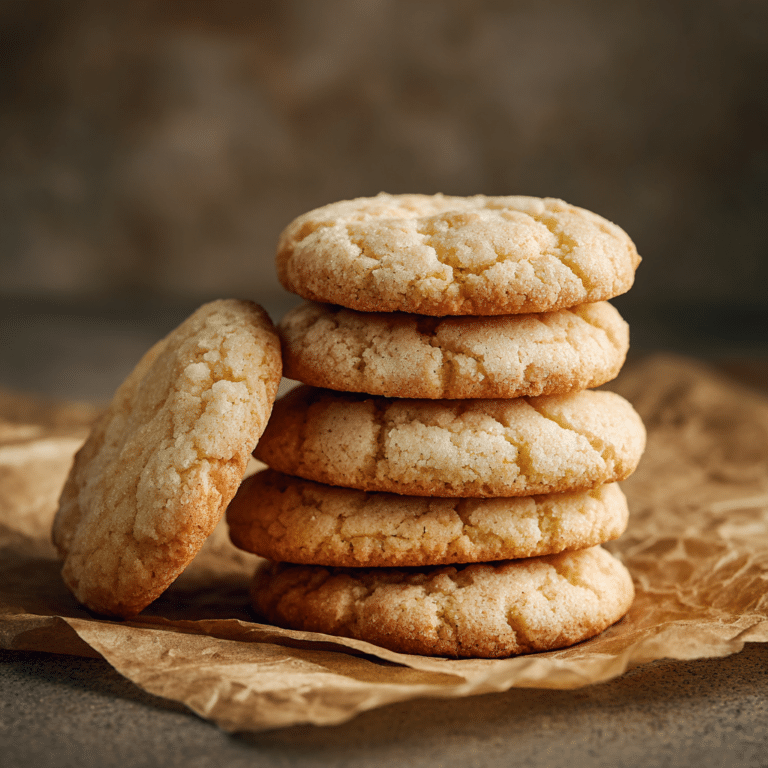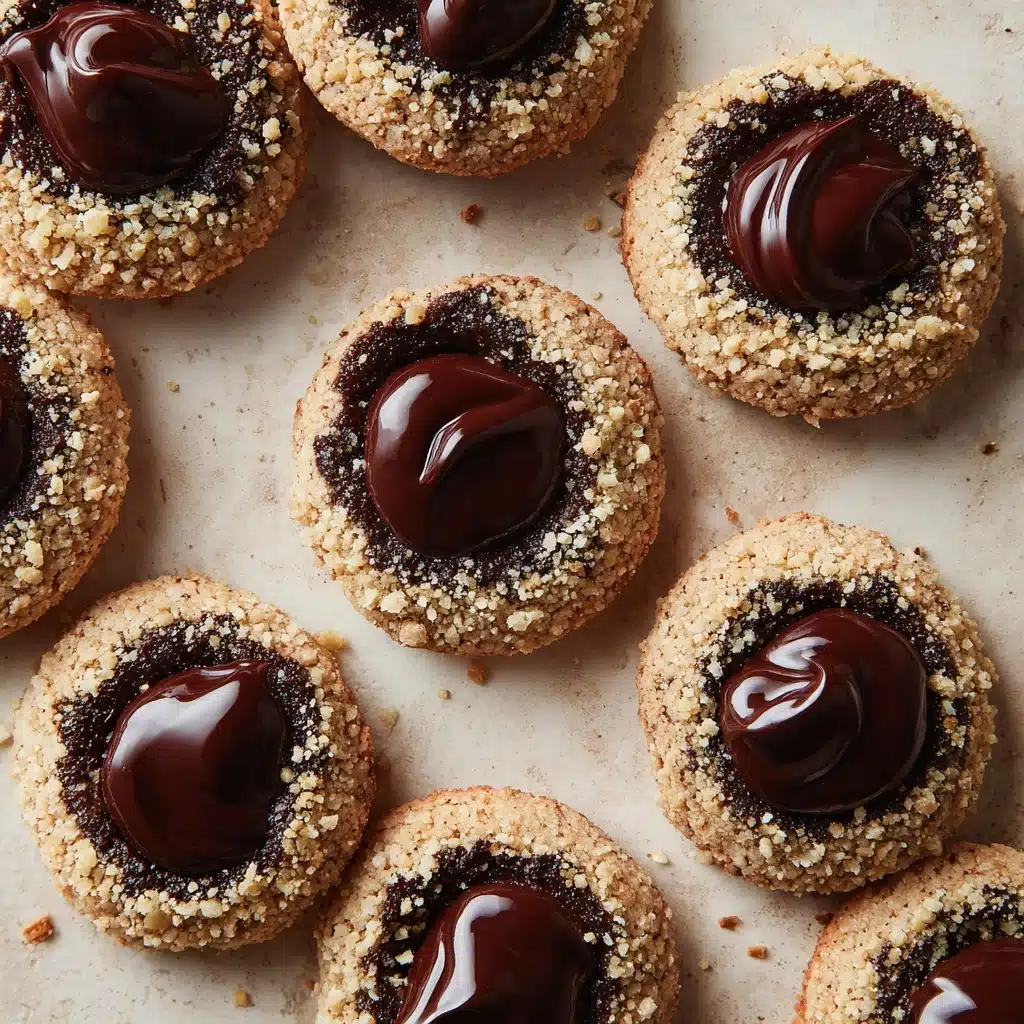
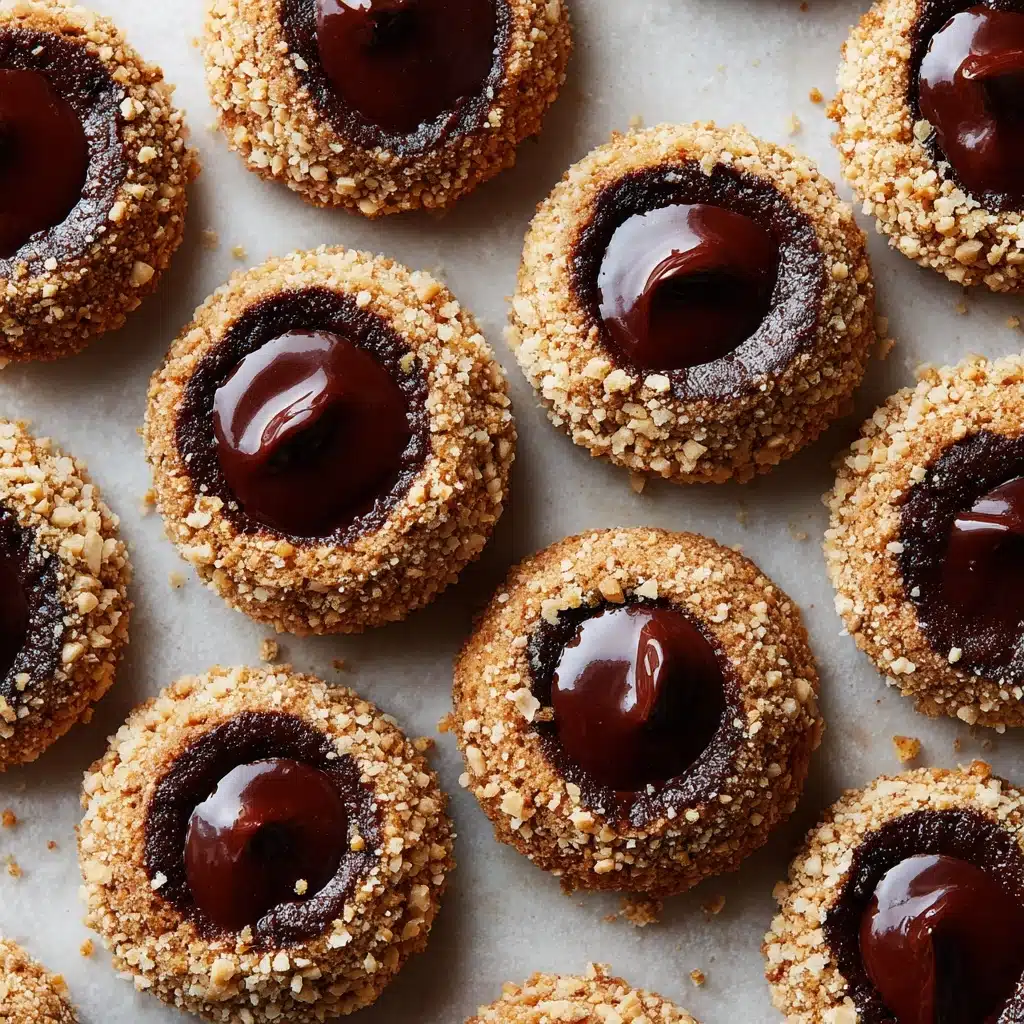
Chocolate Hazelnut Thumbprint Cookies Recipe
If you are craving a cookie that perfectly balances rich chocolate flavor with the irresistible crunch and nuttiness of hazelnuts, then you’re in for a treat with this Chocolate Hazelnut Thumbprint Cookies Recipe. These charming little cookies are soft yet sturdy, with a rich cocoa-based dough rolled in chopped hazelnuts that delivers texture and depth, all crowned with a luscious dollop of chocolate hazelnut spread right in the center. They are simple to make, utterly delicious, and guaranteed to become a favorite in your cookie collection or holiday treat lineup.

Ingredients You’ll Need
These ingredients are straightforward but come together beautifully to create a cookie that’s both velvety and crunchy. Each element plays a vital role, from the butter that lends richness and tenderness, to the chopped hazelnuts adding delightful texture and flavor contrast.
- 1 cup (2 sticks) unsalted butter, softened: Provides the creamy base essential for tender cookies.
- 2/3 cup granulated sugar: Adds sweetness and helps achieve a light, fluffy dough.
- 2 teaspoons vanilla extract: Infuses a warm, fragrant note that complements the chocolate perfectly.
- 2 cups all-purpose flour: The backbone of the dough, giving structure and body.
- 1/2 cup cocoa powder: Delivers deep chocolate flavor and a rich dark color.
- 1/2 teaspoon salt: Enhances all the flavors and balances the sweetness.
- 1/2 cup hazelnuts, finely chopped (for rolling): Adds a crunchy coating with a toasted nut flavor.
- 1/2 cup chocolate hazelnut spread (such as Nutella): The luscious filling that makes these cookies truly special.
- Extra whole hazelnuts for garnish (optional): For a pretty finish and added crunch.
How to Make Chocolate Hazelnut Thumbprint Cookies Recipe
Step 1: Preheat the Oven and Prepare Baking Sheets
Start by heating your oven to 350°F (175°C). Line two baking sheets with parchment paper, which will prevent the cookies from sticking and make cleanup a breeze. This simple prep step sets the stage for the perfect bake.
Step 2: Cream the Butter and Sugar
In a large mixing bowl, use an electric mixer to cream together the softened butter and granulated sugar until the mixture is light and fluffy, about 3 to 5 minutes. The creaming process is important as it incorporates air, ensuring the cookies will have a tender texture. Then, mix in the vanilla extract to add a lovely aromatic touch.
Step 3: Combine the Dry Ingredients
In a separate bowl, whisk together the all-purpose flour, cocoa powder, and salt. This dry mixture brings all the dry elements evenly together, which makes it easier to incorporate into the wet ingredients without clumping.
Step 4: Mix Dry Ingredients into Butter Mixture
Gradually add the dry ingredients to the butter and sugar mixture. Mix until just combined and you form a firm but pliable dough. The dough should hold together well without feeling greasy or crumbly, perfect for shaping.
Step 5: Shape the Cookies
Roll the dough into small balls about 1 inch in diameter. Gently roll each ball in the finely chopped hazelnuts, making sure they’re coated nicely for that perfect crunch with every bite. Place each coated dough ball onto your prepared baking sheets, spacing them about 2 inches apart to allow for gentle spreading.
Step 6: Create Indentations
Using your thumb or the back of a small spoon, press a gentle indentation into the center of each cookie ball. This classic thumbprint step is what will hold the delicious chocolate hazelnut spread later, so be generous but careful not to press too hard and flatten the cookie completely.
Step 7: Bake the Cookies
Pop the baking sheets into your preheated oven and bake for about 12 to 14 minutes. The cookies should appear set but still soft when touched — they will firm up as they cool. This careful baking time ensures that the cookies stay tender without becoming dry.
Step 8: Add Chocolate Filling
Remove the cookies from the oven and while they are still warm, gently press the indentations again if they have puffed up during baking. Spoon about a teaspoon of chocolate hazelnut spread into each indentation. For an extra special touch and crunch, press a whole hazelnut into the center of the spread.
Step 9: Cool and Serve
Allow the cookies to cool on the baking sheets for 5 minutes to set up, then transfer them to a wire rack to cool completely. This will help the cookies hold their shape and the filling to firm slightly, making each bite perfectly indulgent.
How to Serve Chocolate Hazelnut Thumbprint Cookies Recipe
Garnishes
A scatter of powdered sugar over the cooled cookies adds a delicate sweetness and a festive look. For a more decadent presentation, you can drizzle melted dark or white chocolate in thin lines across the tops, or sprinkle finely chopped toasted hazelnuts to amplify their nutty charm.
Side Dishes
These cookies pair wonderfully with a warm cup of coffee or a rich hot chocolate—perfect for an afternoon treat or after-dinner indulgence. You can also offer a simple glass of cold milk to balance the richness, making this a snack that both kids and adults adore.
Creative Ways to Present
For gifting or holiday parties, arrange these cookies in a decorative tin lined with parchment paper or nestle them among festive greenery on a serving platter. You can even layer them inside clear jars or cellophane bags tied with a bright ribbon to make a charming homemade gift that speaks volumes about your thoughtfulness.
Make Ahead and Storage
Storing Leftovers
Store your leftover Chocolate Hazelnut Thumbprint Cookies in an airtight container at room temperature. They will stay fresh and chewy for up to 5 days. Be sure to layer them with parchment paper to keep them from sticking together or losing their crunch.
Freezing
You can freeze the unbaked dough balls by rolling and coating them in hazelnuts first, then placing them in a single layer on a baking sheet to freeze. Once frozen solid, transfer them to a freezer bag and bake directly from frozen, adding a couple of extra minutes to the bake time. Or freeze the fully baked cookies in an airtight container for up to 3 months.
Reheating
To refresh the flavor and texture, warm baked cookies in a low oven at 300°F (150°C) for 5 to 7 minutes. This step revives their softness and makes the chocolate filling pleasantly gooey again, as if they were freshly baked.
FAQs
Can I substitute hazelnuts with another nut?
Absolutely! While hazelnuts give these cookies their signature flavor and crunch, you can use finely chopped almonds, pecans, or walnuts instead. Just be aware that each nut has a distinct taste that will change the cookie’s character slightly.
Is it necessary to use cocoa powder in the dough?
Yes, cocoa powder provides the essential chocolate flavor and rich color that distinguishes this recipe. Omitting it would produce a completely different cookie, so it’s best to keep it for that authentic chocolate hazelnut taste.
Can I use salted butter instead of unsalted?
If you only have salted butter on hand, you can use it, but reduce or omit the added salt in the recipe to avoid over-salting your cookies. Unsalted butter offers better control over salt levels in baking, but salted butter works in a pinch.
How do I prevent the filling from leaking out during baking?
In this recipe, the chocolate hazelnut spread is added after baking to avoid melting and leaking. If you add the filling before baking, it may spread out, so it’s best to wait until the cookies have cooled slightly.
What’s the best way to soften butter for this recipe?
Leave the butter out at room temperature for about 30 to 60 minutes until it’s soft but not melted. If you’re in a hurry, you can carefully soften it in short bursts in the microwave, but be sure not to melt it completely.
Final Thoughts
This Chocolate Hazelnut Thumbprint Cookies Recipe is a delightful way to bake up something that looks impressive but feels completely doable for any home baker. With the richness of cocoa, the crunch of toasted hazelnuts, and the gooey chocolate hazelnut center, these cookies offer a joyful experience in every bite. I wholeheartedly encourage you to give this recipe a try, whether as a cozy weekend project or for sharing with loved ones at your next gathering—you won’t be disappointed!