Chocolate Lava Cakes Recipe
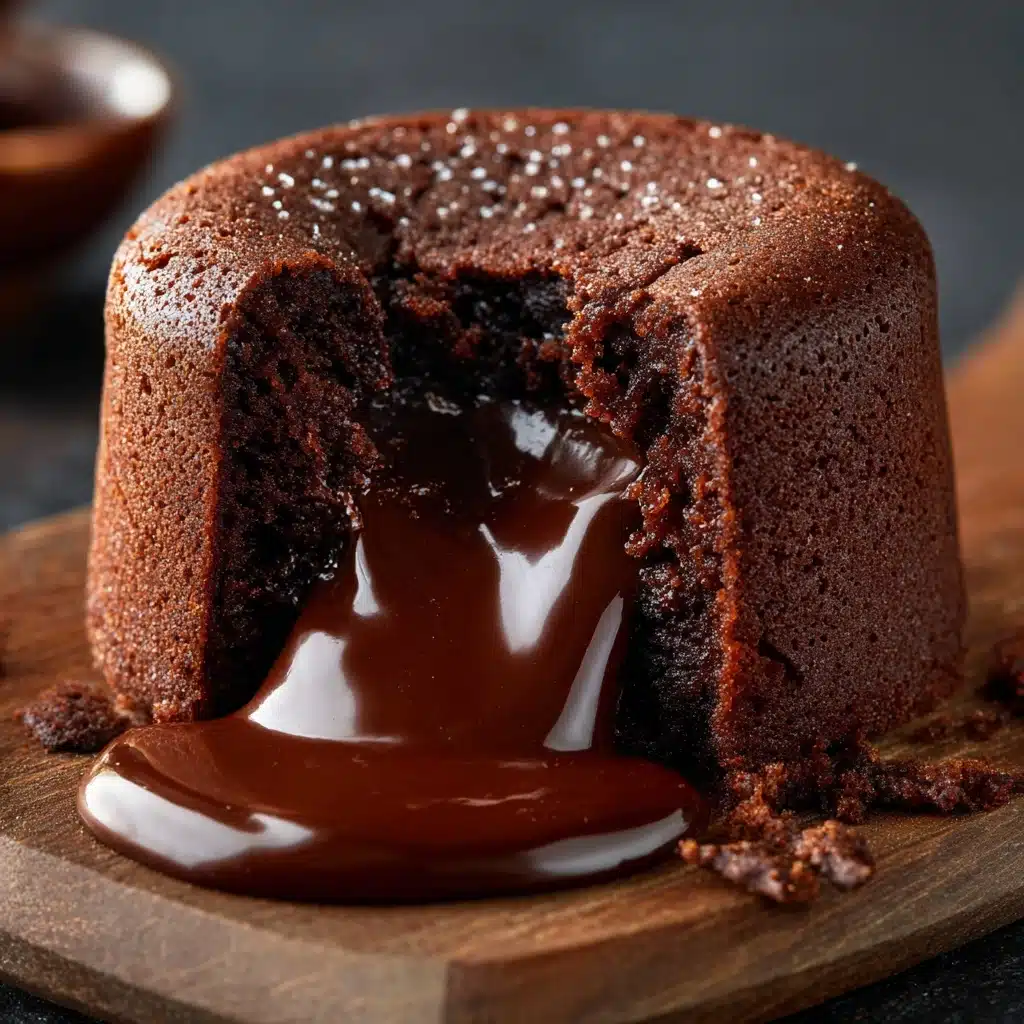
If you adore warm, gooey desserts that feel like a special celebration in every bite, then Chocolate Lava Cakes are about to become your new best friend. These rich individual cakes boast a perfectly baked exterior with a molten, flowing chocolate center that spills out the moment your fork cuts in. They have that wonderful balance of elegance and simplicity, making them ideal for impressing guests or indulging in a luxurious treat anytime you want something truly decadent but not overly complicated.
Ingredients You’ll Need
Gathering the right ingredients for Chocolate Lava Cakes is delightfully straightforward, yet each one plays a crucial role in achieving that silky smooth texture and deep chocolate flavor. From rich butter to the pinch of salt that gives a subtle lift, every element is essential to perfecting this luscious dessert.
- ½ cup butter: Adds creamy richness and helps create that melt-in-your-mouth texture.
- 4 oz dark chocolate: The star of the show, providing intense, bittersweet flavor and glossy silkiness.
- 2 eggs + 2 yolks: Give the cakes their structure while keeping them tender and moist.
- ½ cup sugar: Sweetens the batter just enough to balance the dark chocolate’s boldness.
- ¼ cup flour: Keeps everything together without weighing the cakes down.
- Pinch salt: Enhances the chocolate notes and rounds out the flavors beautifully.
How to Make Chocolate Lava Cakes
Step 1: Melt Butter and Chocolate
Begin by gently melting the butter and dark chocolate together until they form a smooth, glossy mixture. This step is key because any lumps can affect the silky texture of your lava cakes. Use a double boiler or microwave in short bursts, stirring frequently to avoid burning the chocolate.
Step 2: Whisk Eggs, Yolks, and Sugar
In a separate bowl, vigorously whisk the eggs, additional egg yolks, and sugar until the mixture becomes pale yellow and slightly fluffy. This process incorporates air, which helps the cakes rise beautifully while maintaining their soft centers.
Step 3: Fold in Chocolate Mixture, Flour, and Salt
Carefully fold the melted chocolate and butter blend into your egg mixture, followed by the flour and a pinch of salt. The folding technique is important here; it ensures the batter stays light and airy, preventing the lava cakes from turning dense.
Step 4: Prepare and Fill Ramekins
Grease your ramekins generously to ensure easy removal of the cakes after baking. Pour the batter evenly into each one, filling them about three-quarters full to leave room for slight rising.
Step 5: Bake at 425°F (220°C) for 11–12 Minutes
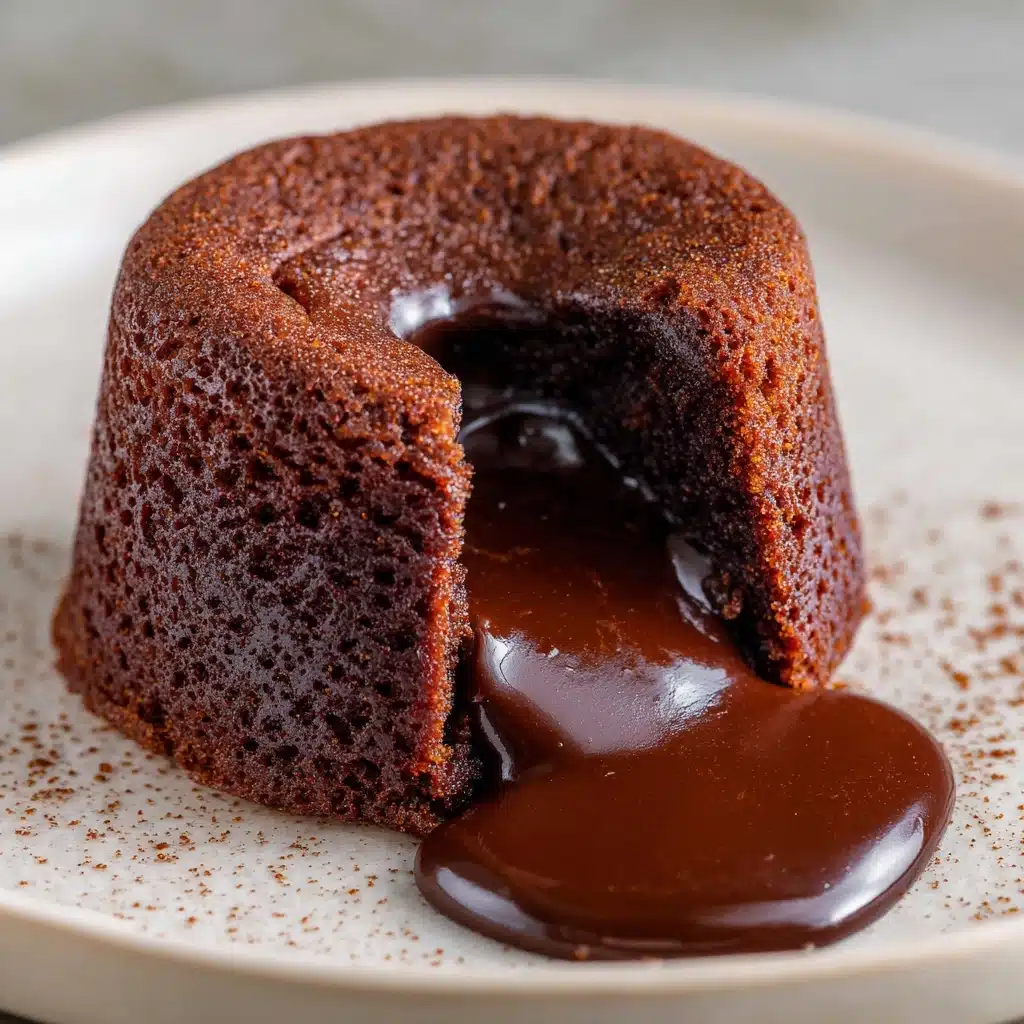
Place the ramekins in the oven and bake until the edges are set but the center remains soft and slightly jiggly. The timing is crucial to achieve that molten core; too long and you’ll lose the lava effect, too short and the cakes won’t hold their shape.
How to Serve Chocolate Lava Cakes
Garnishes
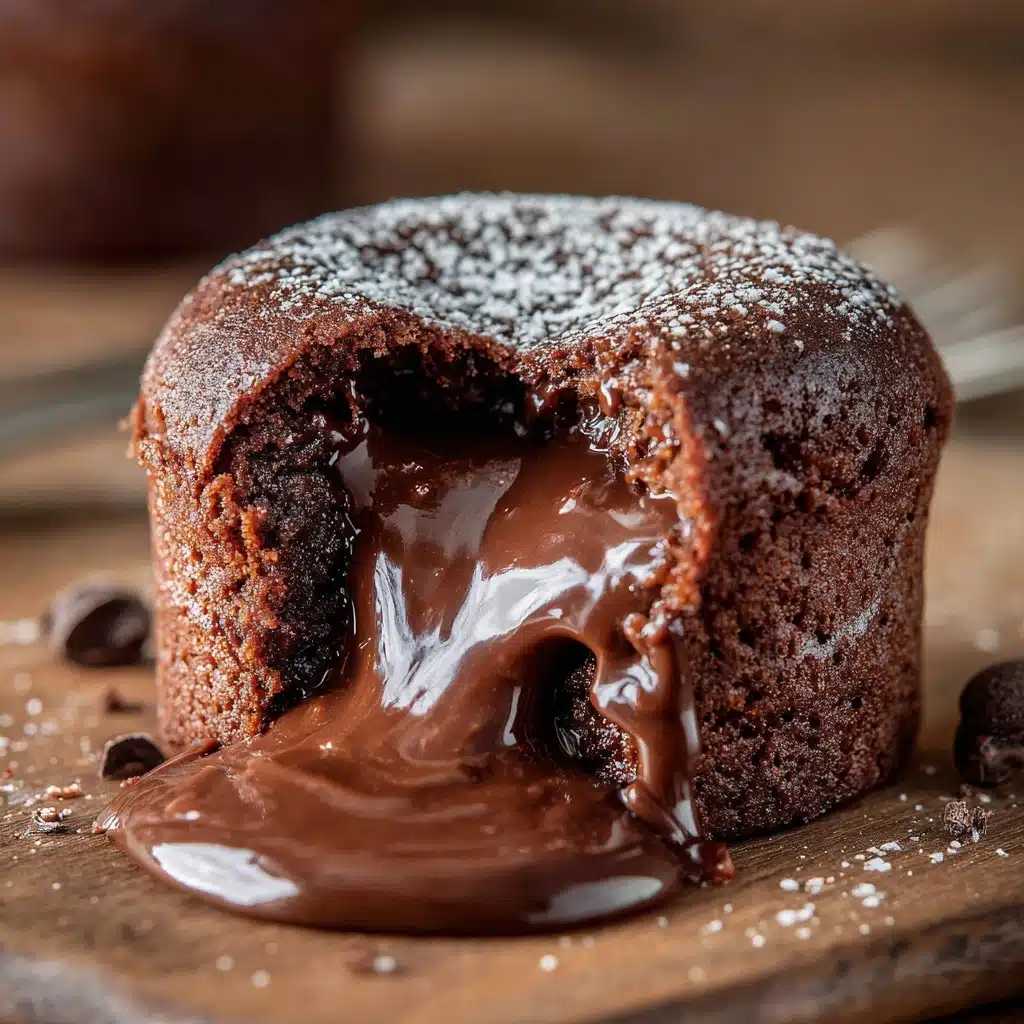
Simple garnishes elevate the experience—dusting with powdered sugar adds a delicate sweetness and aesthetic appeal, while a fresh few berries lend a bright contrast to the rich chocolate. A sprig of mint can also add a hint of freshness that pairs beautifully.
Side Dishes
Though the cakes steal the spotlight, pairing them with a generous scoop of vanilla ice cream creates an irresistible warm-cold contrast. Alternatively, whipped cream or a drizzle of raspberry coulis adds layers of flavor and texture to enjoy.
Creative Ways to Present
For a fun twist, serve your Chocolate Lava Cakes in mini cast iron skillets or on decorative plates with a side of fresh fruit. You can also try topping them with a sprinkle of toasted nuts or a shard of sea salt chocolate for an extra-special touch that will wow your guests.
Make Ahead and Storage
Storing Leftovers
Chocolate Lava Cakes are best enjoyed fresh, but if you have leftovers, store them in an airtight container in the refrigerator for up to two days. Keep in mind the molten centers may firm up, so gentle reheating is recommended.
Freezing
You can freeze unbaked batter in greased ramekins, tightly wrapped in plastic wrap and foil, for up to one month. When ready to bake, thaw overnight in the refrigerator and then bake as usual, adding a minute or two if needed to accommodate the colder starting temperature.
Reheating
Reheat baked Chocolate Lava Cakes in a preheated oven at 350°F (175°C) for about 5-7 minutes or until warm and soft inside. Avoid microwaving if possible, as it can cause uneven heating and loss of that perfectly molten core texture.
FAQs
Can I use milk chocolate instead of dark chocolate?
Absolutely! Using milk chocolate will result in a sweeter, creamier lava cake, but keep in mind it may be less rich and intense than with dark chocolate. If you love a softer chocolate flavor, it’s a great alternative.
Why did my lava cake not have a molten center?
The most common reason is overbaking. Lava cakes must be baked just until the edges are set but the center is still soft. Be sure to watch the timer closely and test with a gentle jiggle.
Can I prepare these for a larger group?
Yes! Simply multiply the ingredients accordingly and bake your cakes in individual ramekins. It’s perfect for dinner parties because each guest gets their own perfectly portioned cake.
What if I don’t have ramekins?
If you don’t have ramekins, small oven-safe cups or muffin tins with paper liners can work, though the cooking time may vary slightly. Just keep an eye on them and adjust baking times as needed.
Can I add flavors like coffee or orange zest?
Definitely! Adding a teaspoon of espresso powder or a hint of orange zest to the batter can add exciting depth and complement the chocolate beautifully. Experimenting with flavors is part of the fun!
Final Thoughts
I hope you’re inspired to whip up these irresistible Chocolate Lava Cakes soon. They bring together the magic of molten chocolate, the comfort of a warm dessert, and the joy of homemade indulgence without fuss. Once you’ve experienced that first, luscious forkful, you’ll understand why they’re a beloved classic for good reason. Happy baking and even happier tasting!