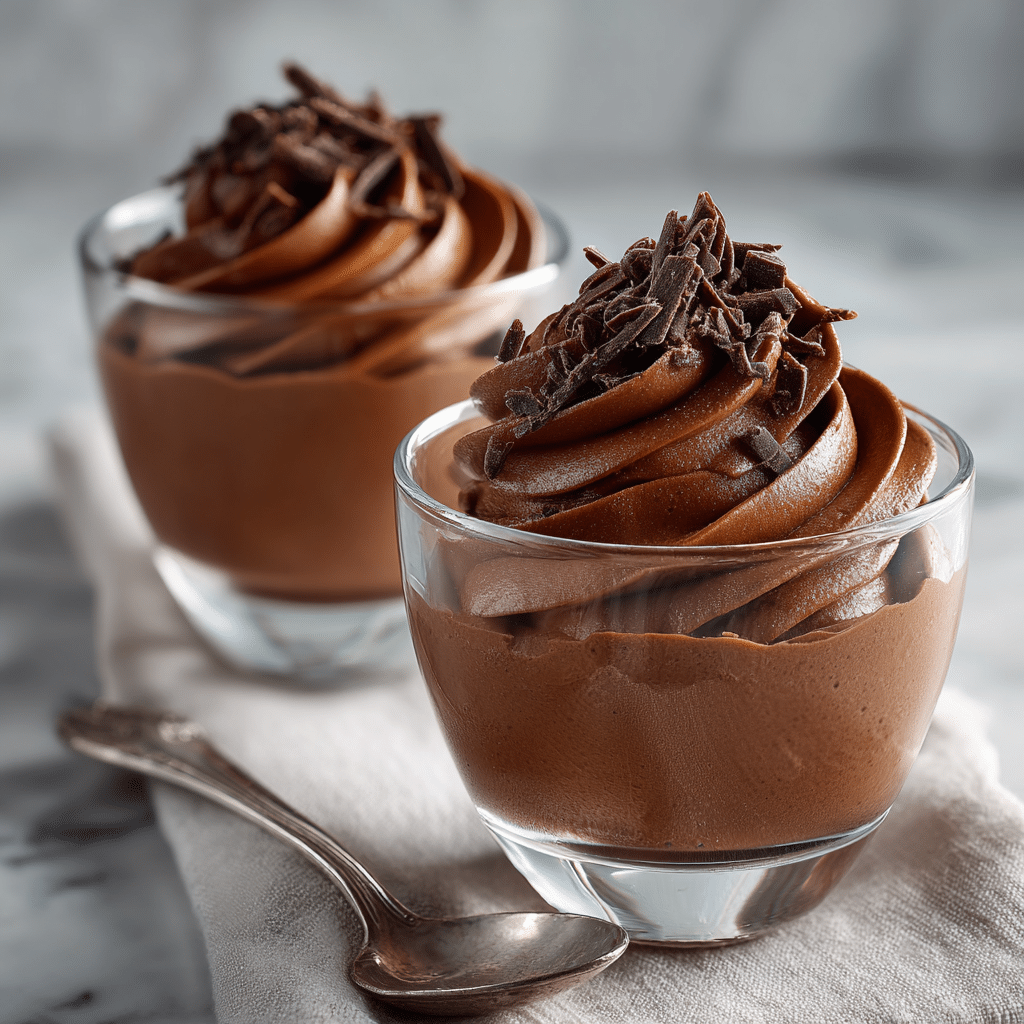
Chocolate Mousse Cups Recipe
If you are looking for a dessert that combines elegance, simplicity, and irresistible flavor, these Chocolate Mousse Cups are an absolute must-try. Imagine a luscious, velvety chocolate mousse that’s perfectly airy and light, nestled in a dainty cup and topped with a cloud of sweet whipped cream. This dessert looks stunning on any occasion and feels like a decadent treat with every spoonful. Whether you’re impressing guests or indulging in a quiet moment of pure chocolate bliss, Chocolate Mousse Cups deliver satisfaction in every bite.

Ingredients You’ll Need
The beauty of making Chocolate Mousse Cups lies in the simplicity of ingredients. Each component is carefully chosen to create the perfect balance of rich, creamy texture and a subtly sweet finish.
- 1 cup melted dark chocolate: Use high-quality chocolate with at least 60% cocoa for a deep, intense chocolate flavor that melts beautifully into the mousse.
- 1 cup whipped cream: Freshly whipped cream adds lightness and an airy texture that contrasts wonderfully with the dense chocolate.
- 2 tbsp sugar: Just enough sweetness to balance the bittersweet chocolate without overwhelming it.
How to Make Chocolate Mousse Cups
Step 1: Prepare the Chocolate
Start by melting your dark chocolate slowly over a double boiler or in short bursts in the microwave, stirring frequently to avoid any burning or graininess. This step is crucial because the texture of the melted chocolate sets the base for your mousse—smooth and silky is the goal.
Step 2: Whip the Cream
Next, whip the fresh cream until soft peaks form. This means when you lift the whisk, the cream should hold a gentle peak that slightly folds back on itself. This stage is what gives the mousse its wonderfully fluffy and light structure.
Step 3: Combine Chocolate and Cream
Now comes the magic moment—gently fold the melted chocolate into the whipped cream. Folding, rather than stirring vigorously, keeps the mixture airy. Take your time and be gentle so you don’t deflate all the lovely air you just whipped into the cream.
Step 4: Add the Sugar
Sprinkle in the sugar and carefully fold it into the mixture. The sugar will dissolve smoothly, enhancing the sweetness without any graininess.
Step 5: Spoon into Cups and Chill
Spoon your luscious chocolate mousse into small serving cups or ramekins. Chill in the refrigerator for at least an hour, allowing the mousse to set firm enough to hold its shape but still melt in your mouth. The chill also enhances the flavor and texture, making each bite refreshing.
How to Serve Chocolate Mousse Cups
Garnishes
Adding a garnish can elevate your Chocolate Mousse Cups from simple to stunning. Classic options include a dollop of whipped cream, a sprinkle of cocoa powder, or a few shavings of dark chocolate. Fresh berries like raspberries or strawberries add a pop of color and a tangy contrast that pairs beautifully with the chocolate richness.
Side Dishes
Although these cups shine on their own, pairing them with light sides can round out your dessert experience. Consider serving them alongside crisp biscotti, almond tuile cookies, or a small bowl of fresh fruit salad for a refreshing balance.
Creative Ways to Present
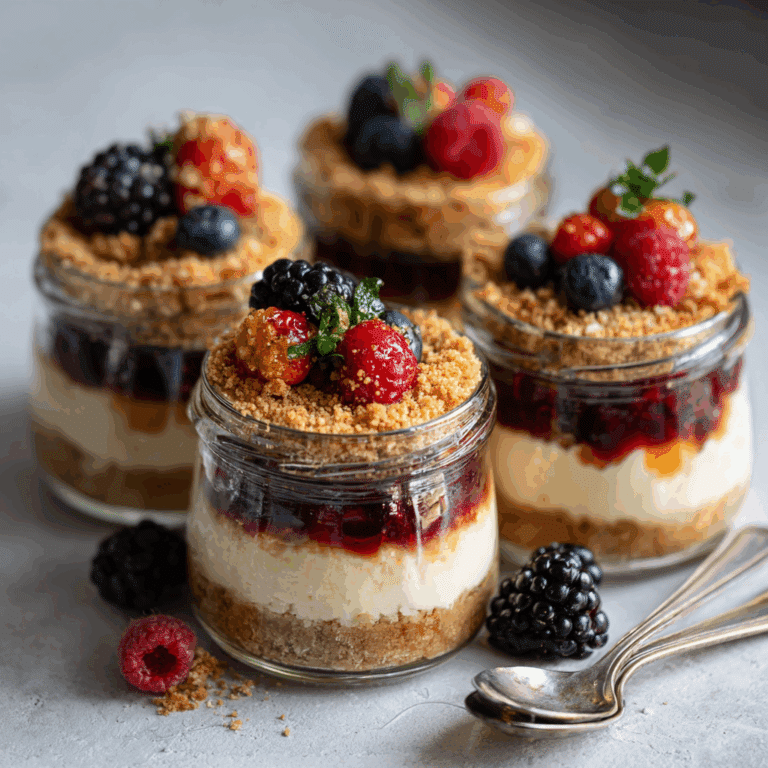
Don’t hesitate to get creative with presentation. Use small mason jars or elegant glassware to show off the mousse layers. You can also pipe the mousse into cups for a clean, professional look. For a themed party, garnish with edible gold leaf or mint leaves to add flair.
Make Ahead and Storage
Storing Leftovers
Chocolate Mousse Cups keep well in the refrigerator for up to 3 days. Cover them tightly with plastic wrap or use airtight containers to prevent the mousse from absorbing any odors or drying out. Just give them a gentle stir before serving to refresh the texture if needed.
Freezing
Freezing is possible but not ideal because the mousse’s delicate texture can become a bit grainy when thawed. If you do freeze them, place them in airtight containers and consume within one month. Thaw overnight in the fridge before serving.
Reheating
Since mousse is best served cold, reheating is not recommended. Keep the cups chilled and enjoy them fresh for the best taste and texture experience.
FAQs
Can I use milk chocolate instead of dark chocolate?
Absolutely! Using milk chocolate will result in a sweeter, creamier mousse, but it might be less intense in chocolate flavor. Feel free to adjust the sugar amount accordingly to balance the sweetness.
Is it necessary to fold the chocolate into the whipped cream gently?
Yes, gentle folding helps keep the mousse light and airy. Stirring too vigorously can deflate the whipped cream, resulting in a denser texture instead of that classic fluffiness you want in Chocolate Mousse Cups.
Can I make this recipe vegan or dairy-free?
For a vegan version, try using coconut cream whipped to soft peaks and dairy-free dark chocolate. Just be mindful to choose chocolate without milk ingredients to keep it fully vegan.
How long does it take for Chocolate Mousse Cups to set?
Typically, chilling for at least one hour is enough for the mousse to firm up nicely. For a firmer texture, you can leave it in the fridge for up to three hours before serving.
Can I add flavorings to this mousse?
Definitely! A teaspoon of vanilla extract, a splash of espresso, or a hint of orange zest can beautifully complement the chocolate and create a personalized twist on your Chocolate Mousse Cups.
Final Thoughts
Chocolate Mousse Cups are truly a delightful dessert that’s as fun to make as they are delicious to eat. Their simple ingredients and straightforward steps mean you can whip them up anytime you crave a little chocolate luxury. Give them a try—you might just find you have a new favorite dessert to share with friends and family!