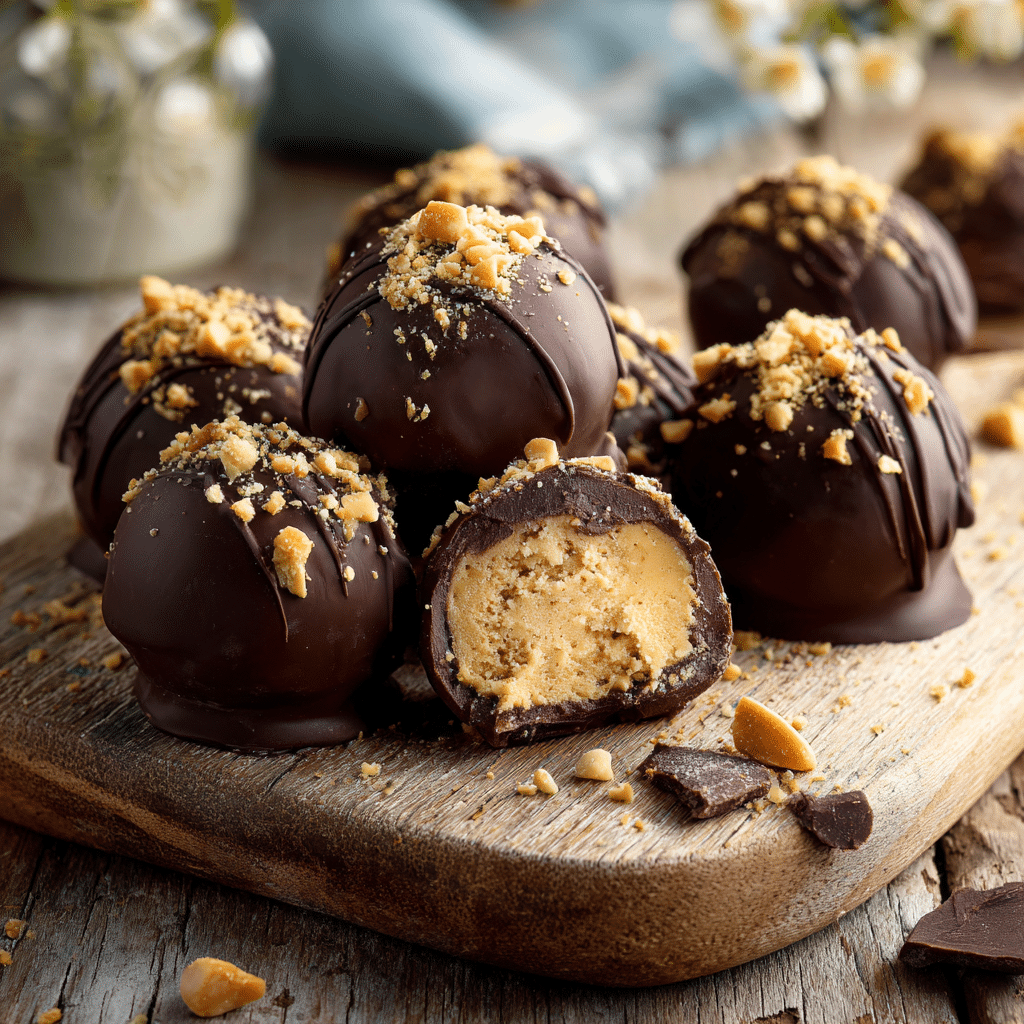
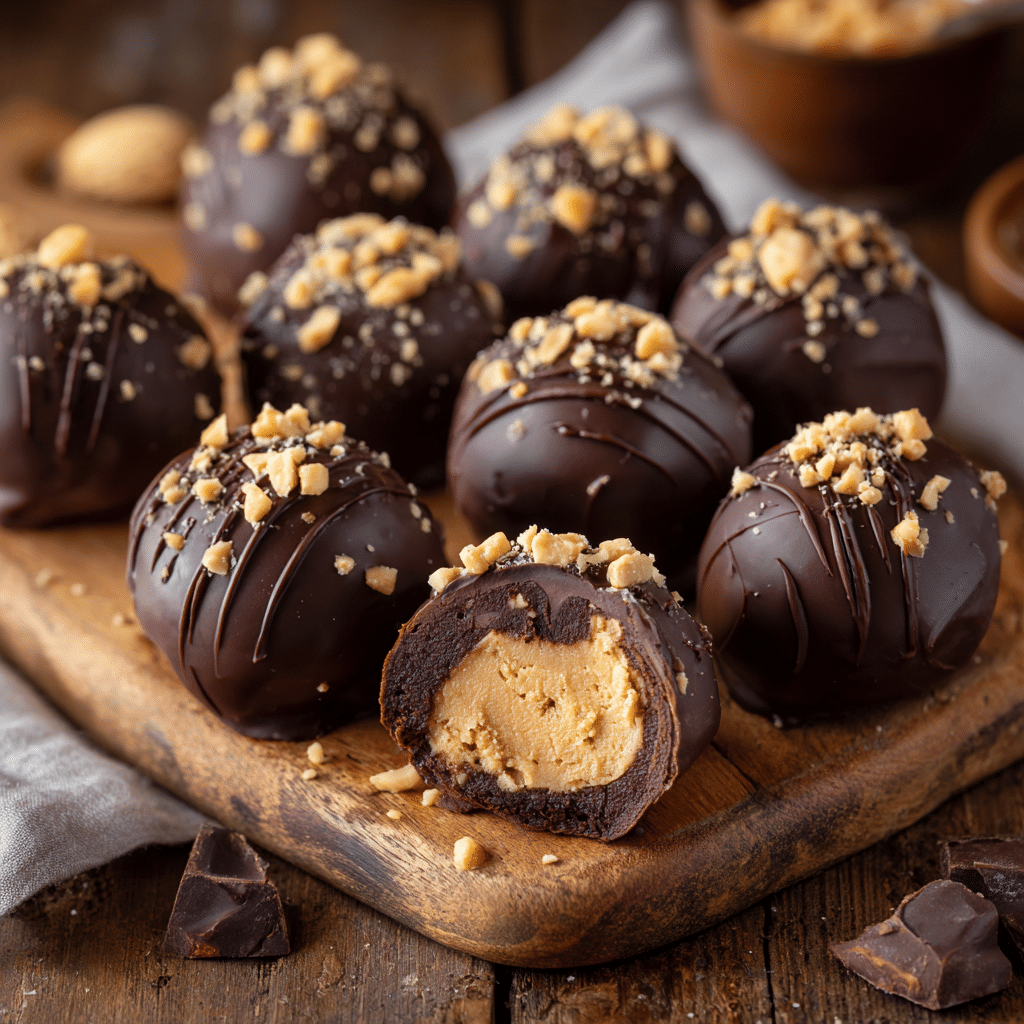
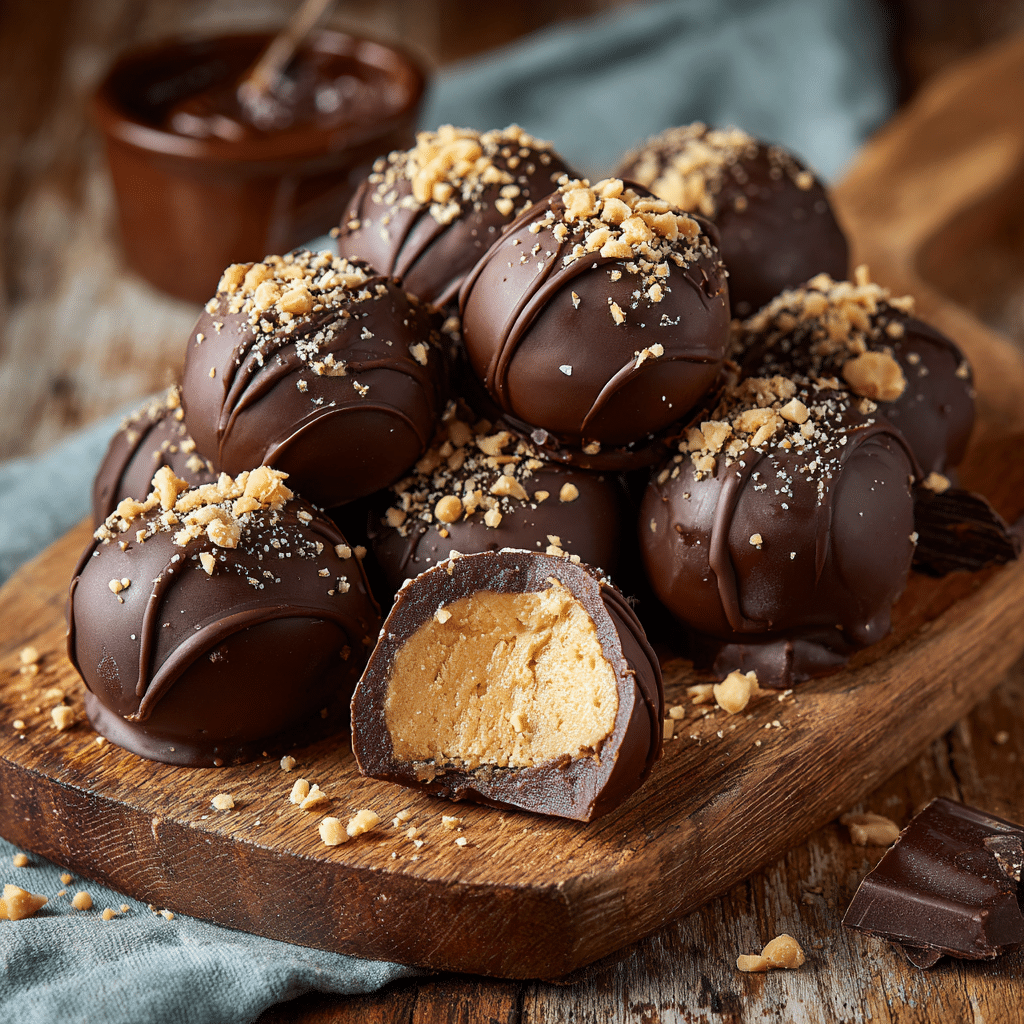
Chocolate Peanut Butter Balls Recipe
If you’re on the hunt for a treat that’s both indulgent and simple, these Chocolate Peanut Butter Balls will quickly become your go-to dessert. Imagine the creamy richness of peanut butter combined with the comforting sweetness of chocolate, all wrapped up in bite-sized balls that are perfect for any occasion. This no-bake delight offers a lovely balance of flavors and textures, satisfying your sweet tooth without the fuss of complicated steps or long oven times. Whether you need a quick snack or a crowd-pleasing dessert, these Chocolate Peanut Butter Balls are delightful proof that sometimes the simplest recipes are the most memorable.
Ingredients You’ll Need
This recipe relies on just a handful of easy-to-find ingredients, each playing a special role in delivering the perfect chewy, chocolatey, and nutty bite. The beauty of these ingredients lies in their simplicity and how well they come together to create such a luscious, satisfying dessert.
- Peanut butter: Use creamy peanut butter for a smooth texture and rich flavor that binds everything together.
- Oats: Rolled oats add a subtle nuttiness and help give the balls their pleasant chew.
- Honey: Acts as a natural sweetener and lends a slight stickiness that holds the mixture in place.
- Melted chocolate: Provides a luxurious coating that makes each ball an irresistible treat and adds a beautiful glossy finish.
How to Make Chocolate Peanut Butter Balls
Step 1: Combine the Base Ingredients
In a mixing bowl, stir together the peanut butter, oats, and honey until fully combined. This mixture should be sticky yet manageable, making it easy to roll into balls later. Take your time here to ensure the honey is evenly distributed so every bite has just the right amount of sweetness.
Step 2: Shape the Balls
Using your hands, roll the mixture into small, bite-sized balls. If the mixture feels too sticky, lightly wet your hands with water to make the rolling process smoother. Aim for uniform sizes so that they chill evenly and look polished.
Step 3: Dip in Melted Chocolate
Carefully dip each peanut butter ball into the melted chocolate, ensuring it’s fully coated. This step adds a fantastic richness and a bit of crunch once the chocolate sets. You can use a fork or a dipping tool for an easy and clean process.
Step 4: Chill Until Set
Place the coated balls on a parchment-lined tray and pop them into the refrigerator for about 30 minutes. This chilling time is crucial to allow the chocolate to harden and the balls to firm up, making them easier to handle and even more enjoyable to eat.
Step 5: Serve and Enjoy
Once chilled, your Chocolate Peanut Butter Balls are ready to wow! Serve them fresh from the fridge for the best combination of creamy, chewy, and crisp textures that are simply irresistible.
How to Serve Chocolate Peanut Butter Balls
Garnishes
While the rich chocolate coating is stunning on its own, a sprinkle of crushed peanuts or a dusting of cocoa powder can take these balls up a notch. Adding a tiny pinch of sea salt on top will contrast beautifully with the sweetness and deepen the flavor.
Side Dishes
These balls pair wonderfully with a cup of fresh coffee or a glass of cold milk, making them the perfect quick pick-me-up or dessert after a comforting meal. They also complement fruit platters or a light scoop of vanilla ice cream for an extra special touch.
Creative Ways to Present
For parties or gifting, arrange the Chocolate Peanut Butter Balls in mini paper cupcake liners or stack them on a decorative platter. You can drizzle additional melted white or dark chocolate over the top for an elegant look. Wrapping them individually in colorful wax paper creates a charming homemade gift ready to brighten anyone’s day.
Make Ahead and Storage
Storing Leftovers
Keep any leftover Chocolate Peanut Butter Balls in an airtight container in the refrigerator. They stay fresh and tasty for up to one week, making them a perfect make-ahead snack. Just be sure to keep them chilled so that the chocolate coating doesn’t soften.
Freezing
These treats freeze beautifully if you want to extend their shelf life. Place them on a baking sheet to freeze individually before transferring to a freezer-safe container. When stored properly, they can last for up to two months without losing their delicious texture or flavor.
Reheating
While these balls are best enjoyed chilled, if you prefer a slightly softer texture, allow them to sit at room temperature for about 10 minutes before serving. Avoid microwaving as it can affect the texture of the chocolate and peanut butter mixture.
FAQs
Can I use crunchy peanut butter instead of creamy?
Absolutely! Crunchy peanut butter will add a lovely texture contrast inside each ball, but keep in mind it may slightly affect the smoothness of the mixture when rolling.
Is there a substitute for honey in this recipe?
Yes, you can use maple syrup or agave nectar as natural sweeteners. They will keep the mixture sticky and add a subtle twist in flavor.
Can I make these nut-free?
To make nut-free versions, try sunflower seed butter or soy nut butter as alternatives to peanut butter. The taste will differ but still yield tasty results.
How long do Chocolate Peanut Butter Balls last at room temperature?
It’s best to keep them refrigerated because the peanut butter and chocolate can soften at room temperature, especially in warm climates, which might affect their shape and texture.
Can I add extras like chocolate chips or dried fruit?
Definitely! Small chocolate chips, dried cranberries, or chopped nuts can be mixed into the base for extra texture and fun flavor combinations. Just keep the ratios balanced to maintain rollability.
Final Thoughts
Making these Chocolate Peanut Butter Balls is such a rewarding experience, especially when you see how just a few simple ingredients can transform into something utterly delicious. They’re perfect for sharing with friends, savoring as a quick energy boost, or adding a homemade touch to your dessert table. So go ahead and give this recipe a try—your taste buds will thank you, and you might just find your new favorite sweet treat!