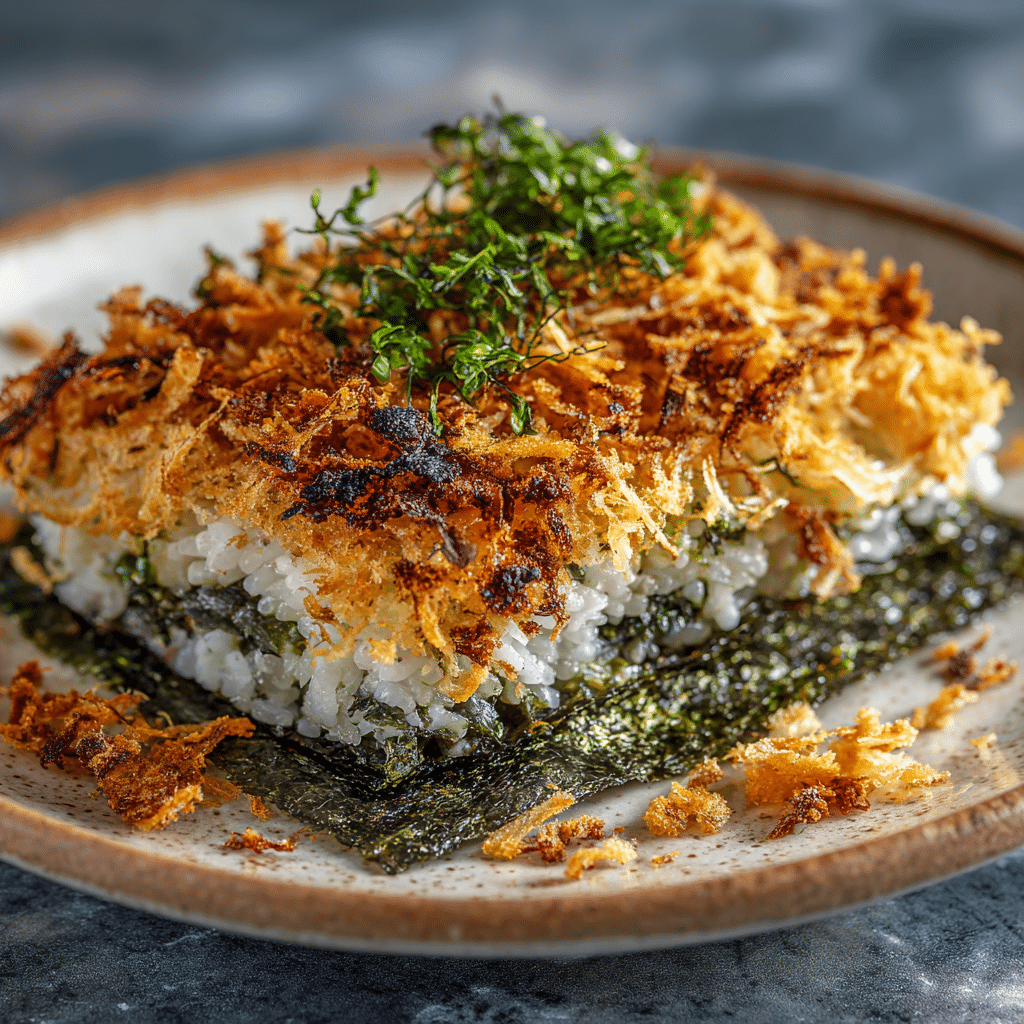
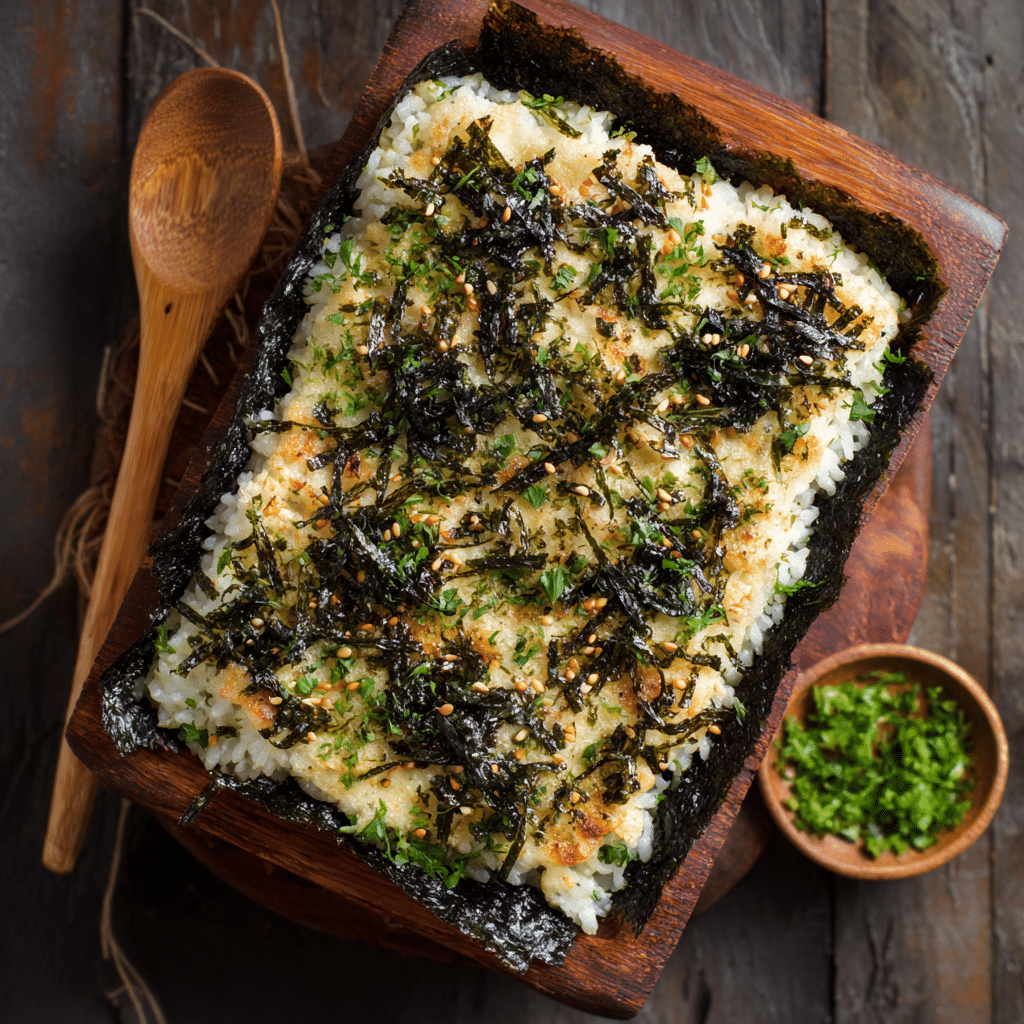
Creamy Rice-Stuffed Nori Bake (Open Sheet) Recipe
If you love sushi-inspired dishes but want something with a cozy, comforting twist, the Creamy Rice-Stuffed Nori Bake (Open Sheet) is going to become one of your new favorites. This dish takes the essence of sushi—seasoned rice, creamy filling, and delicate nori—and transforms it into a warm, layered bake that’s simple to prepare yet full of big, bold flavors. The contrast between the crispy edges of the nori sheet and the smooth, rich cream cheese mixture makes every bite an exciting bite of texture and taste. Plus, it’s incredibly versatile for serving at casual dinners or impressing friends with a unique take on traditional sushi elements.
Ingredients You’ll Need
Don’t be fooled by the simplicity of the ingredients; each one plays a crucial role in balancing the creaminess, umami, and texture in this scrumptious bake. Together, they create a harmony that makes this dish truly sing.
- Nori sheets: These seaweed sheets provide a wonderfully crispy and slightly salty base that holds everything together.
- Cooked sushi rice: Perfectly sticky rice forms the foundation, helping the bake maintain its shape and delivering that classic sushi bite.
- Cream cheese: Adds luscious creaminess and a gentle tang that complements the savory rice and nori.
- Soy sauce: A splash of this classic umami powerhouse seasons the creamy mixture, deepening the flavor profile beautifully.
How to Make Creamy Rice-Stuffed Nori Bake (Open Sheet)
Step 1: Prepare Your Base
Start by arranging your nori sheets evenly and flat in a baking dish. It’s important to use an open, flat surface so that the rice layer can spread out nicely and bake with an even, crisp texture at the edges. This sets the stage for the rest of the magic.
Step 2: Spread the Rice Layer
Take your cooked sushi rice—make sure it’s slightly cooled—and gently spread it over the nori. Aim for a uniform layer about half an inch thick. This sticky but fluffy rice layer acts like the heart of the bake, delivering that essential sushi flavor without any fuss.
Step 3: Mix and Add the Creamy Filling
In a bowl, blend together the cream cheese with a generous drizzle of soy sauce until smooth and creamy. This mixture will add richness and a punch of umami in every bite. Carefully dollop and spread this creamy blend evenly over the rice layer, ensuring it covers it completely but remains an inviting layer on top.
Step 4: Bake to Perfection
Place your assembled dish into a preheated oven and bake until the edges of the nori just start crisping and the filling warms through—about 15 to 20 minutes. This gentle baking melds all the flavors, making the textures dance between creamy, crunchy, and chewy with every forkful.
Step 5: Slice and Serve
Once baked, let it cool slightly so the layers firm up for easy slicing. Cut the bake into manageable pieces, perfect for sharing or enjoying as a satisfying solo meal.
How to Serve Creamy Rice-Stuffed Nori Bake (Open Sheet)
Garnishes
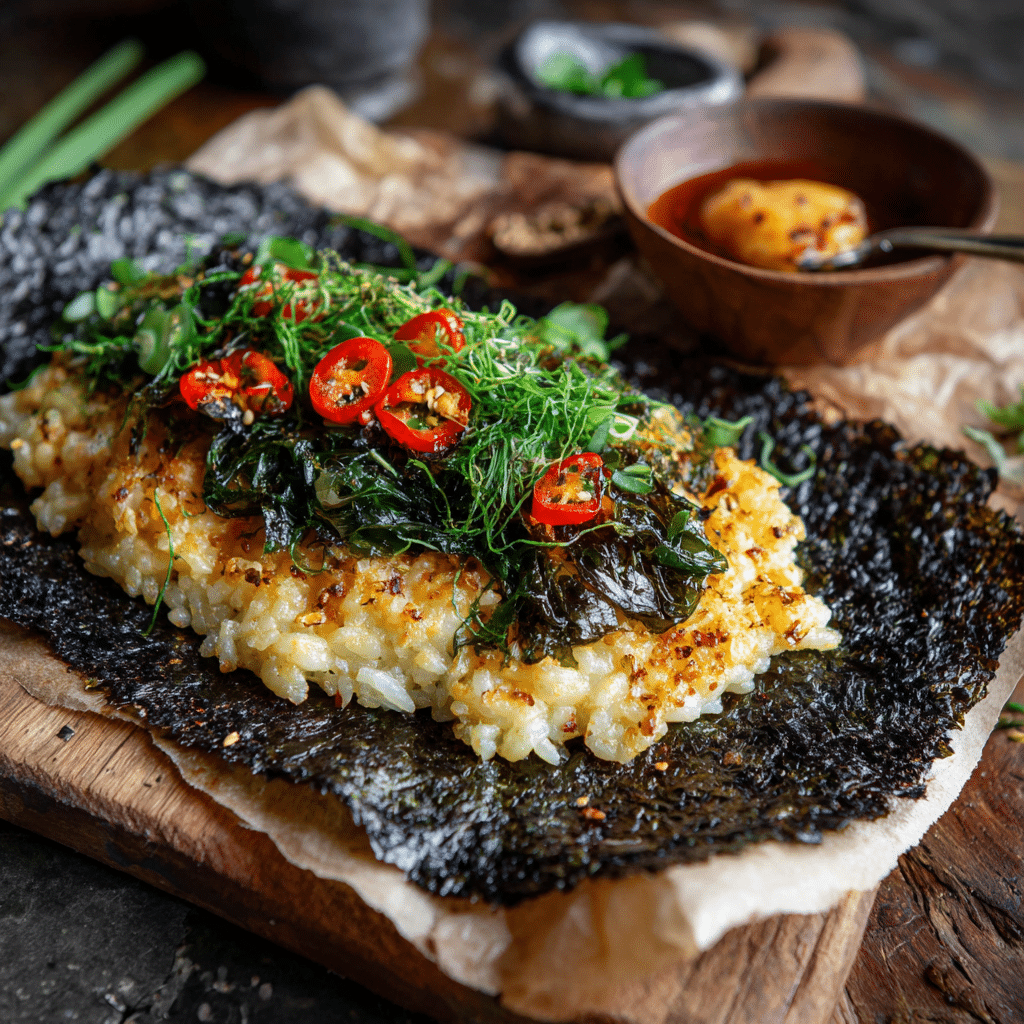
Enhance the natural flavors with vibrant garnishes like thinly sliced scallions, toasted sesame seeds, or a light drizzle of spicy mayo. These simple touches add freshness and a pop of color that brightens the look and the taste of your bake.
Side Dishes
This bake pairs wonderfully with light, crisp sides such as cucumber salad, pickled ginger, or even a simple mound of steamed edamame. The freshness from these sides balances the richness of the creamy rice-stuffed centerpiece beautifully.
Creative Ways to Present
For a fun and modern twist, try serving cut squares atop small lettuce leaves for a handheld bite or present it alongside a soy dipping sauce with a sprinkle of chili flakes for those who like a little heat. It’s just as perfect for a casual dinner as it is for impressing guests at a party.
Make Ahead and Storage
Storing Leftovers
Store your leftover Creamy Rice-Stuffed Nori Bake (Open Sheet) in an airtight container in the refrigerator for up to three days. It keeps surprisingly well, preserving that delightful contrast of creamy and crunchy textures after a quick reheat.
Freezing
You can freeze individual portions wrapped tightly in plastic wrap and then in foil. Freeze for up to two months. When you’re ready to enjoy it again, thaw in the fridge overnight before reheating gently.
Reheating
Reheat in a preheated oven at a moderate temperature to help restore crispness to the nori edges, or pop it into a toaster oven if you want a quicker fix with the same satisfying crunch. Avoid microwaving if you want to keep that texture intact.
FAQs
Can I use other kinds of cheese instead of cream cheese?
While cream cheese offers the perfect balance of creaminess and tang, softened goat cheese or mascarpone can work as substitutes, bringing their own unique flavor twists to the dish.
Do I need special sushi rice to make this?
Using sushi rice or any short-grain rice is recommended because of its sticky texture, which helps keep the bake together. Long-grain rice won’t provide the same cohesiveness.
Is the dish suitable for vegetarians?
Absolutely! This recipe is naturally vegetarian as it just features rice, nori, cream cheese, and soy sauce—no animal products aside from dairy involved.
Can I add other fillings or toppings?
For sure! Feel free to add diced avocado, cucumber, or even cooked shrimp if you want to elevate the flavor profile and make it your own signature creation.
How can I make the nori less chewy?
Baking the dish until the edges crisp up helps reduce chewiness and brings a nice crunch to the nori that beautifully contrasts the creamy filling.
Final Thoughts
The Creamy Rice-Stuffed Nori Bake (Open Sheet) is a fabulous way to enjoy sushi flavors with a warm, comforting twist that’s perfect for home cooking. It’s simple but delivers an impressive complexity in taste and texture that you’ll want to make again and again. Give it a try—your taste buds will thank you!