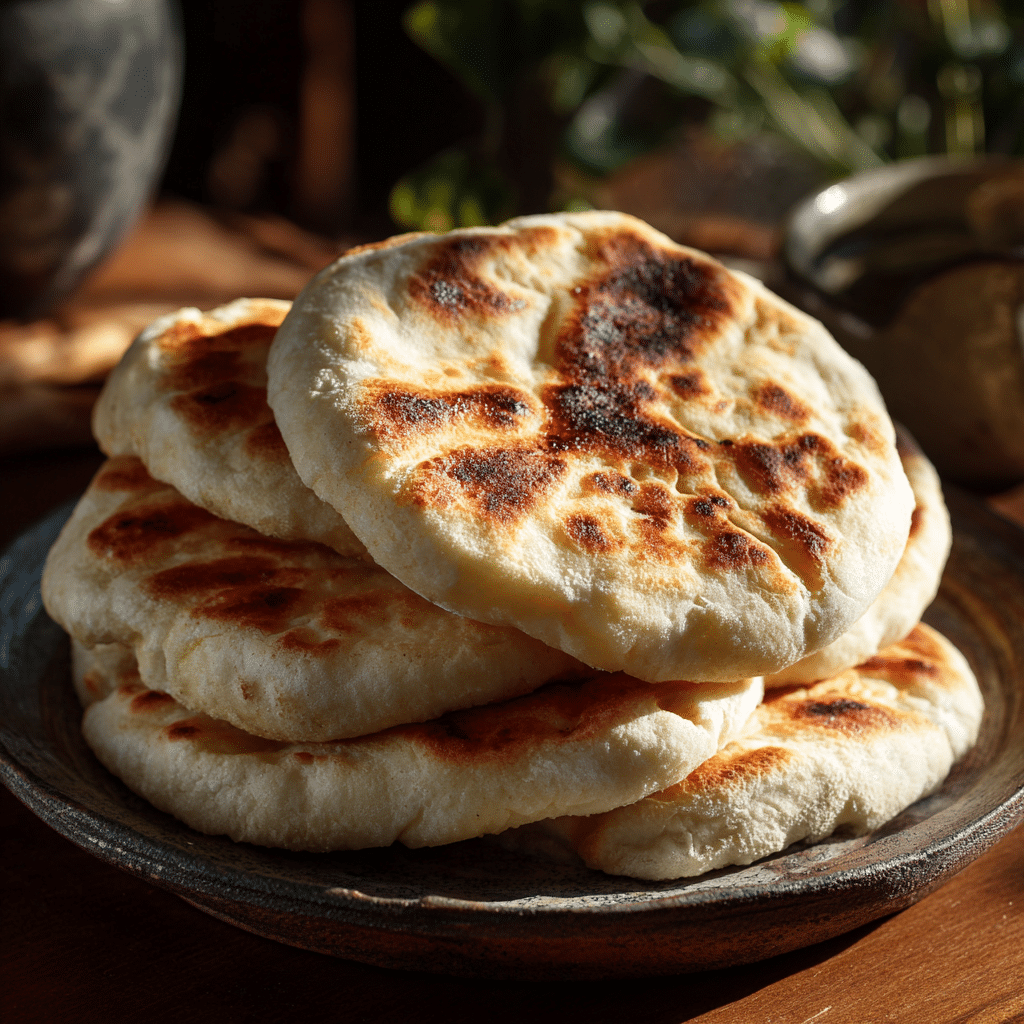
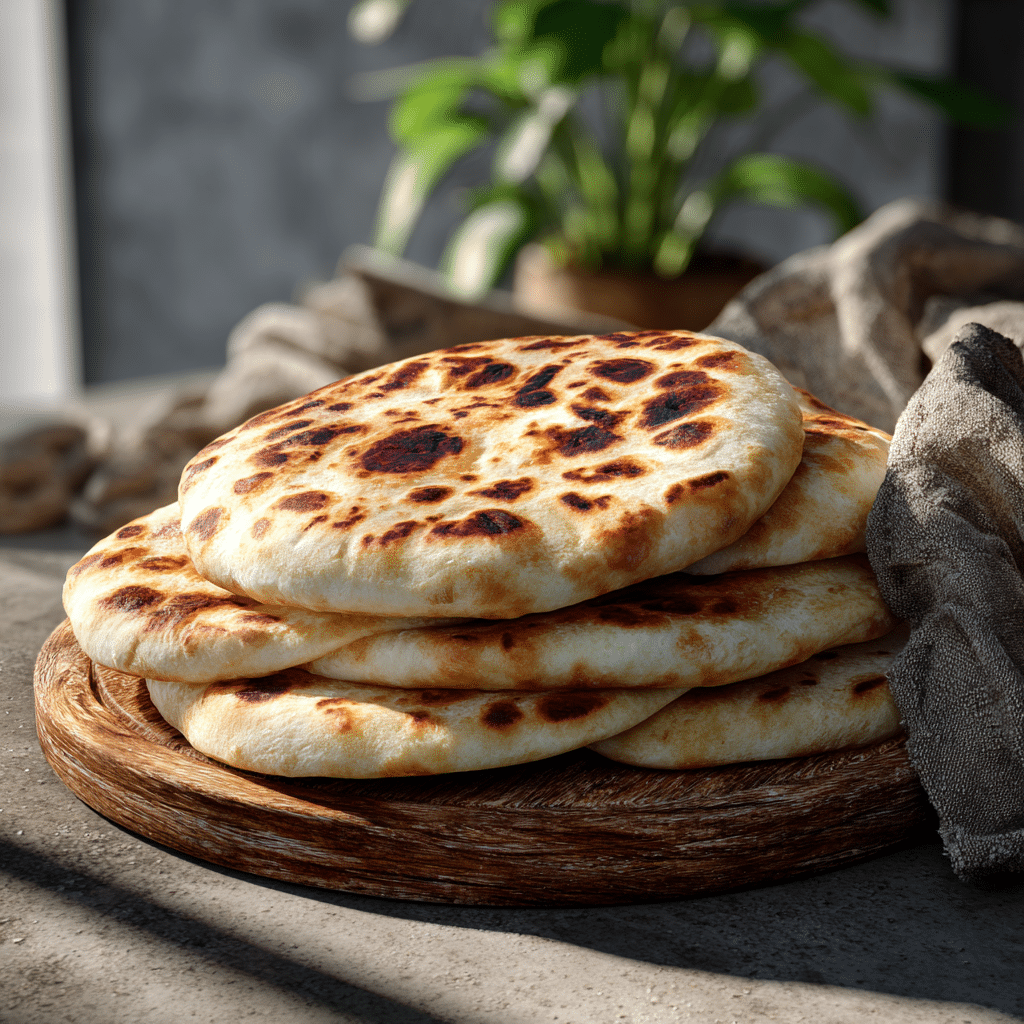
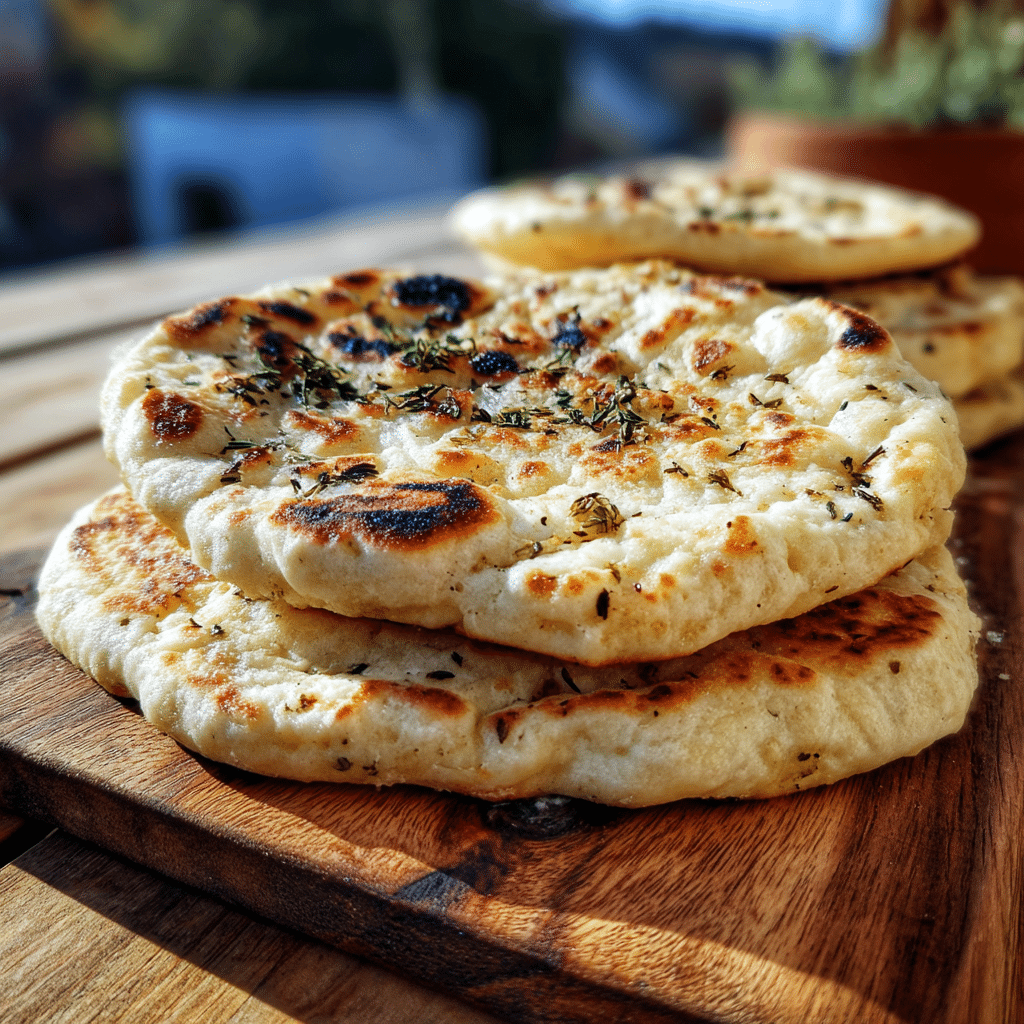
Fluffy Greek Pita Bread – No Kneading, No Oven Recipe
If you’re craving warm, pillowy flatbreads with a perfect tender bite but don’t want to fuss with kneading or firing up the oven, you’re going to adore this Fluffy Greek Pita Bread – No Kneading, No Oven. This simple yet magical recipe uses just a few ingredients and transforms them into soft, round pitas that puff beautifully on the stovetop, making them ideal for stuffing with your favorite gyros, dips, or just enjoying fresh with olive oil. It’s one of those gems that feels both authentic and incredibly approachable, guaranteed to become your go-to bread for quick Greek-inspired meals.
Ingredients You’ll Need
This recipe is a brilliant example of how a few essential ingredients can come together to create something truly special. Each component contributes a vital role: the flour forms the sturdy yet tender base, warm water awakens the yeast to develop volume and softness, sugar feeds the yeast for that perfect rise, and yeast naturally brings the airy fluffiness we all love.
- 3 cups bread flour (or all-purpose flour): Bread flour gives a chewy texture, but all-purpose works well for a softer bite.
- 3/4 cup warm water (100-110ºF): Temperature is key; warm water activates the yeast without killing it.
- 1 1/2 tsp sugar: A touch of sweetness feeds the yeast for a lively rise.
- 1 1/2 tsp active dry yeast: The heart of the recipe, making the dough rise fluffy and light.
- Olive oil (optional): Helps prevent sticking and adds a subtle richness.
How to Make Fluffy Greek Pita Bread – No Kneading, No Oven
Step 1: Activate the Yeast
Start by mixing your warm water and sugar in a container, stirring until the sugar dissolves completely. Add the yeast and give it another stir. Now comes the magic: set this mixture aside for about 15 minutes until it becomes frothy and foams slightly. This bubbling surface means your yeast is alive and ready to make your Fluffy Greek Pita Bread – No Kneading, No Oven rise beautifully.
Step 2: Combine and Stir the Dough
Once your yeast is bubbly, add all the flour at once and stir vigorously with a silicone spatula. There’s no need for kneading here — keep stirring until no dry flour peeks through and the dough comes together, typically within 1 to 2 minutes. This hands-off approach is what makes the recipe so welcoming for even beginners.
Step 3: Oil and Rest the Dough
Drop a tablespoon of olive oil in the bottom of your container and place the sticky dough inside. Drizzle another tablespoon on top and gently spread it around with your hands to coat the dough. This keeps it soft and prevents drying out. Now cover and let it rest in a warm spot for about 90 minutes or until it doubles in size — patience here pays off with wonderfully soft pitas.
Step 4: Shape and Second Rise
Transfer the risen dough to a floured surface and shape it into a circle. Divide it evenly into 6 pieces. If the dough sticks to your fingers, lightly oil your hands and sprinkle a bit of flour over the dough. Shape each piece into a small circle, cover them with a tea towel, and let them rest for 15 minutes for their second rise — this little break helps create that fluffy texture when cooked.
Step 5: Roll Out the Pitas
Using a rolling pin, gently roll each dough ball into a circle about 5 inches wide. Don’t worry if it’s not perfectly uniform—it adds to the rustic charm. The dough should still feel soft and pliable, ready to puff up in the pan.
Step 6: Cook the Pitas on the Stovetop
Preheat a heavy-bottomed pan over high heat. Place a pita carefully in the pan and cook for 45 to 60 seconds, watching for bubbles to form and the edges to start drying out. Flip the pita and cook the other side briefly. Place cooked pitas on a plate and cover with a cloth to keep them soft and prevent drying. Repeat with the remaining dough circles.
How to Serve Fluffy Greek Pita Bread – No Kneading, No Oven
Garnishes
Fresh pita bread deserves simple yet vibrant garnishes. Sprinkle with za’atar for an herby twist, or brush lightly with garlic-infused olive oil for an aromatic burst. A sprinkle of sesame seeds on top before cooking can add a toasty crunch that complements the soft interior.
Side Dishes
This Fluffy Greek Pita Bread – No Kneading, No Oven shines when paired with classic Greek sides like creamy tzatziki, juicy grilled chicken gyros, or a colorful Greek salad. The soft bread is perfect for scooping dips or wrapping flavorful fillings, making it delightfully versatile for any meal.
Creative Ways to Present
Why not turn your pitas into mini sandwiches by stuffing them with falafel, roasted veggies, or even a breakfast scramble? Slice them into triangles for serving alongside hummus as finger food at your next party. You can even lightly toast them and use as a base for bruschetta-style toppings for a unique appetizer.
Make Ahead and Storage
Storing Leftovers
If you have any leftover pita bread, store them in an airtight container or resealable plastic bag at room temperature for up to 2 days. To keep the bread soft, wrap in a slightly damp paper towel before sealing—that maintains moisture without making the bread soggy.
Freezing
For longer storage, freeze your pitas by stacking them with parchment paper in between each piece to avoid sticking. Place the stack inside a freezer-safe bag and freeze for up to 2 months. Thaw them overnight in the fridge or at room temperature when ready to enjoy.
Reheating
To refresh refrigerated or frozen pitas, warm them gently in a hot skillet or directly over a gas flame for a few seconds until soft and pliable again. You can also microwave them wrapped in a damp towel for about 15 seconds, but stovetop reheating preserves that classic slightly toasted flavor best.
FAQs
Can I use all-purpose flour instead of bread flour?
Absolutely! While bread flour provides a bit more chewiness and structure due to its higher protein content, all-purpose flour works well and will yield a slightly softer pita, which many people actually prefer.
Why is my pita not puffing up when cooking?
If your pitas aren’t puffing, it might be that the pan isn’t hot enough or the dough was rolled too thin. Make sure your pan is preheated over high heat and gently roll the dough to about 5 inches wide but not paper-thin to encourage the bread to puff as steam forms inside.
Do I really not need to knead the dough?
No kneading is necessary for this recipe! Stirring the flour into the yeast mixture thoroughly activates gluten sufficiently for a soft, fluffy pita. It’s a fantastic time saver and still creates great texture.
Can I bake this pita bread instead of frying?
This recipe is designed for stovetop cooking, which gives pitas their characteristic pockets and soft layers. Baking won’t produce quite the same puff or texture, so the pan-fried method is highly recommended for best results.
How do I know if my yeast is still good?
If your yeast doesn’t foam and bubble within 15 minutes of mixing with warm water and sugar, it’s likely expired or inactive. Fresh yeast is crucial to get the perfect fluffy rise in your Fluffy Greek Pita Bread – No Kneading, No Oven.
Final Thoughts
There’s just something irresistibly satisfying about warm, fluffy pita bread fresh from the pan, and this Fluffy Greek Pita Bread – No Kneading, No Oven recipe makes achieving that delight easier than ever. Whether you’re a bread novice or a seasoned home cook, this simple formula will add a beautiful homemade touch to your meals. I can’t wait for you to try it and discover how effortless and scrumptious this pita bread is—trust me, once you do, it’ll become a staple in your kitchen!