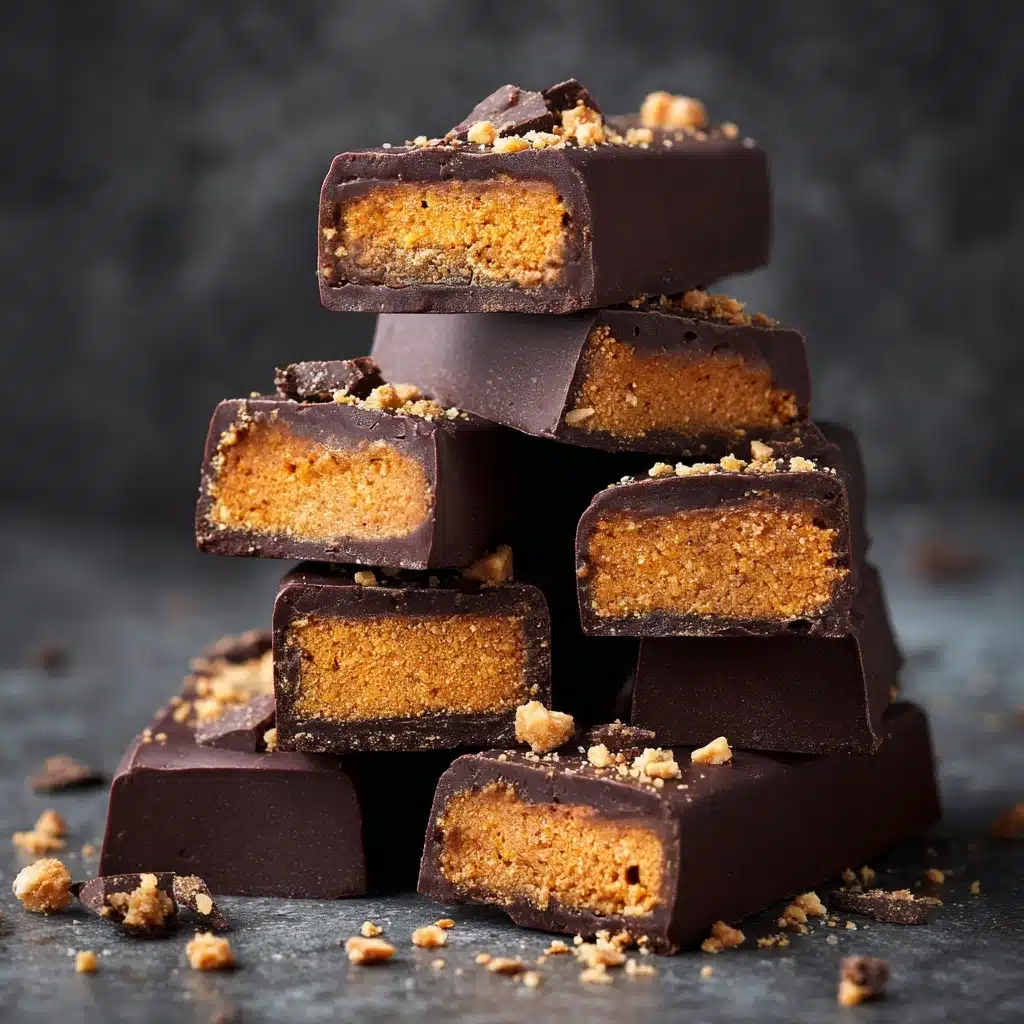
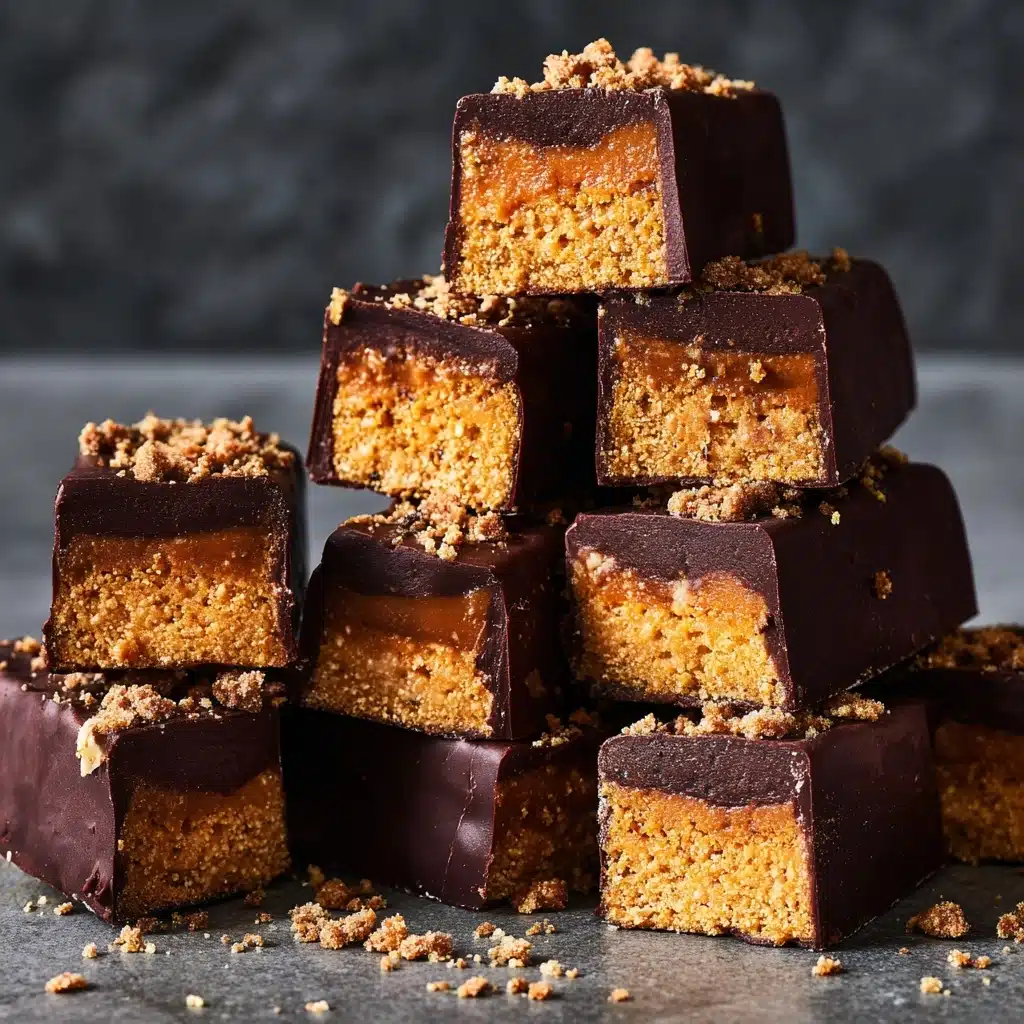
Homemade Butterfinger Bars Recipe
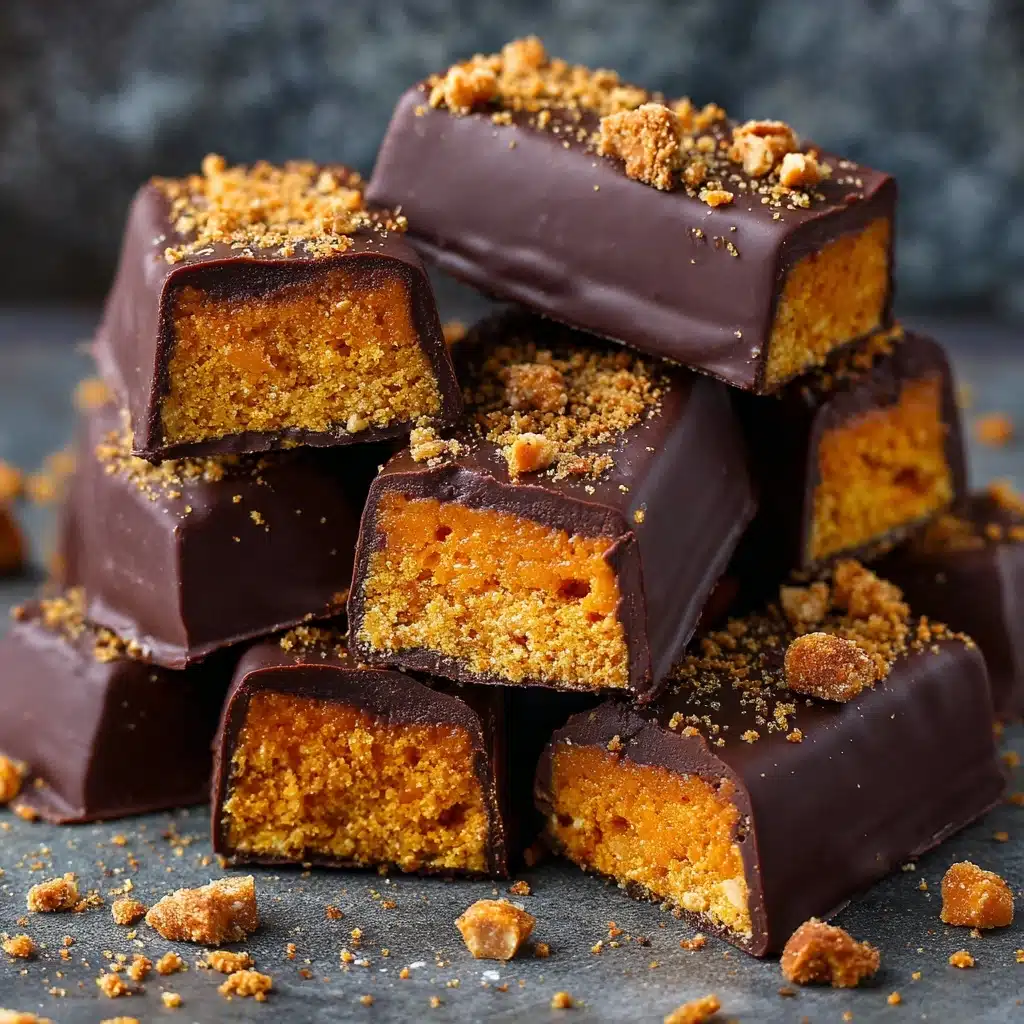
If you’re craving a nostalgic candy experience but want to know exactly what goes into your treat, these Homemade Butterfinger Bars are an absolute game changer. Imagine biting into a crispy, crunchy peanut butter core wrapped in rich, decadent chocolate, all made with simple, wholesome ingredients you can trust. Whether you’re making them for a fun Halloween treat or just because, these bars bring a perfect balance of sweet, salty, and buttery flavors that will have you coming back for more. Plus, they’re vegan, so everyone at the table can enjoy!
Ingredients You’ll Need
Every ingredient in these Homemade Butterfinger Bars plays a crucial role in creating that signature texture and flavor. From the crispy cornflakes to the smooth peanut butter and luscious chocolate coating, each element is simple but essential.
- 3 cups crushed cornflakes: Provides the irresistible crispy texture that mimics classic Butterfinger bars.
- 1 1/2 cup natural crunchy peanut butter: Adds rich, nutty flavor and gives the bars their buttery core.
- 1/2 cup agave, maple syrup, or honey: Sweetens naturally while helping everything bind together.
- 1 teaspoon vanilla extract: Enhances the overall flavor with warm, aromatic notes.
- 1/3 cup granulated sugar, coconut sugar, or sugar alternative: Gives just the right amount of sweetness and a slight crunch.
- 1/2 teaspoon salt: Balances the sweetness and brings out the peanut butter’s flavor.
- 12 oz dark or semisweet chocolate: Creates a smooth, luscious coating that perfectly complements the crunchy center.
- 2-3 teaspoons coconut oil: Helps melt the chocolate evenly and gives it a shiny finish.
How to Make Homemade Butterfinger Bars
Step 1: Mix the Peanut Butter Base
Start by whisking together the natural crunchy peanut butter, agave (or your chosen sweetener), vanilla extract, granulated sugar, and salt in a large mixing bowl until smooth and well combined. This mixture sets the rich, buttery foundation of your bars and infuses them with that classic Butterfinger flavor we all adore.
Step 2: Add the Crunch
Gently fold the crushed cornflakes into your peanut butter mixture. Make sure every flake is evenly coated—this is what gives the bars their iconic crispy bite. The flakes stay crunchy even after freezing, providing a perfect contrast to the chewy peanut butter.
Step 3: Shape and Freeze the Bars
Line an 8×8-inch baking pan with parchment paper, then spread the cornflake and peanut butter mixture evenly across it. Transfer the pan to the freezer for at least 4 hours or overnight to let the bars firm up completely. This step is key; it ensures the bars hold their shape when you dip them in chocolate and prevents any messiness.
Step 4: Slice and Chill Again
Once firm, remove the slab from the pan and slice it into 18 rectangular bars. Return the bars to the freezer for another 30 to 60 minutes. Chilling again before coating helps the chocolate set beautifully without melting or splintering the bars.
Step 5: Melt and Coat with Chocolate
Melt the chocolate together with coconut oil in a double boiler or microwave, heating in 30-second bursts and stirring between each until silky smooth. Using two forks, dip each bar into the melted chocolate, ensuring it’s fully coated, then let any excess drip off before placing them on parchment paper-lined trays.
Step 6: Final Freeze and Serve
Pop the coated bars back into the freezer for about 30 minutes so the chocolate can harden perfectly. Once firm, they’re ready to enjoy or package up for gifting!
How to Serve Homemade Butterfinger Bars
Garnishes
While these bars are delightful on their own, a sprinkle of sea salt on the chocolate before it sets can add an irresistible salty contrast. For a festive touch, try dusting with crushed peanuts or a drizzle of white chocolate to give an elegant finish.
Side Dishes
Pair your Homemade Butterfinger Bars with a cold glass of almond milk or your favorite coffee to complement and mellow the sweetness. For a more indulgent spread, serve alongside fresh berries or a dollop of coconut whipped cream to balance textures and flavors.
Creative Ways to Present
Wrap individual bars in parchment paper tied with twine for a charming homemade gift. Alternatively, cut the bars into bite-sized pieces and serve them on a dessert platter with other vegan treats, making them the star of any gathering.
Make Ahead and Storage
Storing Leftovers
Keep your Homemade Butterfinger Bars fresh by storing them in an airtight container in the refrigerator. They stay perfectly firm and maintain their signature crunch for up to one week. Avoid leaving them at room temperature too long, as they tend to soften.
Freezing
For longer storage, freeze the bars in an airtight container with parchment layers between them to prevent sticking. They can last up to 6 months frozen, making them an excellent make-ahead treat or surprise snack whenever a craving hits.
Reheating
There’s no need to reheat these bars! Simply let frozen bars thaw for 10 to 15 minutes at room temperature before enjoying. This keeps the perfect balance of crunchy and chewy texture without any melty mess.
FAQs
Can I use creamy peanut butter instead of crunchy?
Absolutely! While crunchy peanut butter adds extra texture that pairs wonderfully with the cornflakes, creamy peanut butter will work just as well and give you a smoother bite if preferred.
Is it necessary to freeze the mixture before coating with chocolate?
Yes, freezing is essential to firm up the bars so they don’t crumble or become messy when dipped in chocolate. It also helps the chocolate set nicely around the bars.
Can I substitute the cornflakes with another cereal?
Yes, but choose cereals that stay crispy when coated with wet ingredients. Rice cereal or bran flakes can work, but avoid overly sugary or soft cereals to maintain the right crunch.
What type of chocolate is best for coating?
Dark or semisweet chocolate melts nicely and balances the sweetness of the bars. You can also experiment with vegan or dairy-free chocolate to keep the recipe fully plant-based.
Are Homemade Butterfinger Bars gluten-free?
They can be, as long as you use gluten-free cornflakes and ensure all other ingredients are certified gluten-free. Always check your packaging to be sure!
Final Thoughts
I cannot recommend these Homemade Butterfinger Bars enough if you’re after a nostalgic yet wholesome treat that you can feel great about eating and sharing. Their crunchy, buttery, peanut buttery center wrapped in chocolate has become one of my all-time favorite homemade candies. Give this recipe a try—it’s fun, straightforward, and oh so satisfying!