Homemade Freeze Pops Recipe
If you’ve ever wished for a sweet, refreshing treat that brings a burst of fruity flavor and a splash of nostalgia, these Homemade Freeze Pops are exactly what you need. They’re vibrant, naturally colorful, and free from any artificial nonsense—just pure fruit, a touch of natural sweetener, and that delightful icy finish that takes you right back to childhood summers. Making these popsicles at home is not only simple but incredibly satisfying, allowing you to customize flavors with your favorite fruits and enjoy a guilt-free, delicious chill anytime you want.
Ingredients You’ll Need
These ingredients are straightforward, fresh, and incredibly important for crafting the perfect Homemade Freeze Pops. Each one plays a role in balancing flavor, texture, and color, creating popsicles that are just as beautiful as they are tasty.
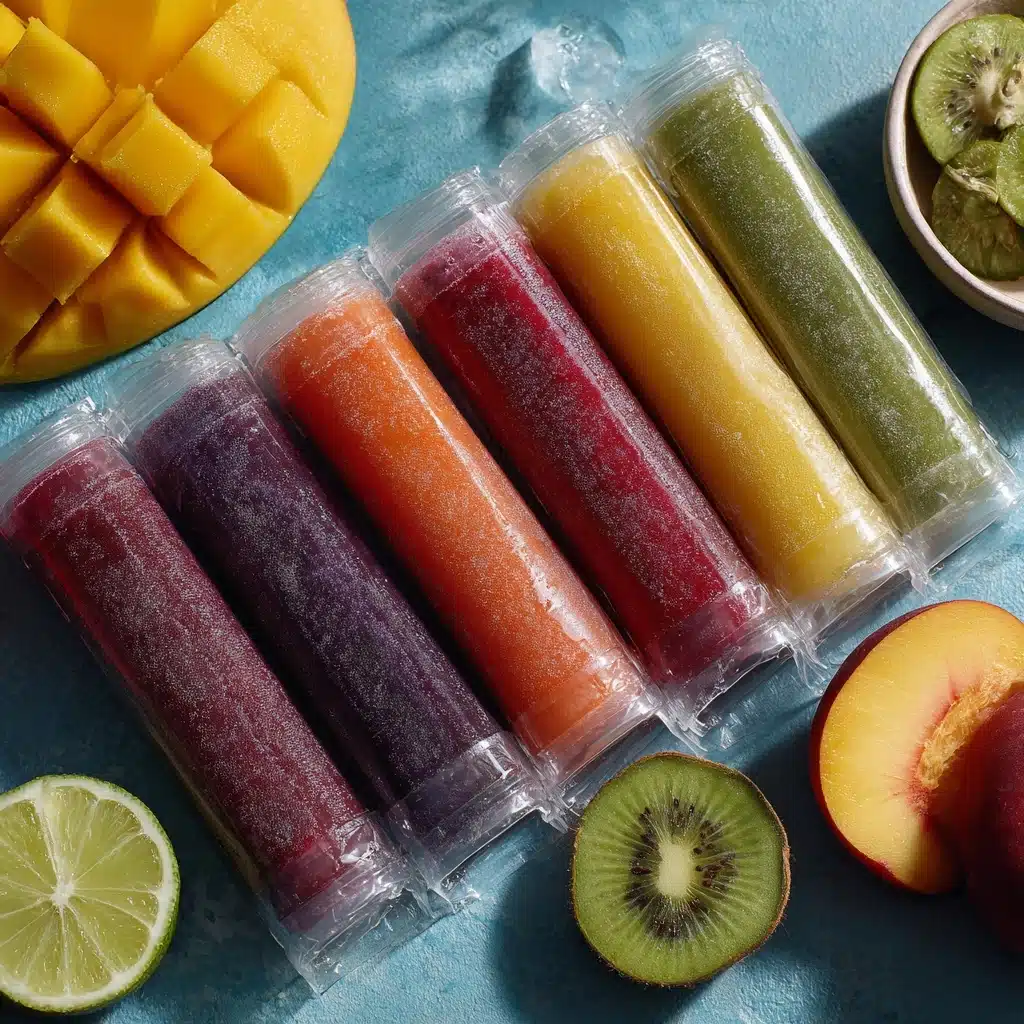
- Frozen fruit: The star of the show, providing natural sweetness and vibrant color.
- Water: Helps blend the fruit to the perfect consistency for freezing.
- Fresh lemon or lime juice: Adds a bright tang that enhances every fruit’s unique flavor.
- Honey or agave: Natural sweeteners that make these pops pleasantly sweet without being overpowering.
- Mint leaves (optional): Give your kiwi pineapple popsicle a lovely hint of freshness and a beautiful green hue.
How to Make Homemade Freeze Pops
Step 1: Thaw Your Frozen Fruit
First things first, take your frozen fruit out and let it thaw for about 30 minutes at room temperature, or if you’re short on time, zap it in the microwave for 30 seconds. This softens the fruit just enough to blend easily without heating it up too much, keeping all those vibrant flavors intact.
Step 2: Blend the Ingredients
Next, toss your thawed fruit into a blender along with water, freshly squeezed lemon or lime juice, and your sweetener of choice. Blend everything together until it reaches a smooth, pourable consistency that’s neither too thick nor too watery—this perfect balance ensures your freeze pops freeze well and taste delicious.
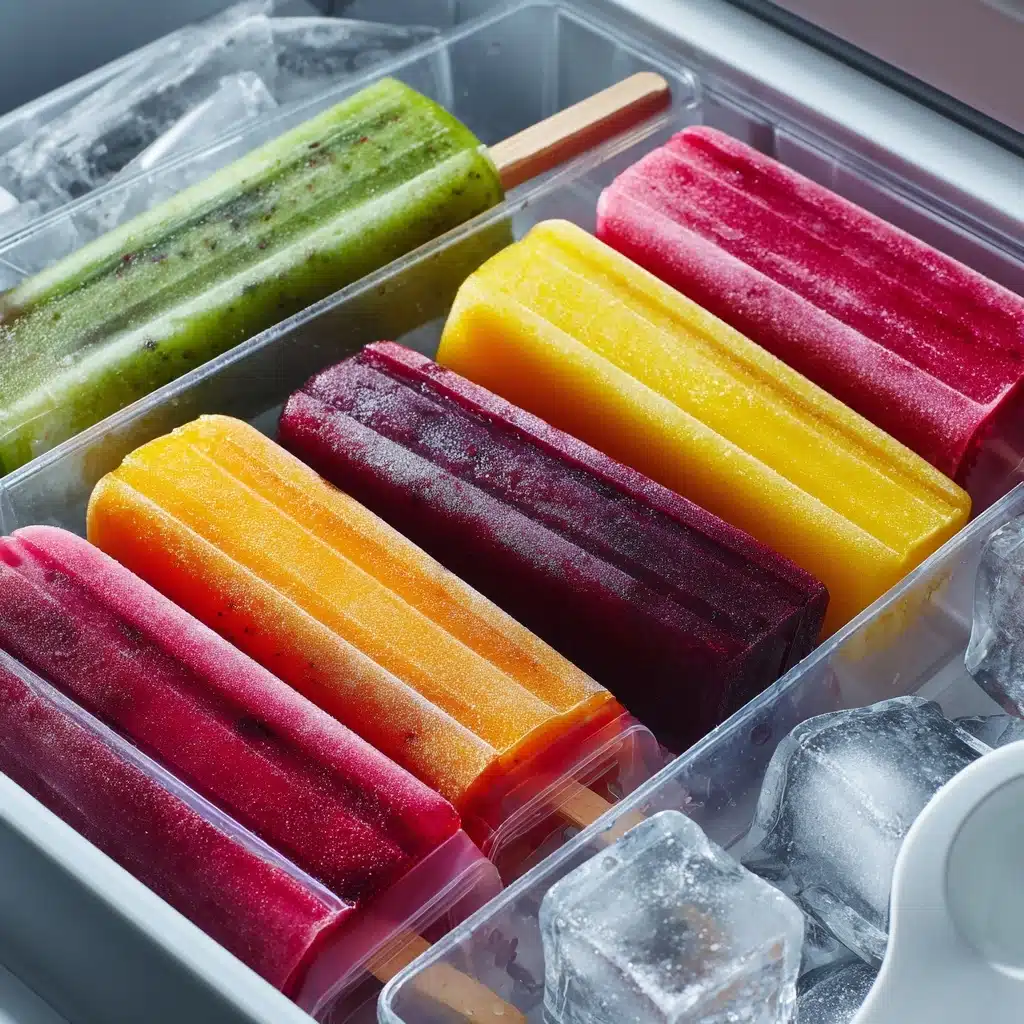
Step 3: Pour into Pop Sleeves
Grab your popsicle sleeves and, using a funnel to avoid spills, carefully pour the blended mixture into each sleeve. The funnel is a game-changer here, making this step neat and easy so you won’t have popsicle mix all over your kitchen counter.
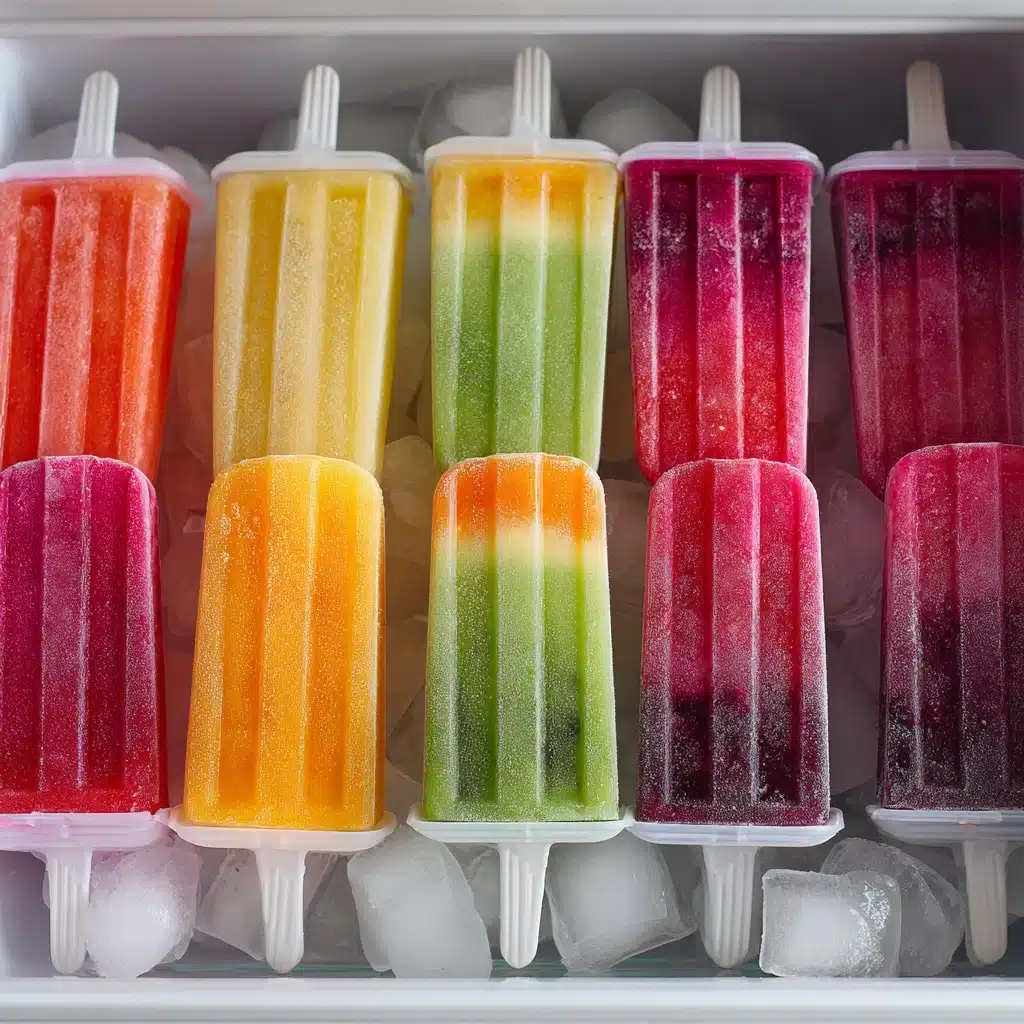
Step 4: Freeze Until Solid
Seal up your filled sleeves and place them upright in the freezer. Let them chill for at least 8 hours, or better yet, overnight. This patience pays off with perfectly frozen, icy, and fruity popsicles that delight with every bite.
How to Serve Homemade Freeze Pops
Garnishes
While these Homemade Freeze Pops are lovely on their own, adding a garnish like a small sprig of fresh mint or a thin slice of fruit on the side brightens presentation and complements the flavors beautifully. It’s an easy way to elevate your pops into something party-ready or a little more special when sharing with friends and family.
Side Dishes
Serve your Homemade Freeze Pops alongside light and fresh summer snacks like a crisp fruit salad, crunchy veggie sticks with a tangy dip, or even a scoop of natural yogurt. These combos keep things balanced and add extra fun to your cold treat experience.
Creative Ways to Present
Think beyond the basic popsicle sleeve by using reusable silicone molds in fun shapes and colors that match your fruity flavors. You can also package a variety of flavors together in a pretty basket or wooden tray for an irresistible, colorful display perfect for kids’ parties or warm-weather gatherings.
Make Ahead and Storage
Storing Leftovers
If you have any leftover homemade freeze pops, make sure to keep them sealed tightly in the freezer. Store them upright where possible to avoid misshaping, and keep them in a container or bag to protect from absorbing any freezer odors or frost, so they stay fresh and tasty.
Freezing
These Homemade Freeze Pops freeze best when made fresh and stored immediately after filling your sleeves. The natural ingredients freeze solid within 8 hours, but keeping them overnight ensures the best texture—icy, smooth, and easy to enjoy.
Reheating
Since Homemade Freeze Pops are meant to be enjoyed frozen, reheating is not something you’ll want to do. However, if they soften too much, simply pop them back in the freezer to firm up again before serving.
FAQs
Can I use any fruit for Homemade Freeze Pops?
Absolutely! One of the best parts about this recipe is its versatility. Just keep the ratio the same: about 2 cups of fruit, 1/2 cup water, 2 tablespoons of lemon or lime juice, and 2 tablespoons of your sweetener. You can mix and match fruits like cherry, watermelon, blackberry, or even apple for endless flavor combos.
What sweetener is best for this recipe?
Honey and agave both work wonderfully depending on your preference or dietary needs. They add natural sweetness without overpowering the fruit, and you can easily swap them with maple syrup or coconut sugar if you prefer a different flavor profile.
Do I have to use disposable ice pop bags?
Not at all. While disposable sleeves show off the beautiful colors of the pops, reusable silicone ice pop bags are a fantastic eco-friendly option. They come in fun colors and shapes, plus you can coordinate colors with flavors, making it easy to keep track of your favorites.
How long do Homemade Freeze Pops last in the freezer?
They’re best enjoyed within a month or so for peak flavor and texture. After that, fruits may lose some brightness and popsicles can develop freezer burn, but they’ll still be safe to eat if kept properly sealed.
Can children safely enjoy these Homemade Freeze Pops?
Yes! Because they are made from natural fruit and sweeteners with no artificial additives, they’re a safer and healthier alternative to store-bought popsicles. Just supervise young children to ensure they don’t bite down too hard and enjoy the fun color and taste together.
Final Thoughts
Making these Homemade Freeze Pops is like creating little pockets of joy that brighten even the hottest days. They’re fun, easy, and flexible enough to suit anyone’s taste buds or dietary needs. Next time you want a cool, fruity treat that feels like a celebration in every bite, don’t hesitate to whip up a batch—you’ll wonder why you ever bought those artificial popsicles from the store!