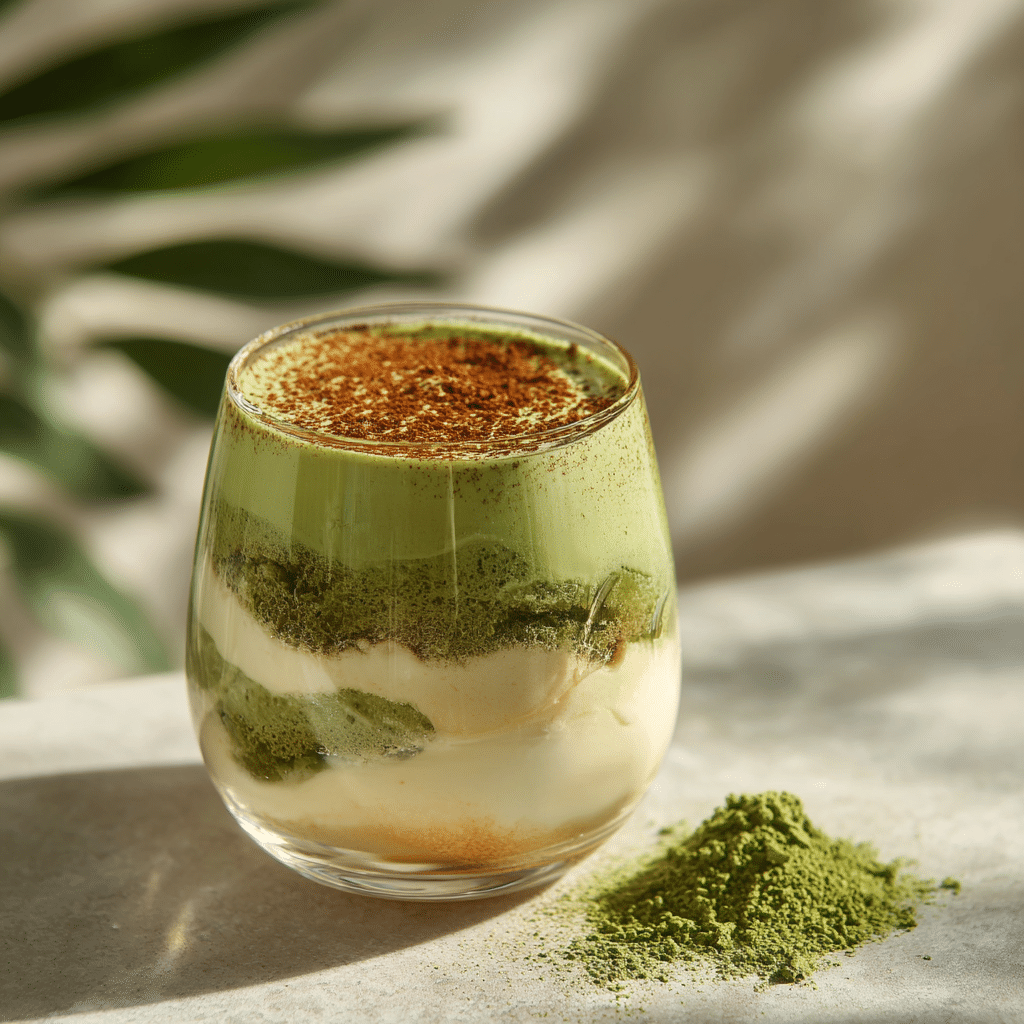
Matcha Tiramisu
If you’re craving a dessert that perfectly marries the rich charm of Italian tradition with a fresh, green twist, then you are going to absolutely adore this Matcha Tiramisu. This delightful treat swaps out espresso for vibrant matcha, creating layers of matcha-soaked ladyfingers paired with a luxuriously creamy mascarpone blend. Each bite bursts with an exciting harmony of earthy, creamy, and sweet notes that feel both nostalgic and wonderfully new. It’s a simple yet sophisticated dessert that elevates any occasion with its unique flavors and beautiful green hues.
Ingredients You’ll Need
The magic of Matcha Tiramisu comes from its simplicity, yet every ingredient plays a crucial role in creating its iconic texture and vibrant flavor. From the light crunch of ladyfingers to the silky mascarpone cream and the earthy brightness of matcha powder, these components effortlessly come together to make a dessert that’s as stunning as it is delicious.
- 12 ladyfingers: These form the delicate, sponge-like layers that soak up the matcha, giving the tiramisu its structure and subtle sweetness.
- 1 cup mascarpone: This creamy Italian cheese adds richness and smoothness to the dessert’s signature layer.
- 1 cup whipped cream: Whipped to soft peaks, it lightens the mascarpone, making each spoonful airy and luscious.
- 1 tbsp matcha powder: This finely ground green tea powder imparts a beautiful, earthy flavor and striking color that defines the Matcha Tiramisu.
How to Make Matcha Tiramisu
Step 1: Prepare the Matcha Mixture
The first thing you want to do is gently mix the matcha powder with a small amount of warm water to create a smooth, vibrant green tea mixture. This will be used to soak the ladyfingers, so take your time to ensure the matcha dissolves completely without lumps, giving the dessert a true depth of flavor and that trademark bright color.
Step 2: Make the Cream Mixture
Next, whip the mascarpone and whipped cream together until they form a light, creamy consistency. This blend becomes the luscious filling that balances the slightly bitter matcha, combining to create the perfect flavor contrast and irresistible texture.
Step 3: Dip the Ladyfingers
Quickly dip each ladyfinger into the prepared matcha mixture, coating them evenly but not soaking them too long or they’ll turn soggy. This delicate step is essential to maintain the right bite and to layer the flavors beautifully.
Step 4: Assemble the Layers
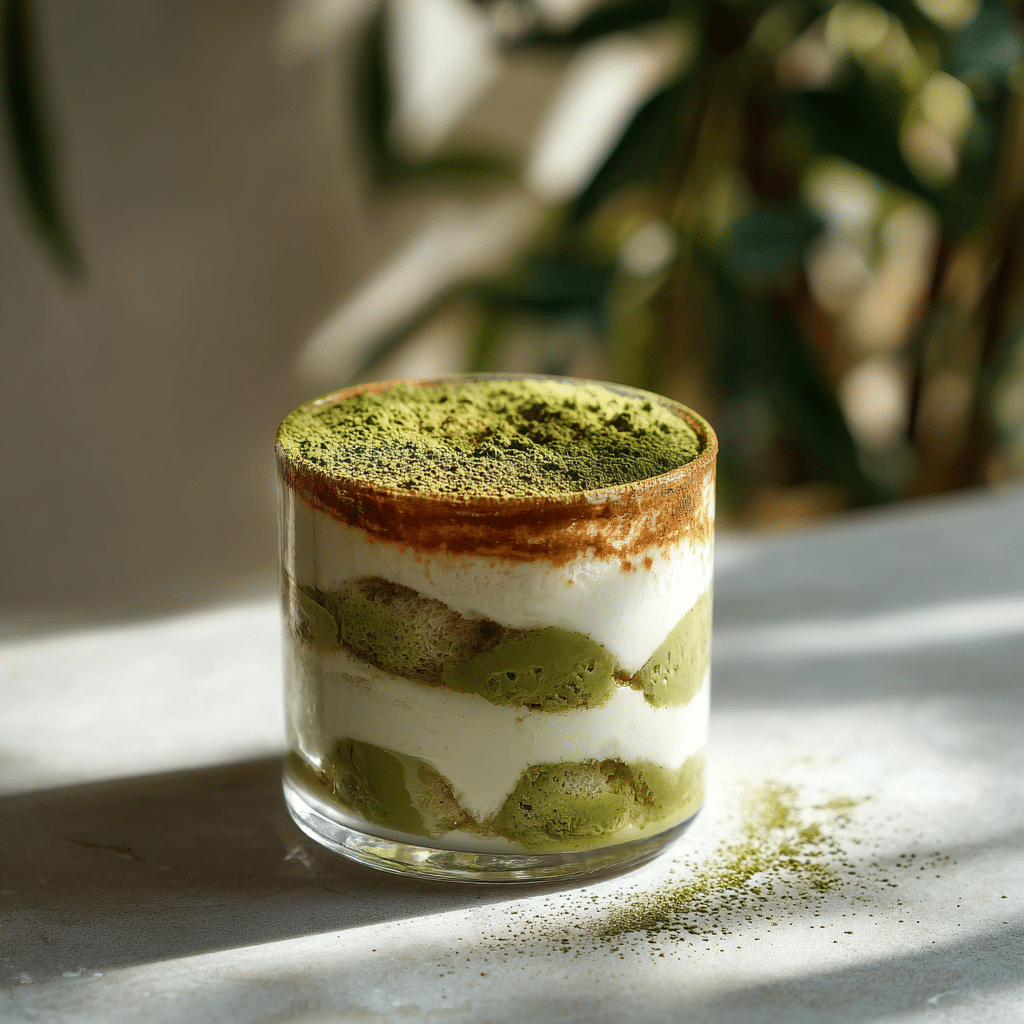
Layer the matcha-dipped ladyfingers at the bottom of your serving dish or individual glasses, then spread a generous layer of the creamy mascarpone mixture on top. Repeat the process to build alternating layers, finishing with the mascarpone cream for a smooth, elegant top.
Step 5: Chill and Set
Cover the assembled Matcha Tiramisu and refrigerate for at least two hours. This chill time allows the flavors to meld together, the ladyfingers to soften just right, and the creamy layer to set into a perfect, scoopable texture that’s simply irresistible.
Step 6: Final Touch of Matcha
Just before serving, dust the top generously with sifted matcha powder. This adds a visually stunning finish and an extra punch of matcha flavor with every bite.
How to Serve Matcha Tiramisu
Garnishes
Adding a garnish is the perfect way to make your Matcha Tiramisu even more inviting. Consider topping with a few fresh mint leaves or a sprinkling of white chocolate shavings to add texture and a hint of sweetness that complements the earthy matcha beautifully.
Side Dishes
Because Matcha Tiramisu is both creamy and refreshing, serving it alongside light green tea or a delicate fruit salad works wonderfully. Something like a citrusy yuzu or fresh berries can brighten the palate and round out the dessert experience.
Creative Ways to Present
Imagine serving Matcha Tiramisu in clear glass cups or small mason jars to showcase the stunning green layers, or even shaping it in a square dish and cutting into neat, elegant squares. Layering matcha tiramisu parfaits with extra matcha powder or edible flowers can make your presentation stand out beautifully.
Make Ahead and Storage
Storing Leftovers
Leftover Matcha Tiramisu should be stored in an airtight container in the refrigerator. It stays fresh and delicious for up to two days, allowing the flavors to deepen even more but best enjoyed sooner to maintain the perfect texture.
Freezing
Though freezing isn’t ideal due to the delicate cream and ladyfingers, if you must freeze it, cover tightly with plastic wrap and freeze for up to a month. Thaw in the refrigerator overnight before serving, understanding the texture might change slightly upon thawing.
Reheating
Matcha Tiramisu is best served cold, so reheating is not recommended. Its creamy layers and delicate sponge hold their magic best straight from the fridge, where the flavors stay vibrant and refreshing.
FAQs
Can I use instant matcha powder for this recipe?
Absolutely! Instant matcha powder works perfectly and dissolves easily in your soaking liquid, making it a convenient choice for the best flavor and color.
What can I substitute for mascarpone?
If mascarpone is hard to find, a mix of cream cheese and heavy cream whipped together can mimic its creaminess, though the flavor will be slightly tangier.
Is Matcha Tiramisu gluten-free?
Traditional ladyfingers contain gluten, so to make a gluten-free version, look for gluten-free ladyfingers or substitute with gluten-free sponge cake slices.
How long should I soak the ladyfingers in the matcha mixture?
Dip the ladyfingers quickly for just a second or two to avoid sogginess while ensuring they absorb enough flavor for that perfect matcha taste.
Can I make this dessert ahead of time for a party?
Yes, Matcha Tiramisu is an excellent make-ahead dessert. Prepare it a day in advance to allow the flavors to fully develop and serve chilled for best results.
Final Thoughts
There’s something truly special about Matcha Tiramisu that makes it a wonderful dessert choice when you want to delight friends or treat yourself. Its balance of creamy mascarpone and the gentle earthiness of matcha creates a refreshing and unforgettable experience. Give this recipe a try—you’ll soon see why it has become a favorite twist on a classic dessert!