Mince Pies: 5 Joyful Steps to Holiday Bliss Recipe
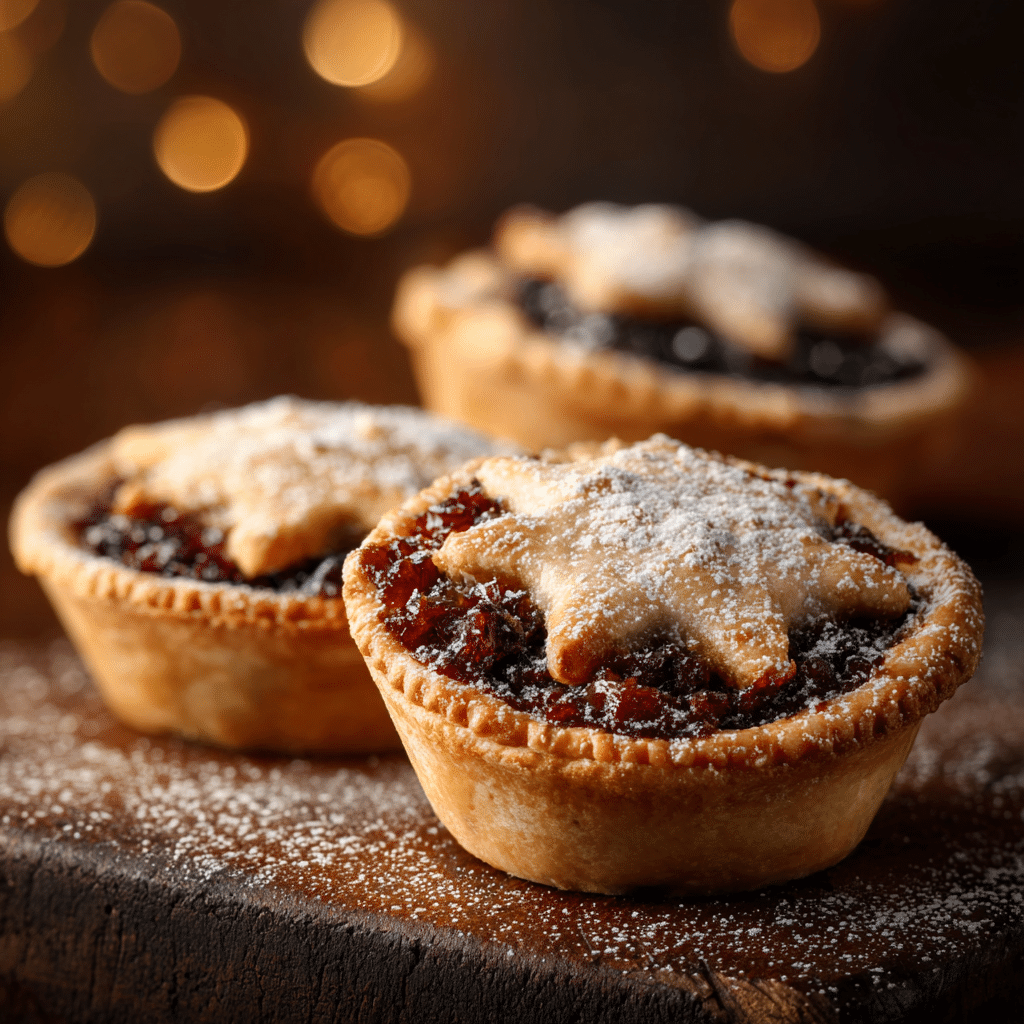
If you’re dreaming of a festive treat that captures the spirit of the season in every bite, look no further than Mince Pies: 5 Joyful Steps to Holiday Bliss. These classic British pastries are bursting with a fragrant blend of spiced dried fruits wrapped in buttery shortcrust pastry, making them a beloved holiday staple. Whether it’s the perfect aroma filling your kitchen or the satisfying crunch paired with sweet mincemeat filling, mince pies never fail to bring warmth and joy to any gathering.
Ingredients You’ll Need
The beauty of making these mince pies lies in their simplicity—just a handful of carefully chosen ingredients that each play a starring role in flavor, texture, and that iconic golden look. From the flaky shortcrust pastry to the rich mincemeat, every element comes together effortlessly.
- Shortcrust pastry: The foundation for your pies, providing a crisp and buttery shell that holds everything together.
- Mincemeat (300g): A luscious mix of dried fruits and spices, offering the signature sweet and spicy filling that defines a mince pie.
- Egg (1 beaten): Used for glazing to create that irresistible golden shine on the pie tops.
- Powdered sugar: A delicate dusting to finish your pies with a festive touch of sweetness and visual charm.
How to Make Mince Pies: 5 Joyful Steps to Holiday Bliss
Step 1: Preheat and Prepare
Start by preheating your oven to 180°C (350°F) to create the perfect baking environment. This step ensures your pies bake evenly and come out with that beautiful golden crust you’re aiming for.
Step 2: Roll Out the Pastry
Lightly flour your work surface and roll out the shortcrust pastry until it’s about 3mm thick. A smooth, evenly rolled pastry is key to getting that perfect balance of crispy edges and tender bites inside.
Step 3: Cut and Fill
Using a round cutter, cut out circles for both the base and the tops of your pies. Place the base circles into a muffin tin to give them structure, then lovingly spoon dollops of mincemeat into each one. Don’t be shy—this filling is the star of the show!
Step 4: Seal and Glaze
Place the pastry tops over each filled base and gently seal the edges to trap all the fruity goodness inside. Brush each pie top with the beaten egg to encourage a shiny golden finish during baking.
Step 5: Bake to Perfection
Pop your pies into the oven and bake for about 20 to 25 minutes until the pastry is beautifully golden and the filling is bubbling with holiday spirit. Once out of the oven, let them cool slightly, then dust with powdered sugar for that picture-perfect festive look.
How to Serve Mince Pies: 5 Joyful Steps to Holiday Bliss

Garnishes
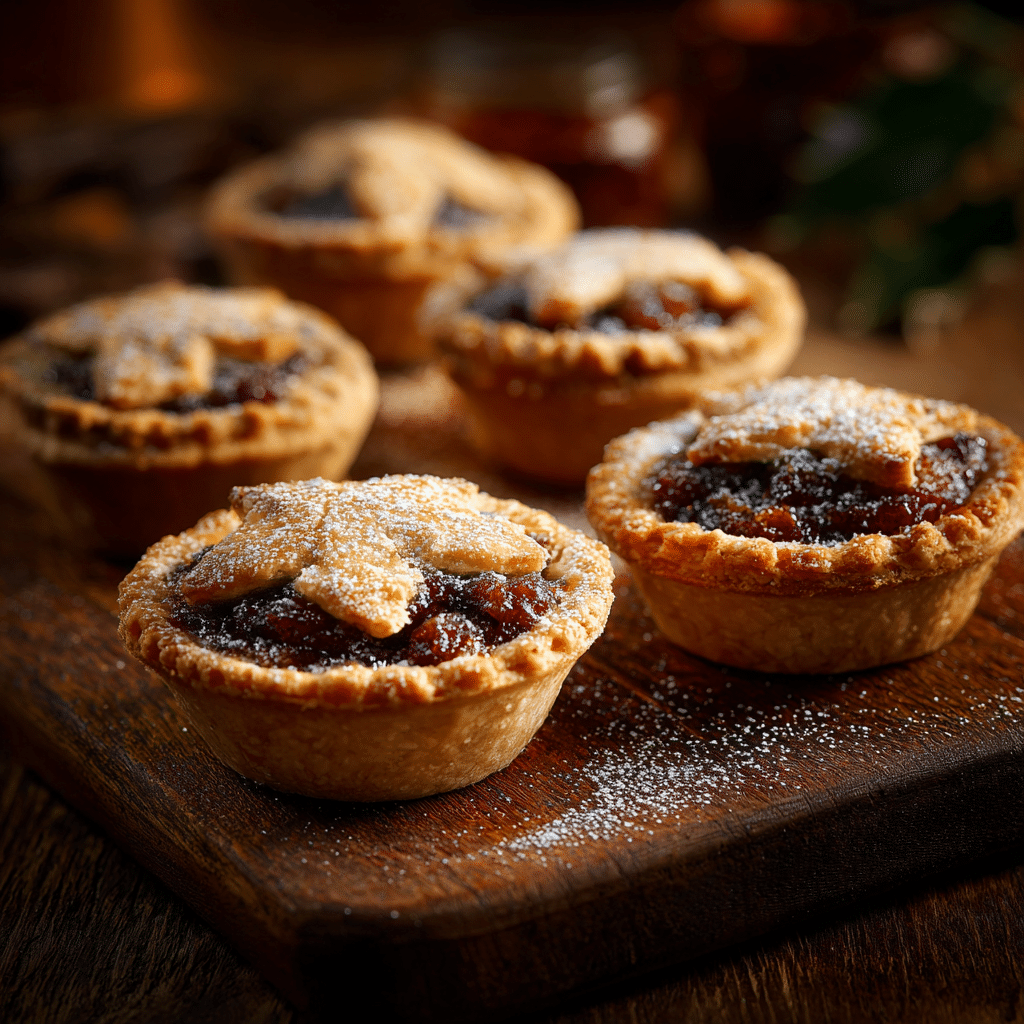
A simple dusting of powdered sugar atop your mince pies instantly elevates their appearance and adds a subtle sweetness that melts in your mouth. For an extra festive touch, consider a few slivers of toasted almonds or a sprig of fresh mint to brighten each plate.
Side Dishes
Mince pies shine wonderfully alongside a dollop of clotted cream or creamy custard. If you’re feeling indulgent, a scoop of vanilla ice cream adds a cool contrast that balances the rich spices perfectly. Warm mulled wine or a spiced tea can complement the flavors beautifully too!
Creative Ways to Present
Think beyond the traditional! Serve your mince pies on a rustic wooden board sprinkled with cinnamon sticks, or nestle them in holiday-themed cupcake liners for an adorable touch. For a wow factor, stack them into a minis pies tower studded with cranberries and holly leaves for a centerpiece that’s as delicious as it is eye-catching.
Make Ahead and Storage
Storing Leftovers
If you find yourself lucky enough to have leftovers, store your mince pies in an airtight container at room temperature for up to three days. This keeps the pastry crisp and the filling moist, making each bite just as delightful as the first.
Freezing
Mince pies freeze beautifully, which makes them a perfect make-ahead holiday treat. Freeze your cooled pies in a single layer on a baking sheet, then transfer to a freezer bag for up to a month. When you’re ready to enjoy, just thaw them at room temperature before reheating.
Reheating
To revive that fresh-from-the-oven magic, warm your mince pies in a preheated oven at 160°C (320°F) for about 10 minutes. This melts the filling slightly and crisps the pastry again, bringing back all the delicious texture and aroma.
FAQs
Can I use homemade mincemeat for these pies?
Absolutely! Homemade mincemeat lets you customize the flavors and sweetness to your liking, making your mince pies truly one-of-a-kind.
Are mince pies suitable for vegetarians?
Yes, these pies are vegetarian-friendly since they contain no meat, just a delightful mix of fruit and spices enclosed in pastry.
What if I don’t have a muffin tin?
You can place the pastry bases on a baking sheet and shape them carefully, but a muffin tin helps keep the pies uniform and ensures they hold their shape during baking.
How long should mince pies cool before serving?
It’s best to let them cool for about 10 minutes to avoid burned tongues but still enjoy them warm and comforting.
Can I make these gluten-free?
Definitely! Swap out the shortcrust pastry for a gluten-free alternative and double-check your mincemeat ingredients, and you’re all set for gluten-free mince pies.
Final Thoughts
Sharing Mince Pies: 5 Joyful Steps to Holiday Bliss with you feels like passing down a cherished holiday secret. These little pies are more than just a dessert — they are a celebration of warmth, tradition, and joy that bring people together one delicious bite at a time. I hope you’ll try making them and create your own treasured holiday memories!