No-Bake Strawberry Yogurt Pie Recipe
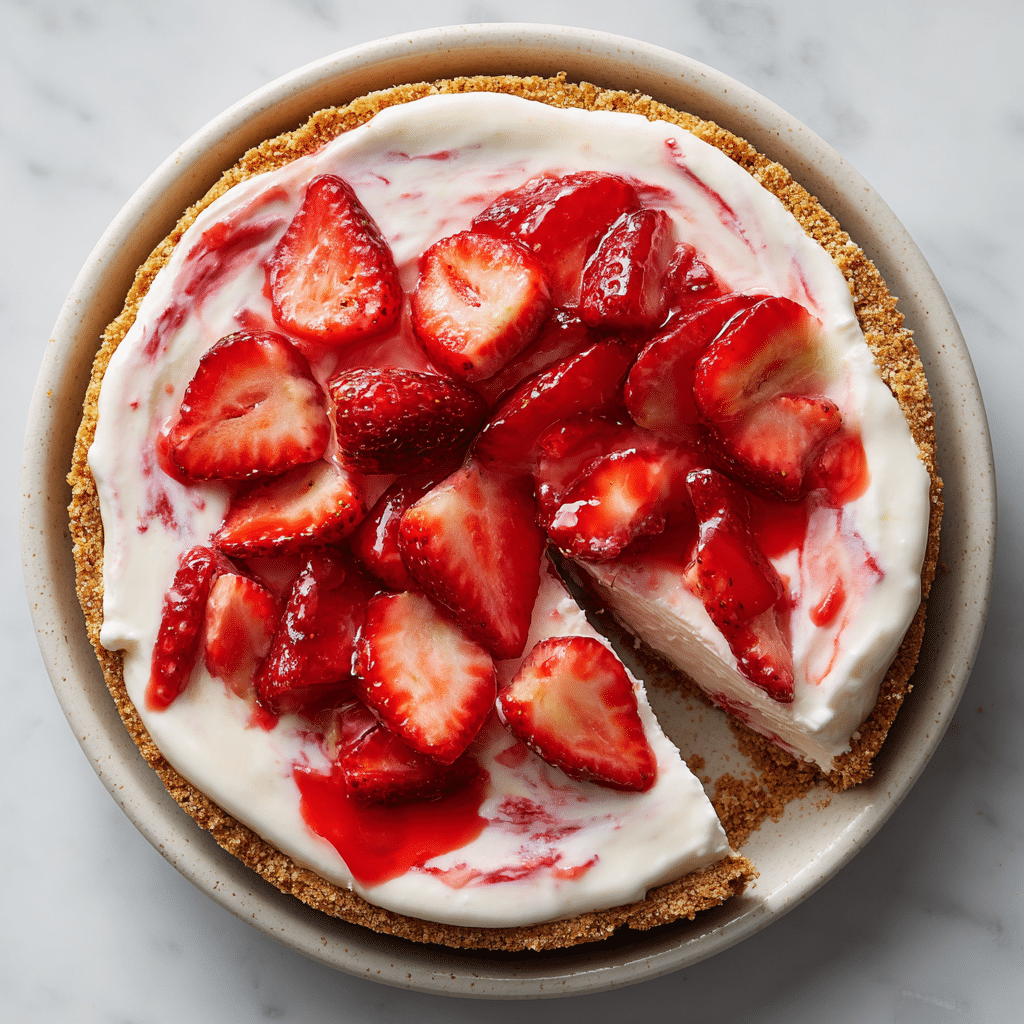
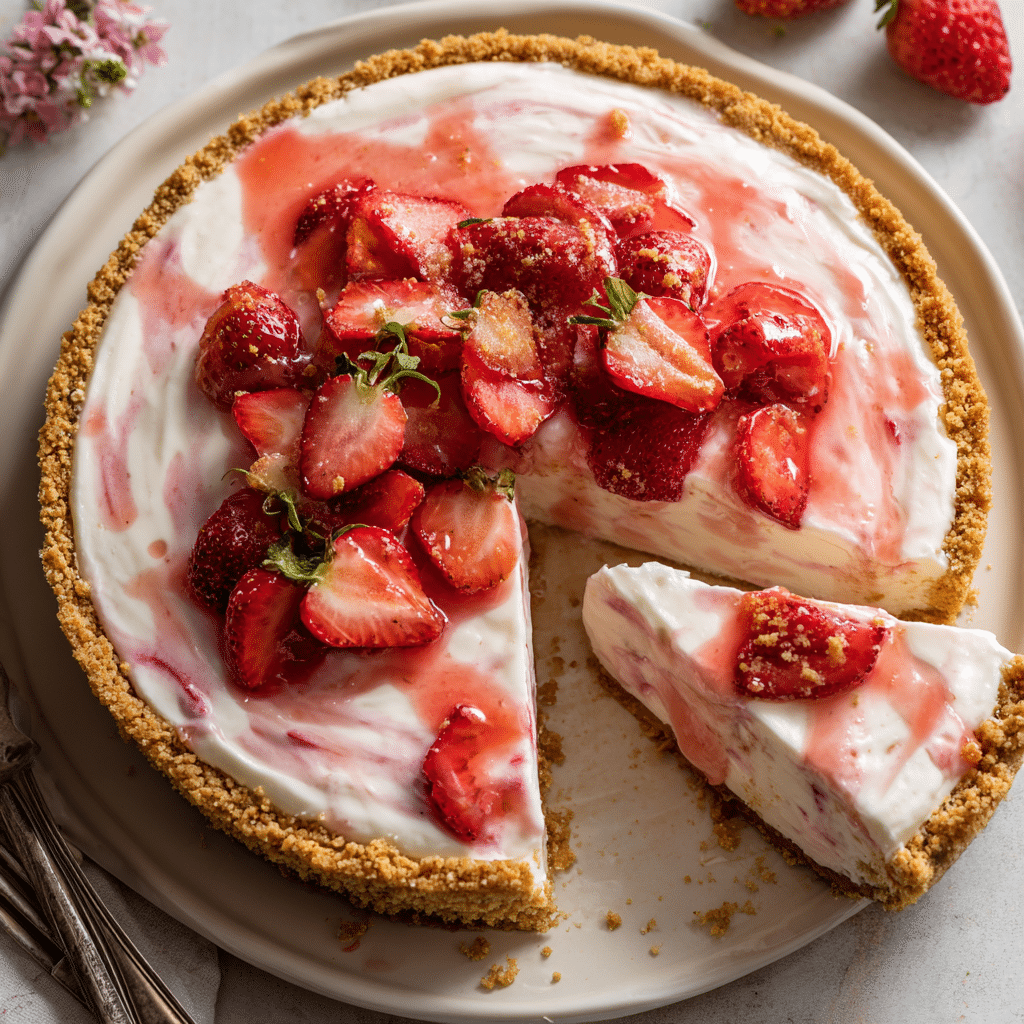
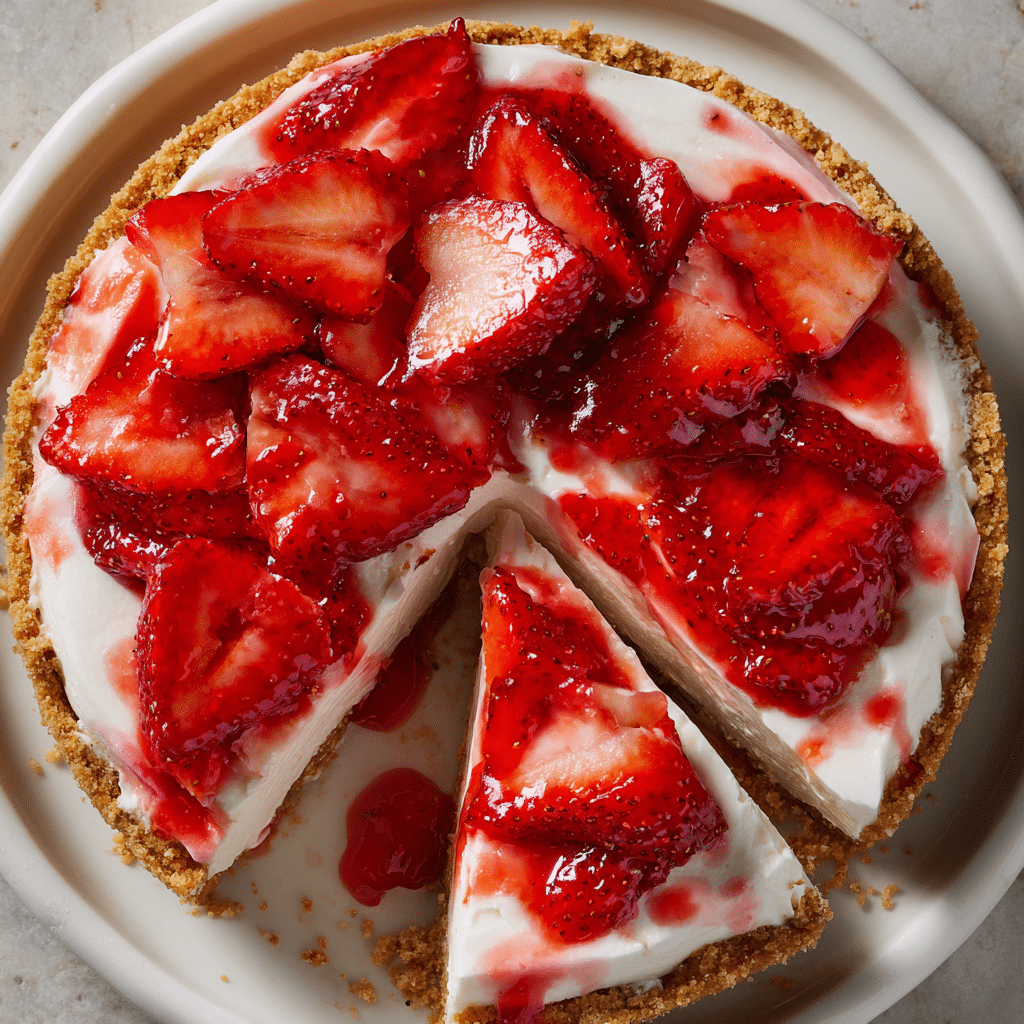
If you’re craving a dessert that’s light, refreshing, and downright irresistible, look no further than this amazing No-Bake Strawberry Yogurt Pie. It perfectly combines a crunchy biscuit crust with a creamy, tangy yogurt filling and a crown of juicy fresh strawberries. This pie truly captures the spirit of summer in every bite, making it a delightful treat to enjoy anytime you want something sweet without the fuss of an oven. Trust me, once you try this No-Bake Strawberry Yogurt Pie, it will become a fast favorite for sunny afternoons and casual get-togethers.
Ingredients You’ll Need
Gathering a handful of simple yet essential ingredients is all it takes to create this delicious No-Bake Strawberry Yogurt Pie. Each component adds something special, from the buttery crunch of the crust to the creamy tang of Greek yogurt and the natural sweetness burst from ripe strawberries.
- 200 g crushed biscuits: These form a crunchy and sturdy base, giving the pie a satisfying texture contrast.
- 70 g melted butter: Binds the biscuits together while adding a rich, buttery flavor to the crust.
- 300 g Greek yogurt: Provides a creamy and slightly tangy filling that keeps the pie light and refreshing.
- 200 ml cold cream: Whipped to airy perfection, giving the filling a luscious and fluffy consistency.
- 2 tbsp honey: Adds a natural sweetness that beautifully balances the tartness of the yogurt.
- Fresh strawberries: Sliced on top to add vibrant color, juicy sweetness, and a fresh finish.
How to Make No-Bake Strawberry Yogurt Pie
Step 1: Prepare the Biscuit Crust
Start by mixing your crushed biscuits with the melted butter until every crumb is lightly coated. Press this mixture firmly into the bottom of your pie pan to create an even, compact crust layer. This step sets the foundation for your pie’s signature crunch and ensures the crust will hold together once chilled.
Step 2: Whip the Cream
Next, whip the cold cream in a chilled bowl until soft peaks form. This airy texture is key to making the yogurt filling light and fluffy instead of dense.
Step 3: Combine Yogurt and Honey
Gently fold the Greek yogurt and honey into the whipped cream. Mixing just enough to combine preserves the cream’s volume while blending the tangy and sweet flavors harmoniously for that perfect filling.
Step 4: Assemble the Pie
Spread the creamy yogurt mixture evenly over your biscuit crust. Smoothing it out ensures every slice gets a generous amount of that luscious filling topped with strawberries.
Step 5: Add Fresh Strawberries
Layer thinly sliced fresh strawberries over the top of the filling in a pretty pattern. Besides making the pie visually stunning, these berries infuse each bite with juicy bursts of flavor.
Step 6: Chill and Set
Finally, refrigerate the pie for at least 4 hours to let the flavors meld and the filling set beautifully. Patience here rewards you with a perfectly firm yet creamy No-Bake Strawberry Yogurt Pie.
How to Serve No-Bake Strawberry Yogurt Pie
Garnishes
To elevate your pie presentation, consider decorating with a few mint leaves for a fresh pop of green, a dusting of powdered sugar for delicate sweetness, or even some finely chopped nuts for added texture. These thoughtful touches turn your pie into a show-stopping dessert.
Side Dishes
This pie pairs wonderfully with light accompaniments like a crisp fruit salad, a scoop of lemon sorbet, or even a small cheese board. Since the pie itself is creamy and berry-forward, balancing it with crisp or tangy sides enhances the experience beautifully.
Creative Ways to Present
For a fun twist, you could serve individual slices in clear dessert cups layered with extra berries and a drizzle of honey. Alternatively, make mini versions in tartlet pans for parties or add a layer of crushed pistachios between the crust and filling for an unexpected nutty surprise. The No-Bake Strawberry Yogurt Pie is versatile and perfect for a little creative flair.
Make Ahead and Storage
Storing Leftovers
Store any leftover No-Bake Strawberry Yogurt Pie covered in the refrigerator to keep it fresh for up to 3 days. Make sure it’s well wrapped or in an airtight container to prevent the crust from becoming soggy and to maintain the filling’s creamy texture.
Freezing
This pie doesn’t freeze exceptionally well due to the fresh strawberries and cream, which may cause textural changes upon thawing. For best results, enjoy it fresh or within a few days of making.
Reheating
No reheating needed here since this pie is meant to be served chilled. Just take it out of the refrigerator a few minutes before serving to let it soften slightly for the best creamy texture and flavor.
FAQs
Can I use regular yogurt instead of Greek yogurt?
While you can use regular yogurt, Greek yogurt’s thicker consistency helps the filling set better and provides a richer texture, making it ideal for this pie.
What type of biscuits work best for the crust?
Digestive biscuits or graham crackers are perfect because they crumble easily and have a mild sweetness that complements the filling without overpowering it.
Is there a dairy-free version of this pie?
Absolutely! You can substitute dairy-free yogurt and use coconut cream instead of regular cream to create a vegan-friendly version, though the texture may vary slightly.
How long does the pie need to chill before serving?
Chilling for at least 4 hours is key to allow the filling to firm up and flavors to meld perfectly. Overnight chilling works even better if you have the time.
Can I prepare this pie a day in advance?
Definitely! In fact, preparing the No-Bake Strawberry Yogurt Pie a day ahead enhances the flavors and saves you time on the day you want to serve it.
Final Thoughts
This No-Bake Strawberry Yogurt Pie is truly a gem of a dessert—easy to make, wonderfully fresh, and beautifully balanced in flavor and texture. Whether you’re new to no-bake pies or a seasoned dessert enthusiast, this recipe makes for a perfect summer treat you will want to share again and again. Grab your ingredients, have fun assembling it, and enjoy every delicious slice!