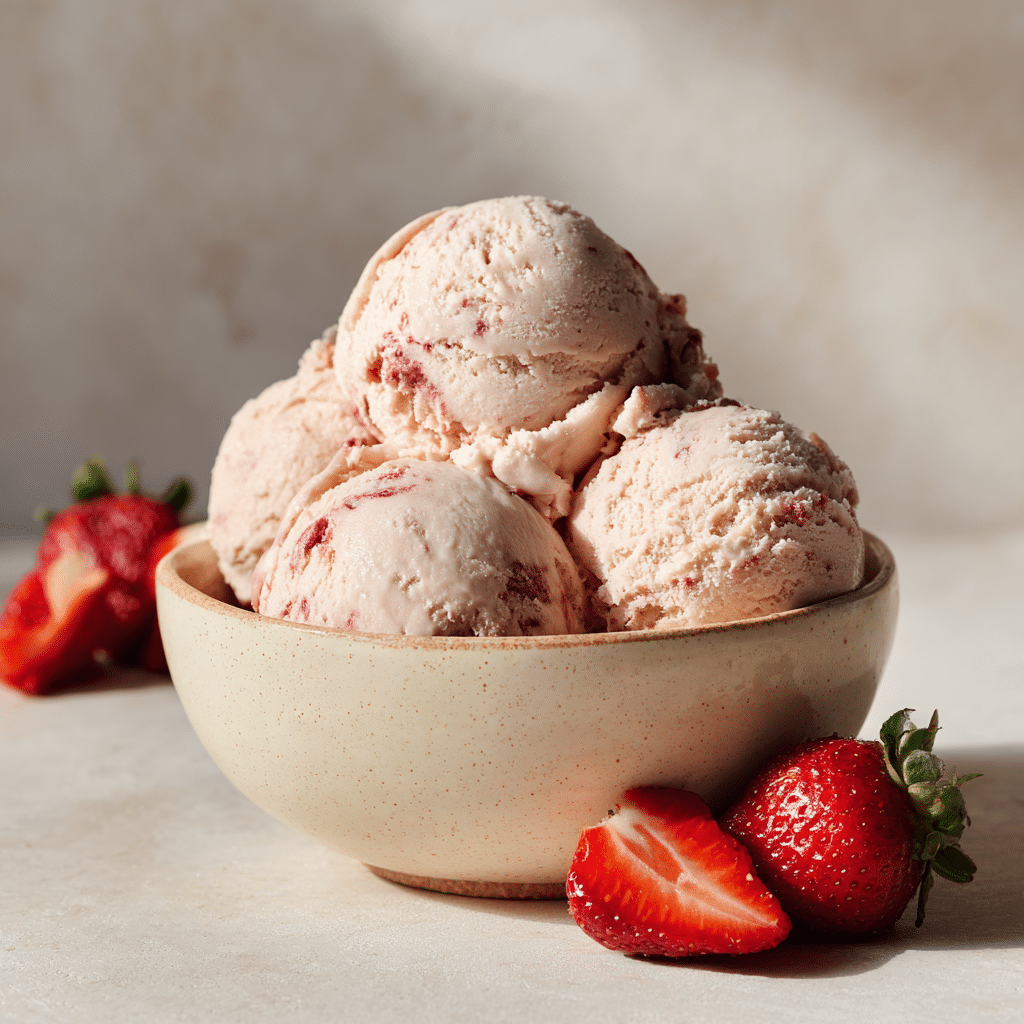
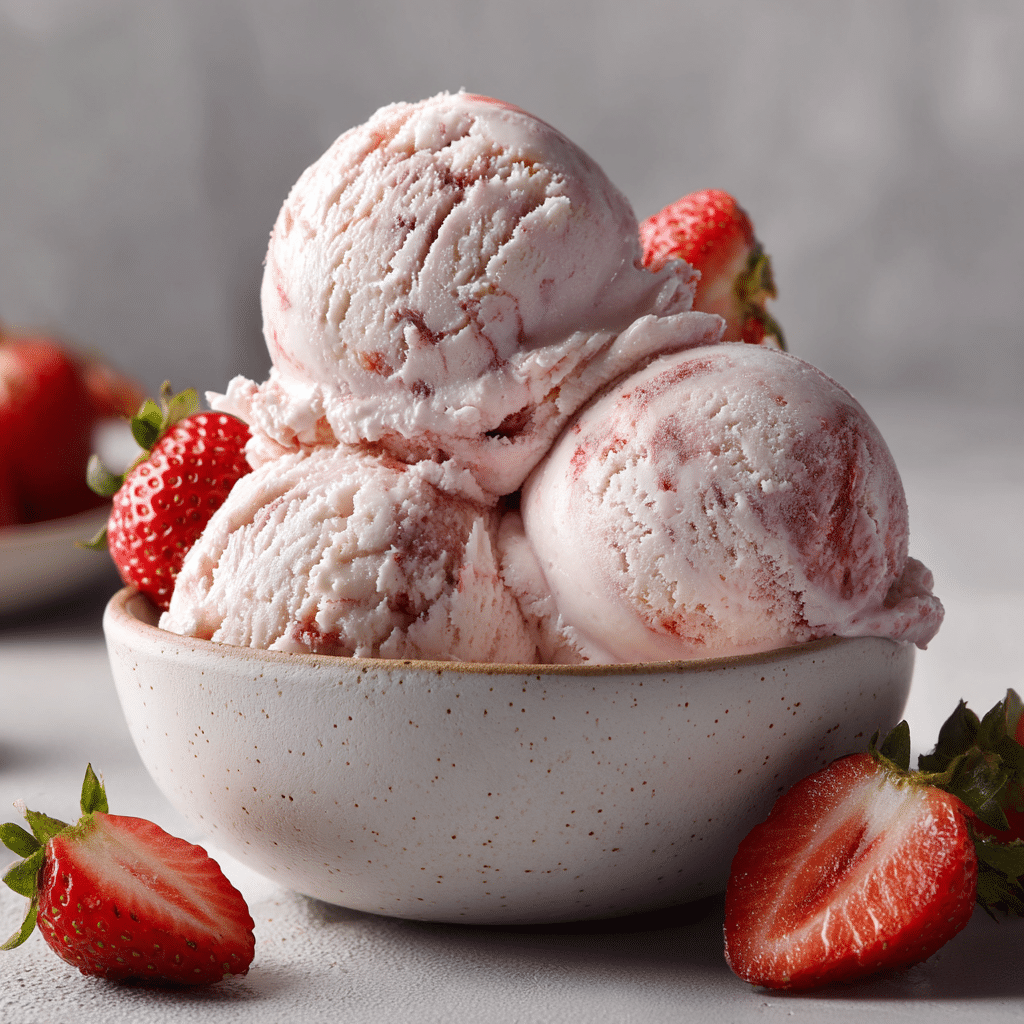
“No-Churn Roasted Strawberry Ice Cream Recipe
If you are searching for the ultimate fruity treat to brighten any day, look no further than No-Churn Roasted Strawberry Ice Cream. This luscious dessert combines the deep, caramelized sweetness of roasted strawberries with a dreamy, creamy base that requires absolutely no ice cream machine. Each spoonful bursts with vibrant strawberry flavor enhanced by the rich texture and delightful roasted fruit chunks, turning a simple homemade ice cream into a sensational experience that’s as memorable as it is easy to make.
Ingredients You’ll Need
These ingredients are wonderfully straightforward but each one plays a crucial role in crafting the perfect texture, color, and flavor balance of your No-Churn Roasted Strawberry Ice Cream. From the fresh strawberries that bring natural sweetness and vibrant pink hues, to the silky condensed milk that ensures creamy richness without churning, every item is essential.
- 1 1/2 pounds fresh strawberries, hulled and halved: Roasting them concentrates their natural sugars for a deep, complex flavor.
- 2 tablespoons granulated sugar: Helps to draw out juices from the strawberries while roasting, boosting sweetness.
- 1 tablespoon lemon juice: Adds a bright contrast to the sweet strawberries, balancing the flavor.
- 1 (14-ounce) can sweetened condensed milk: Provides the creamy, luscious texture without needing an ice cream machine.
- 1 teaspoon vanilla extract: Brings warmth and depth to the ice cream’s flavor profile.
- 1 pinch kosher salt: Enhances all the flavors and prevents the sweetness from becoming cloying.
- 2 cups heavy whipping cream, cold: Whipped to stiff peaks, it gives the ice cream its airy, melt-in-your-mouth structure.
- Optional: 1 tablespoon orange liqueur (like Grand Marnier): Adds a subtle citrus note that complements the strawberries beautifully.
How to Make “No-Churn Roasted Strawberry Ice Cream”
Step 1: Roast the Strawberries
Begin by preheating your oven to 350°F (175°C) and lining a baking sheet with parchment paper. Toss your halved strawberries with granulated sugar and lemon juice so they become aromatic and juicy after roasting. Spread them out on the baking sheet, then roast for 25 to 30 minutes, stirring halfway through. You’ll notice the strawberries soften and release thick, syrupy juices that gather an intense sweetness and rich flavor during this transformation.
Step 2: Puree Most of the Roasted Strawberries
Let the roasted strawberries cool for about 10 minutes so they’re easier to work with. Transfer about three-quarters of the batch along with their juices into a blender or food processor, then blend until smooth to create that seductive strawberry puree base for your ice cream. Keep the remaining chunks aside—they’re the secret little surprises you’ll fold in later.
Step 3: Combine the Base Ingredients
In a large mixing bowl, whisk together the sweetened condensed milk, vanilla extract, kosher salt, and the freshly pureed strawberries until everything is beautifully integrated. If you want to elevate your ice cream even further, stir in a splash of orange liqueur to add complexity and a refreshing citrus zing to complement the strawberries.
Step 4: Chill the Mixture
Pop this luscious strawberry mixture into the fridge for around 20 minutes. This chilling step helps the flavors meld, and the cooler base will be ready to merge perfectly with the whipped cream. It’s a simple step but makes a big difference in the final texture.
Step 5: Whip the Cream to Stiff Peaks
Using a hand or stand mixer, whip your cold heavy cream until it forms stiff peaks. This creates the essential airy lift and luscious creaminess typical of delicious ice cream, even without churning. That fluffy whipped cream is what transforms your frozen dessert into a soft, scoopable masterpiece.
Step 6: Fold Together
Now gently fold your whipped cream into the chilled strawberry mixture. Go slow with a spatula to maintain as much air as possible—this is the key to the ice cream’s light texture. Then, swirl in those reserved roasted strawberry chunks. This little trick introduces bursts of roasted fruit flavor and gives your flavor journey delightful pops of texture, making this No-Churn Roasted Strawberry Ice Cream truly unforgettable.
Step 7: Freeze Until Firm
Pour the finished mixture into a 9×5-inch loaf pan, smooth the surface, and cover tightly with plastic wrap or a lid. Freeze for at least 6 hours or overnight until your ice cream is perfectly firm and scoopable. When you are ready to serve, simply let it sit at room temperature for 5 to 10 minutes to soften slightly—this makes scooping a breeze and the texture simply divine.
How to Serve “No-Churn Roasted Strawberry Ice Cream”
Garnishes
Presentation is part of the fun! Top your ice cream with fresh mint leaves, a sprinkle of toasted almonds, or an extra drizzle of honey or strawberry syrup. Not only do these garnishes add texture and flavor contrast, but they also elevate the visual appeal of this already stunning dessert.
Side Dishes
This ice cream pairs wonderfully with warm desserts like fresh berry cobbler or a molten chocolate cake. The contrast between the cold, creamy strawberry ice cream and hot, comforting desserts makes every bite a joyful experience. For a lighter option, serve alongside a crisp biscotti or buttery shortbread cookie.
Creative Ways to Present
Want to impress your guests or treat yourself in style? Serve No-Churn Roasted Strawberry Ice Cream in hollowed-out strawberry halves or mini waffle cones. You can also create a layered parfait by alternating the ice cream with crushed graham crackers and whipped cream, making each spoonful a surprise of textures and flavors.
Make Ahead and Storage
Storing Leftovers
Leftover No-Churn Roasted Strawberry Ice Cream should be kept in an airtight container to prevent freezer burn and ice crystals from forming. Make sure to press plastic wrap directly to the surface of the ice cream before sealing to minimize exposure to air.
Freezing
This ice cream freezes beautifully and can be stored for up to 2 weeks. Keep the container tightly sealed and avoid repeated thawing and refreezing to maintain the creamy texture and fresh strawberry flavor that make this dessert so special.
Reheating
Since this is ice cream, reheating is not necessary or recommended. Instead, when serving leftovers, simply remove from the freezer and let sit at room temperature for a few minutes to soften slightly for easy scooping and optimal creaminess.
FAQs
Can I use frozen strawberries instead of fresh for the roasted strawberry ice cream?
While fresh strawberries give the best texture and flavor when roasted, you can use frozen if needed. Just thaw and drain them well to avoid excess moisture that could affect the ice cream’s texture.
What if I don’t have an ice cream machine? Can I still make this recipe?
Absolutely! This is the beauty of No-Churn Roasted Strawberry Ice Cream. The recipe is designed to be made without any special equipment—just a freezer and a mixer. It’s simple and accessible for everyone.
How can I get a stronger roasted strawberry flavor?
Make sure to roast the strawberries long enough until they caramelize and release thick syrupy juices. Also, folding in the reserved roasted chunks instead of blending all the fruit gives bursts of intense roasted flavor.
Is there a dairy-free version of this recipe?
You can try substituting the heavy cream with full-fat coconut cream and using a sweetened condensed coconut milk to replicate the creamy texture. However, the flavor will be slightly different but still delicious.
Can I make this ice cream with other fruits?
Definitely! This no-churn method works well with other fruits you can roast and puree, like peaches, blueberries, or blackberries, giving you endless opportunities for homemade frozen treats.
Final Thoughts
Nothing beats the joy of making fresh ice cream at home, especially one as irresistibly creamy and flavorful as No-Churn Roasted Strawberry Ice Cream. It’s a fantastic way to highlight the natural sweetness of strawberries with a fun twist that requires no fancy tools. Go ahead, treat yourself and your loved ones to this easy yet impressive dessert—you’ll find yourself making it again and again.