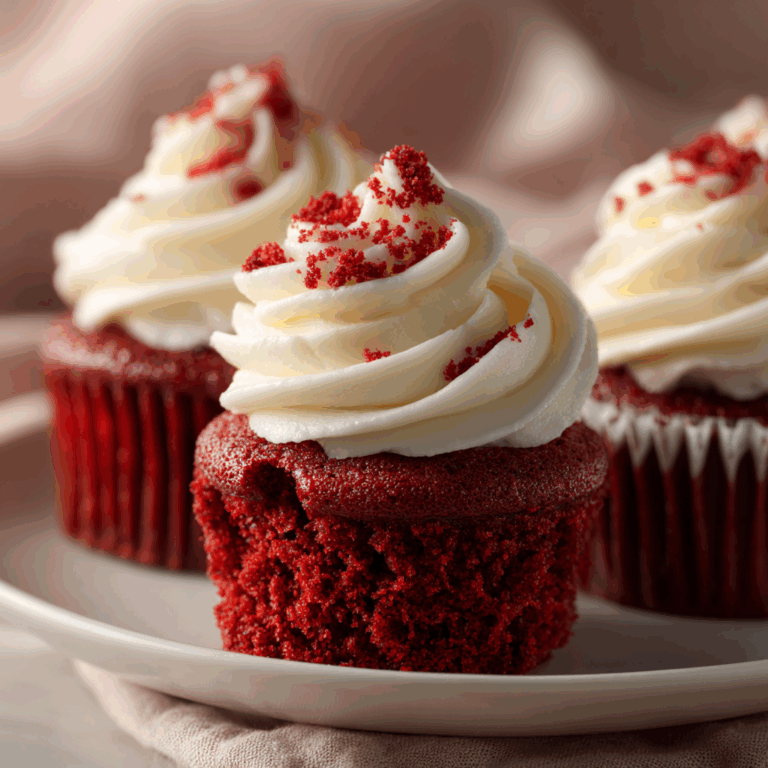
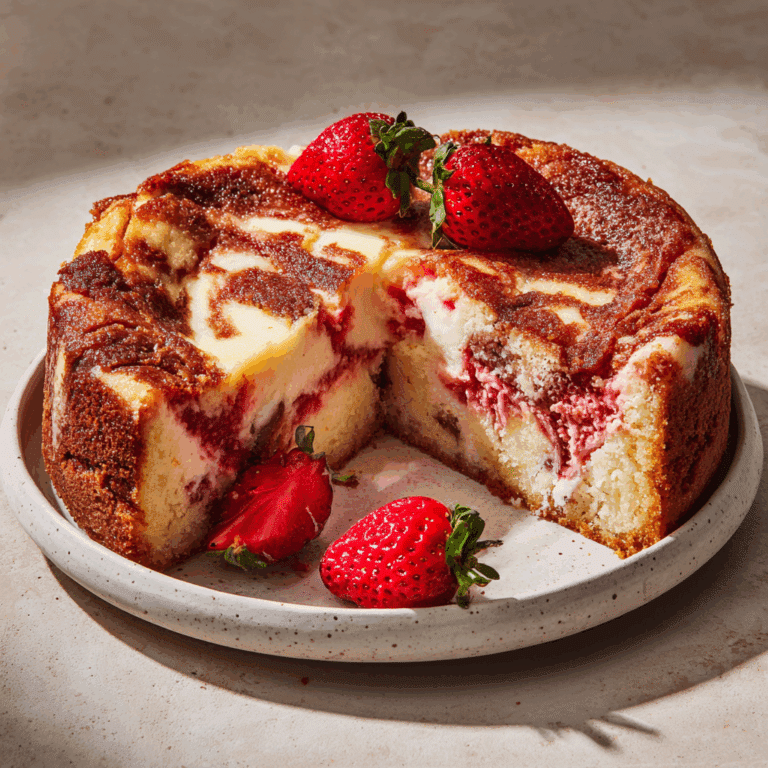
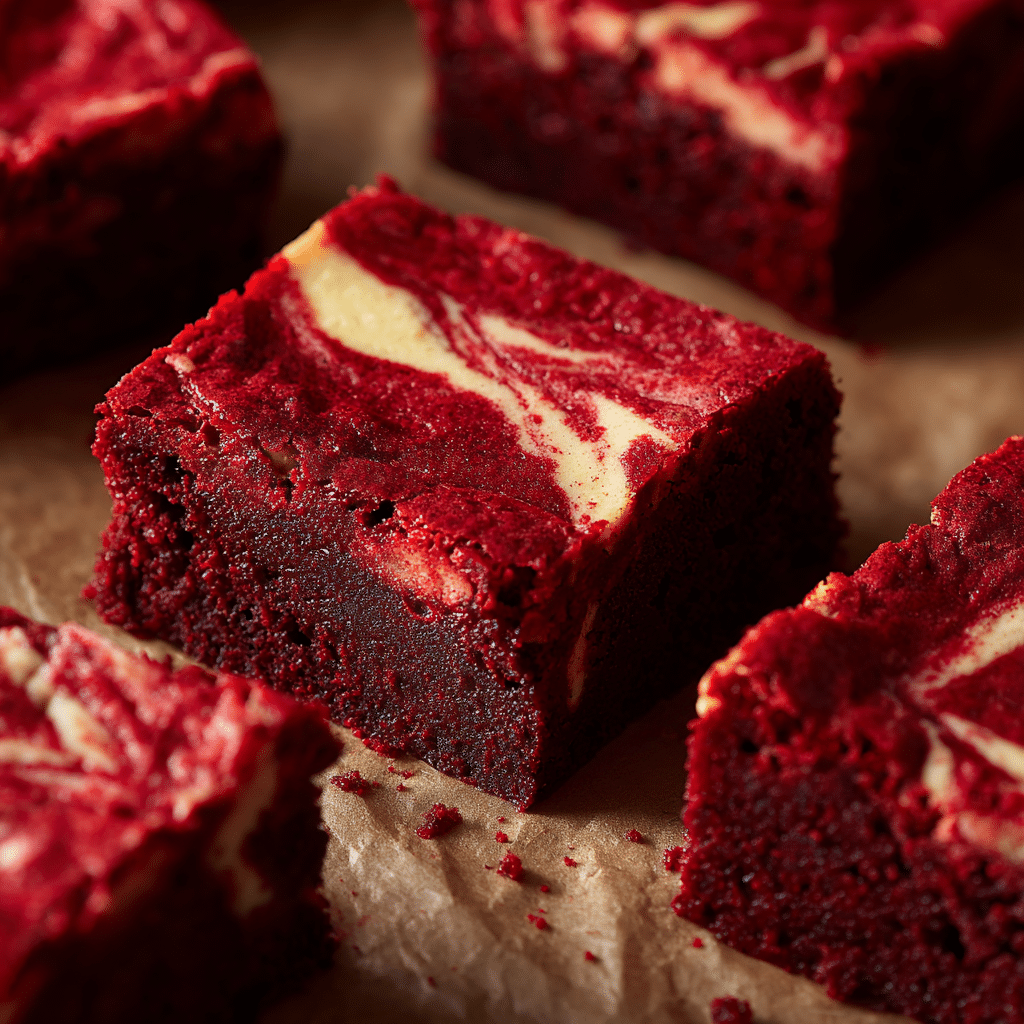
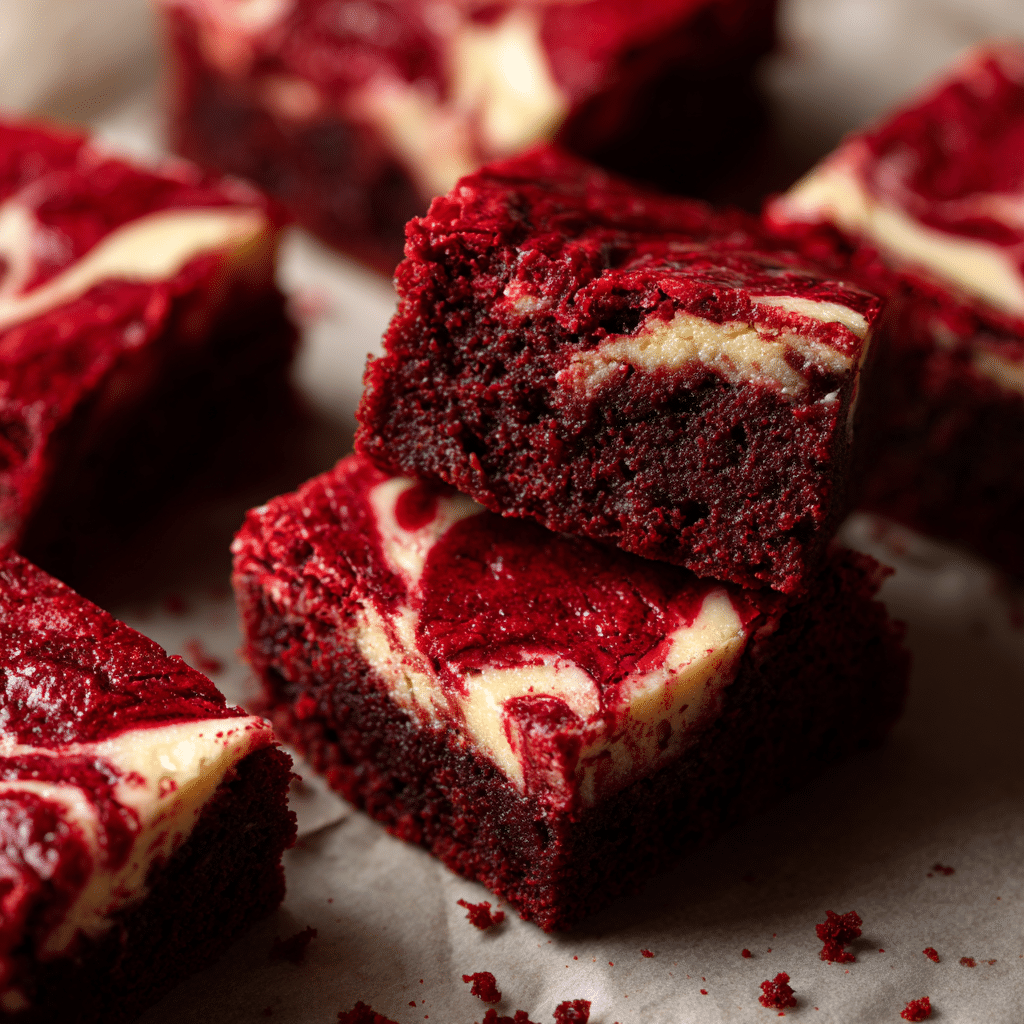
Red Velvet Brownies Recipe
If you’re craving something that brings together the classic charm of red velvet cake with the rich, fudgy magic of brownies, these Red Velvet Brownies are just what you need. They deliver that iconic deep red color alongside a soft, melt-in-your-mouth texture with an irresistible cocoa flavor that feels both decadent and comforting. Perfectly suited for celebrations or those cozy nights when you want a sweet treat that stands out, this recipe is straightforward yet guarantees a spectacular result every single time.
Ingredients You’ll Need
Getting these brownies right is all about balancing simple, quality ingredients that contribute unique flavors, textures, and that unmistakable red velvet appeal. Each element plays a crucial role, from the cocoa powder that deepens the flavor to the red gel food coloring that gives these brownies their signature look.
- 1 cup all-purpose flour: Provides structure to the brownies for that perfect bite.
- 1/3 cup unsweetened cocoa powder: Adds rich chocolate notes essential for red velvet’s depth.
- 1 cup granulated sugar: Sweetens the batter and balances the cocoa’s bitterness.
- 1/4 tsp salt: Enhances all the flavors and keeps the sweetness in check.
- 1 tsp baking powder: Gives a subtle lift ensuring they aren’t too dense.
- 1/2 cup unsalted butter, melted: Adds moisture and richness for fudgy goodness.
- 2 large eggs (room temperature): Bind the ingredients and create a tender yet chewy texture.
- 2 tbsp red gel food coloring: Delivers that vibrant red color that defines red velvet.
- 1 tsp vanilla extract: A warm, sweet note that rounds out the flavor beautifully.
- 1/2 cup white chocolate chips (optional): Offers a creamy, sweet contrast when sprinkled on top.
How to Make Red Velvet Brownies
Step 1: Prepare Your Oven and Pan
Start by preheating your oven to 350°F (175°C). While it warms up, line an 8×8-inch baking pan with parchment paper. This simple prep step ensures your brownies come out cleanly and keeps the baking process smooth and fuss-free.
Step 2: Mix the Dry Ingredients
In a medium bowl, whisk together the all-purpose flour, unsweetened cocoa powder, baking powder, and salt. Combining these dry ingredients thoroughly now helps to create a consistent batter and delivers that perfect texture you’re craving in your Red Velvet Brownies.
Step 3: Combine Wet Ingredients
Melt the unsalted butter in a small saucepan or microwave, then stir it together with the granulated sugar in a separate bowl. Add the eggs one at a time, mixing well after each addition to ensure they’re fully incorporated. Next, fold in the vanilla extract and red gel food coloring. This vibrant infusion is what really brings these brownies to life.
Step 4: Bring It All Together
Gently fold the dry ingredient mix into your wet mixture just until combined. Overmixing can toughen the brownies, so a light touch here guarantees they stay soft and tender. If you’re using white chocolate chips, sprinkle them on top of the batter once it’s poured into your lined baking pan for a luscious finish.
Step 5: Bake and Cool
Bake your Red Velvet Brownies for about 25 to 30 minutes. Test for doneness by inserting a toothpick in the center — it should come out with moist crumbs attached, never dry. Let the brownies cool completely in the pan before slicing into squares to ensure clean cuts and maintain that fudgy texture everyone loves.
How to Serve Red Velvet Brownies
Garnishes
To elevate your Red Velvet Brownies, consider topping with a dusting of powdered sugar or a drizzle of cream cheese glaze for that signature tangy-sweet finish. Fresh berries or a sprinkle of crushed nuts also add beautiful color and texture that makes serving these brownies feel extra special.
Side Dishes
These brownies shine on their own but pair wonderfully with a scoop of vanilla or cream cheese ice cream for a cooling contrast. A cup of rich coffee or a creamy latte also complements their cocoa notes perfectly, making dessert time a cozy and indulgent experience.
Creative Ways to Present
Presentation is key when sharing Red Velvet Brownies with friends or family. Try cutting them into bite-sized squares and stacking them on a decorative platter, or layer brownies and frosting in a clear trifle bowl for a stunning visual impact. Wrapping individual brownies in parchment paper tied with a ribbon turns each piece into a charming homemade gift.
Make Ahead and Storage
Storing Leftovers
Once cooled, store your Red Velvet Brownies in an airtight container at room temperature for up to three days. This keeps them moist without drying out, so you can enjoy that delicious fudgy texture any time you want a quick treat.
Freezing
Red Velvet Brownies freeze beautifully. Wrap individual squares tightly in plastic wrap, then place them in a freezer-safe bag or container. They will keep fresh for up to three months. When ready to enjoy, thaw them overnight in the refrigerator or on your countertop.
Reheating
If you want to enjoy brownies warm, a quick 15 to 20 seconds in the microwave will do the trick. This gentle heat brings back that freshly baked softness and makes any leftover bites feel like new again, especially when paired with a dollop of whipped cream or ice cream.
FAQs
Can I use regular liquid food coloring instead of gel for these Red Velvet Brownies?
You can, but gel food coloring is recommended because it offers a more vibrant color without altering the batter’s consistency. Liquid food coloring may require more than the recommended amount, which can affect texture and flavor slightly.
What makes these brownies different from regular chocolate brownies?
Red Velvet Brownies combine the deep cocoa flavor of traditional brownies with the distinctive tangy sweetness of red velvet, plus that iconic red color. They’re also typically a bit more moist and tender due to the added vinegar and buttermilk elements common in red velvet recipes, though this version focuses on food coloring for the signature look.
Can I substitute the white chocolate chips?
Absolutely! If you prefer, you can swap white chocolate chips for semi-sweet or milk chocolate chips, or even chopped nuts for a little crunch. Each option adds its own unique twist to the brownies.
How do I know when the brownies are done baking?
Use the toothpick test by inserting it into the center of the pan. It should come out with a few moist crumbs sticking to it—not wet batter or completely dry. This ensures the brownies are fudgy but fully cooked.
Are these brownies suitable for special occasions?
Definitely! The eye-catching red color and luscious texture make Red Velvet Brownies a perfect choice for holidays, birthdays, or any time you want to impress your guests with a striking and delicious dessert.
Final Thoughts
Making Red Velvet Brownies at home is a joy, both in the baking process and the incredible taste you get at the end. They manage to be elegant and cozy all at once, offering that perfect blend of chocolate richness and red velvet charm. Whether you’re new to baking or a seasoned pro, these brownies are a must-try that will soon become a beloved favorite. Go ahead, whip up a batch and watch the smiles light up around your table!