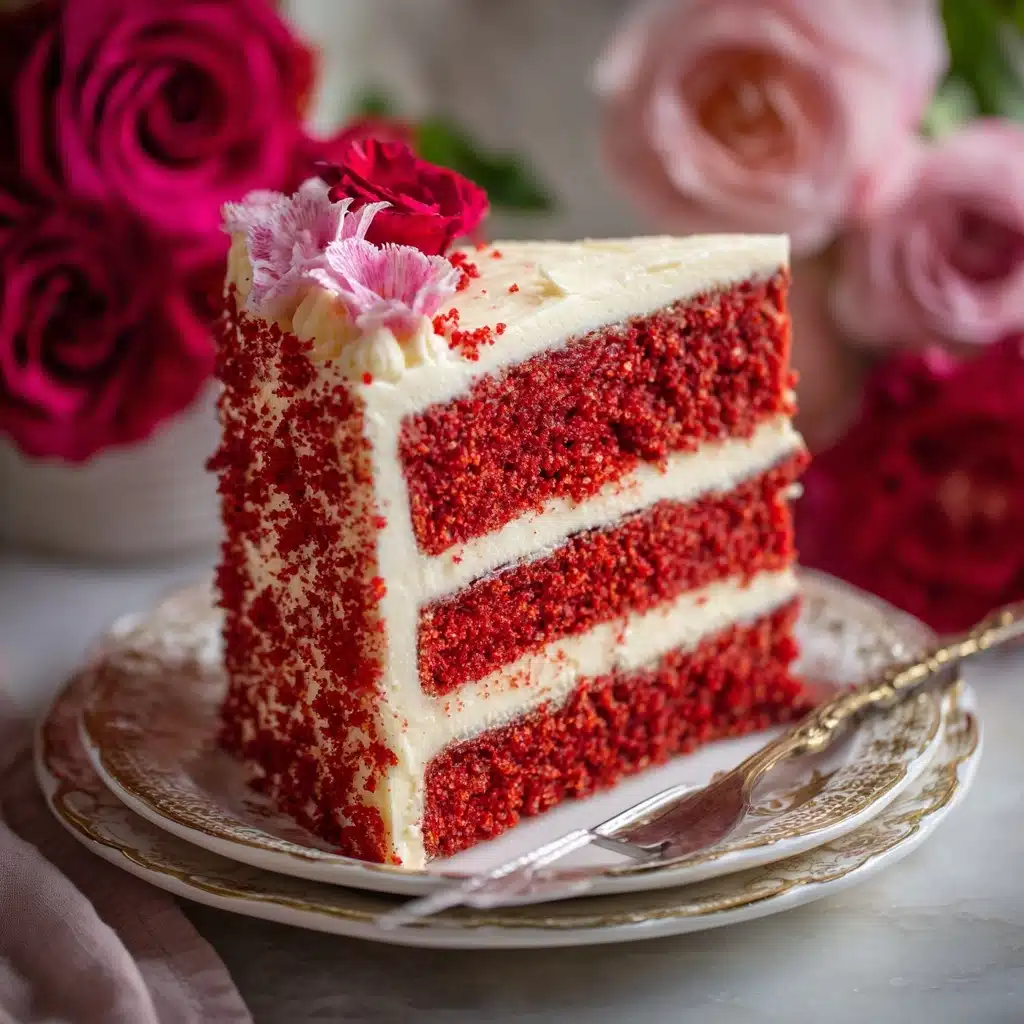
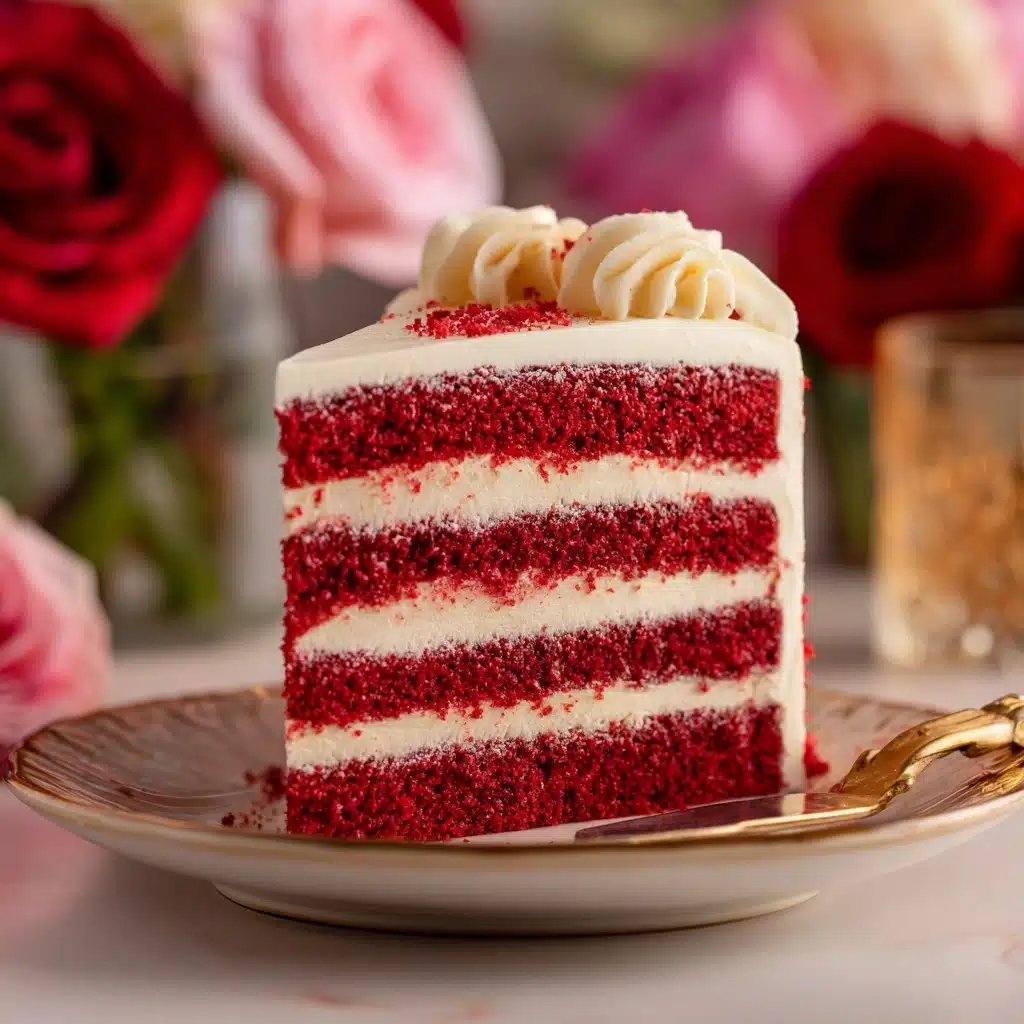
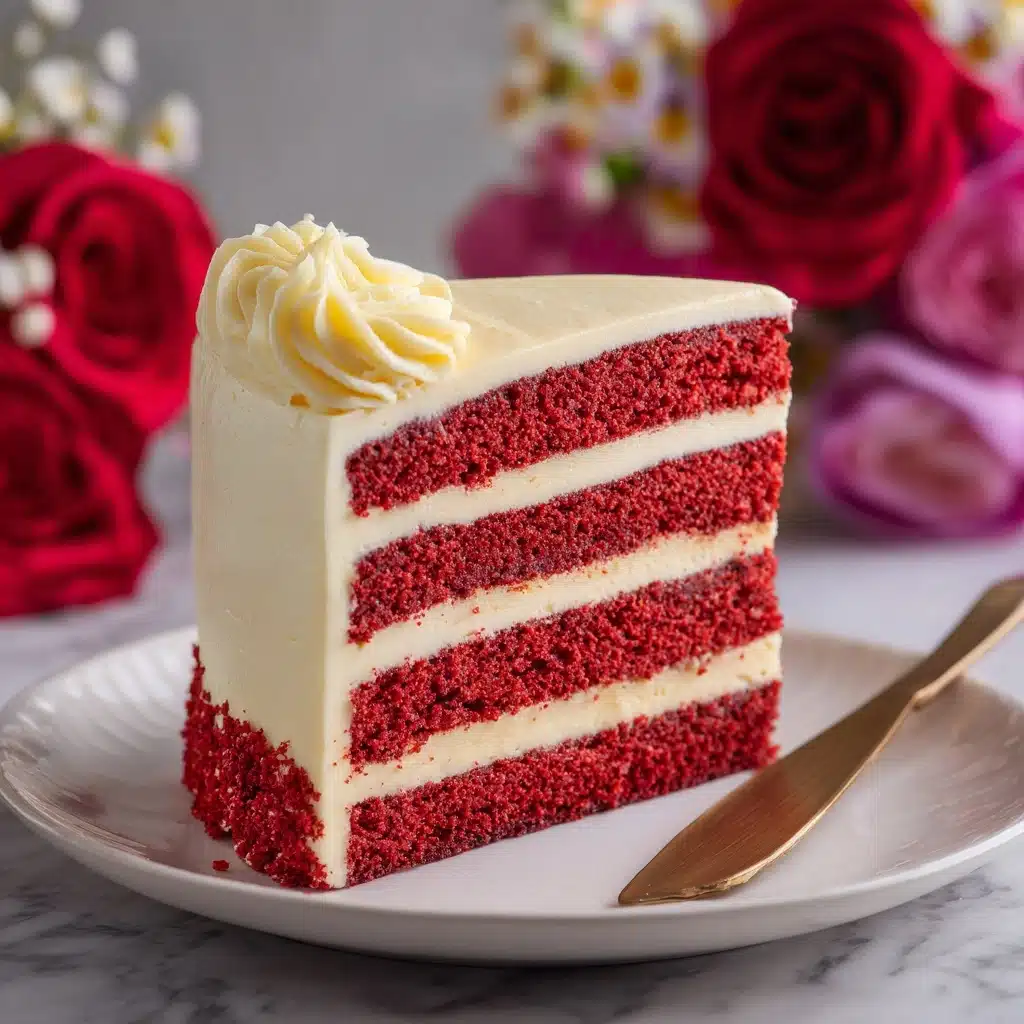
Red Velvet Cake with Buttercream Icing Recipe
If you’re after a dessert that feels like a warm hug and looks stunning on any occasion, then the Red Velvet Cake with Buttercream Icing is your new best friend. This cake brings together a delicate hint of cocoa, vibrant red color, and a luxuriously soft crumb, all wrapped up in a cloud of fluffy buttercream. Whether it’s a birthday, a celebration, or just a day that deserves a little sweetness, this Red Velvet Cake with Buttercream Icing promises to impress not only with its looks but with every delightful bite.
Ingredients You’ll Need
Gathering the right ingredients is surprisingly simple yet crucial to getting that perfect balance of flavor, texture, and color in your Red Velvet Cake with Buttercream Icing. Each component plays its own starring role, from the rich cocoa powder that adds depth, to the buttermilk that ensures moistness and tenderness.
- Flour (250g): The base of the cake providing structure and rise.
- Sugar (200g): Adds sweetness and helps keep the cake moist.
- Eggs (2): Bind the ingredients and contribute to the cake’s airy texture.
- Buttermilk (100ml): Gives the cake tenderness and a subtle tang.
- Vegetable Oil (100ml): Keeps the cake moist and soft, better than butter for this recipe.
- Cocoa Powder (10g): Provides a gentle chocolate undertone essential to classic red velvet.
- Red Food Coloring (5ml): The vibrant pop of red that makes this cake iconic.
- Baking Soda (5g): Helps the cake rise and keeps it fluffy.
How to Make Red Velvet Cake with Buttercream Icing
Step 1: Prepare Your Dry Ingredients
Start by mixing the flour, cocoa powder, and baking soda in a large bowl. This ensures an even distribution of ingredients that will help your cake rise perfectly and develop its signature mild chocolate flavor.
Step 2: Whisk the Wet Ingredients
In a separate bowl, whisk together the sugar, eggs, buttermilk, and vegetable oil until smooth and well combined. This step is where moisture begins to build, giving your cake that soft and tender crumb.
Step 3: Add the Red Food Coloring
Pour in the red food coloring to the wet ingredients and mix thoroughly. This colorful splash is what transforms your cake from ordinary to show-stopper worthy, making every slice as beautiful as it tastes.
Step 4: Combine Wet and Dry Mixtures
Gradually fold the dry ingredients into the wet mixture. Take care not to overmix; a gentle hand will keep the batter light and help give your cake its delicate texture.
Step 5: Bake to Perfection
Pour the batter into a prepared cake pan and bake at 175°C for about 30 minutes. Your kitchen will soon be filled with a comforting, chocolaty aroma that’s truly irresistible.
Step 6: Frost with Buttercream
Once the cake has cooled completely, spread a generous layer of fluffy buttercream icing all over. This creamy topping adds sweetness and richness, balancing the subtle cocoa notes of the cake beautifully.
How to Serve Red Velvet Cake with Buttercream Icing
Garnishes
For an extra touch of elegance and texture, sprinkle the top with white chocolate shavings, chopped pecans, or fresh berries. These garnishes add contrasting flavors and beautiful color to highlight the bright red of the cake.
Side Dishes
This cake pairs wonderfully with simple accompaniments like a scoop of vanilla ice cream or a dollop of whipped cream. A cup of freshly brewed coffee or a glass of cold milk also complements the flavors perfectly without overpowering them.
Creative Ways to Present
Slice the Red Velvet Cake with Buttercream Icing into neat squares or stack smaller rounds for an impressive tiered look. You can even turn leftovers into cake pops by dipping cubes in melted chocolate, making dessert time even more fun and portable.
Make Ahead and Storage
Storing Leftovers
Once frosted, cover your cake tightly with plastic wrap or store it in an airtight container in the refrigerator. It will keep fresh and moist for up to 4 days, maintaining that classic texture and flavor you love.
Freezing
If you want to keep the joy longer, freeze the unfrosted cake layers wrapped well in plastic and foil. They can last up to 3 months in the freezer. When ready, thaw overnight in the fridge before frosting.
Reheating
For the best experience, serve the cake chilled or at room temperature after removing from the fridge about 30 minutes before eating. Avoid reheating the whole cake, as it’s best enjoyed fresh to preserve the buttercream’s texture.
FAQs
Can I use regular milk instead of buttermilk?
Regular milk can be used with a tablespoon of lemon juice or vinegar added to mimic buttermilk’s acidity, which helps tenderize the cake and react with the baking soda for proper rise.
Is there a substitute for red food coloring?
You can experiment with natural alternatives like beet juice or powder, though it may affect the vibrancy and sometimes the flavor slightly, but it’s a great option for those avoiding artificial colors.
How do I make the perfect buttercream icing?
The secret is starting with room temperature butter, beat it well until fluffy, then add powdered sugar gradually along with a splash of vanilla and a pinch of salt for balance. It should be light and creamy, not too stiff.
Can this recipe be made gluten-free?
Absolutely! Use a gluten-free all-purpose flour blend in place of regular flour, and ensure your cocoa powder and other ingredients are gluten-free certified to avoid cross-contamination.
What’s the best pan size for this recipe?
A 9-inch round cake pan works perfectly for these quantities, but you can use an 8-inch pan if you want slightly taller layers. Just keep an eye on baking time as it may vary slightly.
Final Thoughts
Making a Red Velvet Cake with Buttercream Icing from scratch is an incredibly rewarding experience that fills your home with warmth and delicious aromas. Every forkful brings that perfect balance of subtle chocolate and sweet, creamy frosting that feels like a celebration no matter the day. Give this recipe a try—you’re going to love how effortlessly it turns any moment into something truly special.