Vanilla Chia Milk Breakfast Cups Recipe
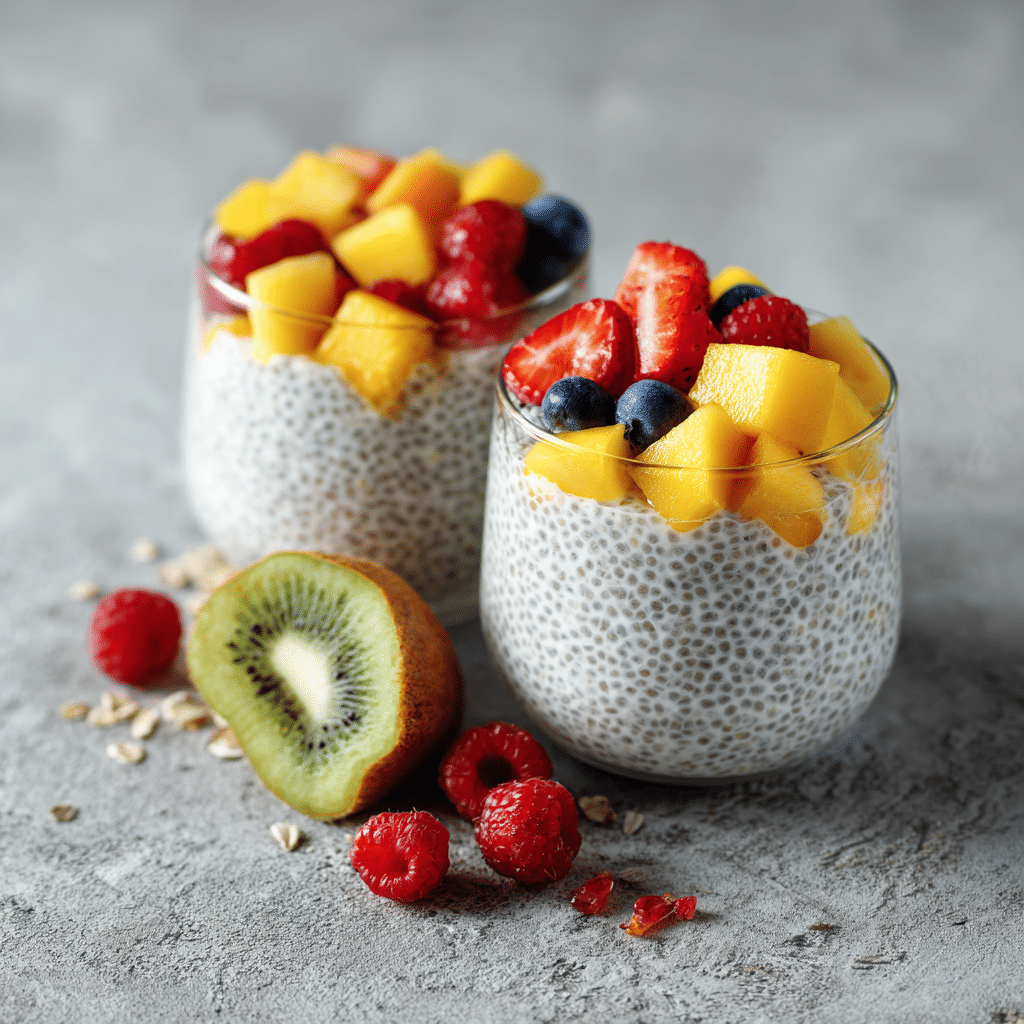
If you’re on the lookout for a breakfast that feels both indulgent and nourishing, you’re going to adore these Vanilla Chia Milk Breakfast Cups. Imagine soft, creamy chia seeds suspended in luscious, subtly sweet vanilla milk—a silky texture that feels like a gentle morning hug. This recipe is effortless yet impressive, perfect for busy mornings when you want something healthy and delicious ready to go. Each spoonful is a little celebration of wholesome ingredients coming together to kickstart your day with calm energy and delightful flavor.
Ingredients You’ll Need
This recipe uses a handful of simple, pantry-friendly ingredients that each bring something special to the finished dish. From the creamy milk base to the slight crunch and fiber-packed chia seeds, everything works in harmony to create a breakfast cup that’s as nourishing as it is tasty.
- Milk, 1 ½ cups: Choose your favorite milk—dairy or plant-based—for a creamy canvas that carries the flavors beautifully.
- Chia Seeds, 3 tablespoons: These tiny powerhouses swell into a rich pudding that adds texture and omega-3 goodness.
- Honey, 1 tablespoon: A natural sweetener that gently lifts the flavors without overpowering the vanilla.
- Vanilla Extract, ½ teaspoon: The star of the show, infusing each bite with a delicate and warm aroma.
How to Make Vanilla Chia Milk Breakfast Cups
Step 1: Whisk Ingredients Until Smooth
Start by combining the milk, chia seeds, honey, and vanilla extract in a bowl or jug. Whisk thoroughly until everything is evenly distributed. This step is crucial to avoid clumps and ensure the chia seeds are fully suspended in the liquid. You’ll notice the mixture is slightly runny at first, but that’s expected.
Step 2: Pour Into Serving Cups
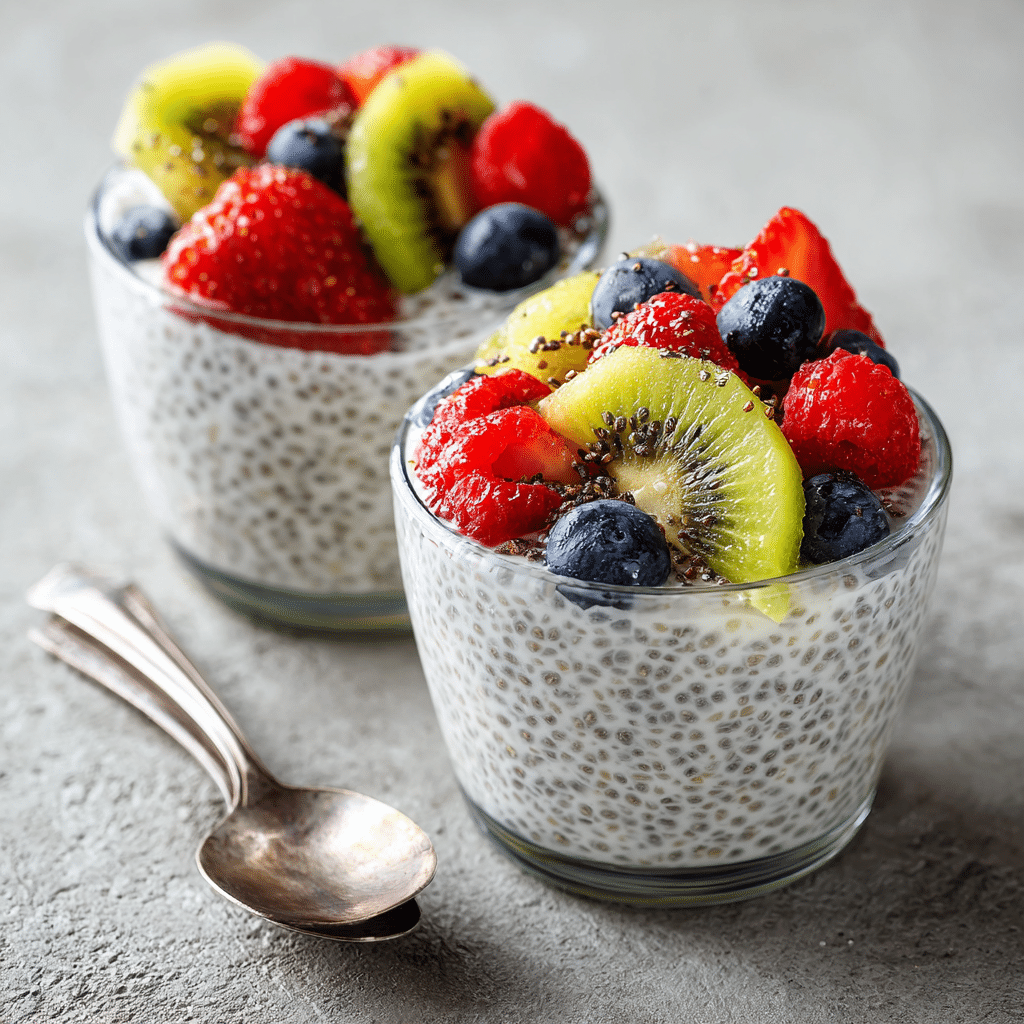
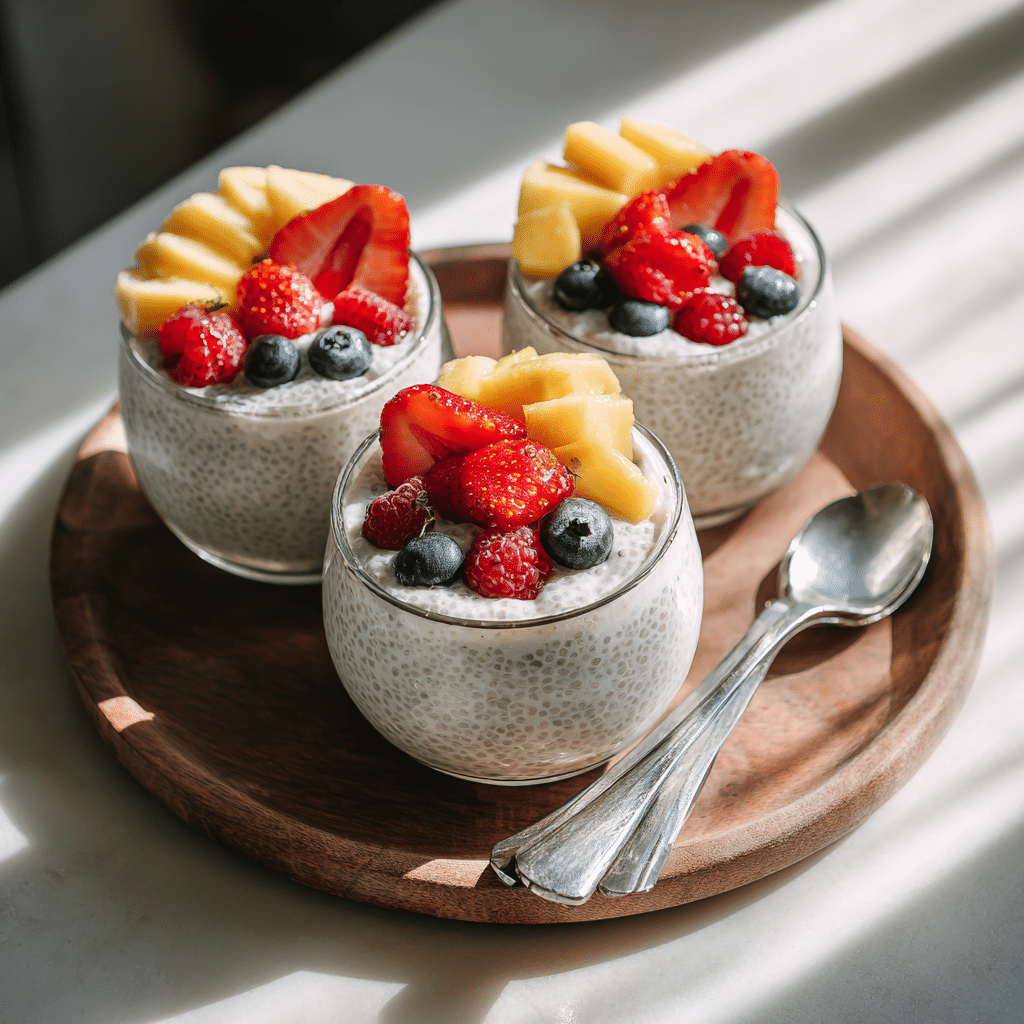
Divide the mixture evenly into two small cups or jars. Using clear containers works beautifully here to show off the lovely vanilla-speckled pudding after it sets. This step sets you up perfectly for a ready-to-eat breakfast later.
Step 3: Refrigerate and Stir
Place your cups in the refrigerator for at least two hours, allowing the chia seeds to absorb the milk and thicken into a creamy texture. After about 10 minutes, give the mixture a quick stir to prevent the chia seeds from clumping at the bottom, ensuring a smooth, consistent pudding throughout.
Step 4: Chill and Enjoy
Once fully set, your Vanilla Chia Milk Breakfast Cups are ready to enjoy chilled. The texture should be silky, soft, and just sweet enough with the comforting hint of vanilla running through each bite.
How to Serve Vanilla Chia Milk Breakfast Cups
Garnishes
Adding garnishes transforms these cups from simple to spectacular. Fresh berries, sliced bananas, or a sprinkle of toasted nuts can add fresh brightness and a delightful crunch. A drizzle of extra honey or a dusting of cinnamon will enhance the natural sweetness and warmly complement the vanilla.
Side Dishes
Pair your Vanilla Chia Milk Breakfast Cups with light, wholesome sides like whole-grain toast, almond butter, or a crisp green salad for a balanced breakfast. These cups also work beautifully alongside a fresh smoothie or a colorful fruit bowl, creating a complete and satisfying start to your day.
Creative Ways to Present
For a fun twist, layer your chia pudding with granola, fruit compote, or yogurt to create parfait-style presentations. Using small mason jars or clear glass cups adds a charming, rustic feel that makes this simple breakfast feel extra special—perfect for impressing guests or just brightening your morning routine.
Make Ahead and Storage
Storing Leftovers
If you make more than you can eat in one sitting, don’t worry. Keep the remaining Vanilla Chia Milk Breakfast Cups covered in the refrigerator for up to four days. The longer they sit, the softer the texture becomes, but they will retain their delicious flavor and healthful qualities.
Freezing
Freezing isn’t ideal for this dish because the texture of chia seeds changes when frozen and thawed, often becoming watery or grainy. For the best taste and consistency, enjoy your cups fresh or chilled from the fridge.
Reheating
These cups are best eaten cold and do not require reheating. If you’d like a warmer treat, try gently warming your milk before mixing the ingredients next time—but be careful not to cook the chia seeds, as this can affect texture.
FAQs
Can I use almond milk or other plant-based milks?
Absolutely! Almond, oat, coconut, or soy milk all work wonderfully here and offer subtle variations in flavor to customize your Vanilla Chia Milk Breakfast Cups just the way you like.
How long does it take for chia seeds to thicken?
Usually around two hours in the fridge is sufficient for the chia seeds to swell and create that creamy pudding texture, but for a thicker consistency, you can leave them overnight.
Is honey necessary or can I use another sweetener?
Honey adds a natural, floral sweetness and a lovely depth to the cups, but feel free to swap it out for maple syrup, agave nectar, or even a sprinkle of sugar if you prefer.
Can I add flavors other than vanilla?
Definitely! While vanilla is classic and comforting, try adding cinnamon, nutmeg, or even a little cocoa powder to switch things up and create your own signature version.
Are these breakfast cups suitable for diabetics?
The natural sweetness is mild, but if you’re watching your sugar intake, consider reducing or omitting the honey, and use unsweetened milk. Chia seeds themselves are great for stabilizing blood sugar, so these cups can be a healthful option with modifications.
Final Thoughts
Making Vanilla Chia Milk Breakfast Cups is one of those little kitchen joys that blends simplicity with sophistication, offering a breakfast that’s creamy, refreshing, and downright delicious. Whether you’re rushing out the door or enjoying a slow weekend morning, this recipe invites you to savor every bite of a wholesome, tasty treat. I can’t wait for you to try it and make it your new go-to breakfast favorite!